Project 14. Create Party Banners Make your own custom party banner using photos, text and borders. Tools: Photoshop Elements Materials: Your photos (optional) 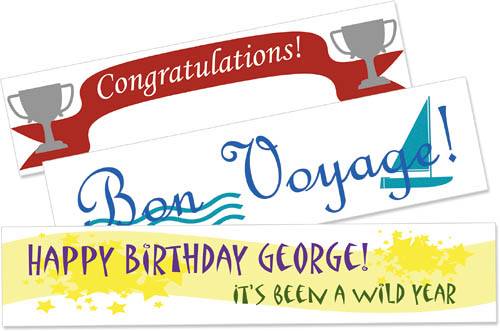
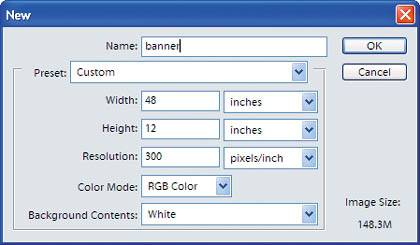
Have you ever wanted to personalize a party banner or maybe add a photo of the person being honored? In this project you will use the Cookie Cutter and Text tools to make your own personal party banner.  Create your banner file. Open Photoshop Elements. In the Welcome window, choose Edit and Enhance Photos. Once the program launches, choose File > New > Blank File. In the New dialog box, choose Custom under Preset to set your size. The resolution should be at least 250 to 300 ppi so if you are using any photos, you will want to check the size and resolution. Set your size in the Height and Width boxes. Create your banner file. Open Photoshop Elements. In the Welcome window, choose Edit and Enhance Photos. Once the program launches, choose File > New > Blank File. In the New dialog box, choose Custom under Preset to set your size. The resolution should be at least 250 to 300 ppi so if you are using any photos, you will want to check the size and resolution. Set your size in the Height and Width boxes.
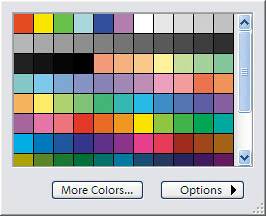
 Add text. Select the Text tool ( Add text. Select the Text tool ( ) and click anywhere in the file. Don't worry about the placement yet. Once you have typed your text, triple-click to select it all. At this point, you can change its font, size, and color. ) and click anywhere in the file. Don't worry about the placement yet. Once you have typed your text, triple-click to select it all. At this point, you can change its font, size, and color.
To add more text, just click the Text tool anywhere on the file and a new text layer will be created.

 Move the text into position. Click on the text layer in the Layers palette and select the Move tool ( Move the text into position. Click on the text layer in the Layers palette and select the Move tool ( ). You will see the bounding box around your text layer within the window. Simply drag the text where you want it to go. ). You will see the bounding box around your text layer within the window. Simply drag the text where you want it to go.

 Add any other artwork. Now that you have the text where you want it, this is a good time to add any additional artwork. To bring in a photograph, simply open the photo in Photoshop Element and use the move tool to drag it into the banner file. Alternatively, you can copy and paste it into the banner file. Use the shortcut Ctrl+A to select the text, then Ctrl+C to copy it, and finally Ctrl+V to paste it into the banner. In this example, I have added some simple stars using the Cookie Cutter tool ( Add any other artwork. Now that you have the text where you want it, this is a good time to add any additional artwork. To bring in a photograph, simply open the photo in Photoshop Element and use the move tool to drag it into the banner file. Alternatively, you can copy and paste it into the banner file. Use the shortcut Ctrl+A to select the text, then Ctrl+C to copy it, and finally Ctrl+V to paste it into the banner. In this example, I have added some simple stars using the Cookie Cutter tool ( )which you will be using in the next step. )which you will be using in the next step.

 Create your banner layer. Click the Adjustment Layer icon ( Create your banner layer. Click the Adjustment Layer icon ( ) located at the top of the Layers palette. Choose Solid Color from the pop-up and select a color from the resulting Color Picker. You will use this new layer to create your background banner shape. ) located at the top of the Layers palette. Choose Solid Color from the pop-up and select a color from the resulting Color Picker. You will use this new layer to create your background banner shape.

 Choose your banner! Select the Cookie Cutter tool. Click Shape on the options bar, then click the arrow to open the Shapes library. Choose Banners, and select the one you want. Click outside the palette to close it. Now, click and drag the from the upper left to the lower right, and press Enter to apply the shape. Choose your banner! Select the Cookie Cutter tool. Click Shape on the options bar, then click the arrow to open the Shapes library. Choose Banners, and select the one you want. Click outside the palette to close it. Now, click and drag the from the upper left to the lower right, and press Enter to apply the shape.


 Save as a PDF. Since most banners are quite large, file size should be considered. Choose File > Save As and choose PDF as your file type, then select Save A Copy. Under Compression, choose High for the best quality. Save as a PDF. Since most banners are quite large, file size should be considered. Choose File > Save As and choose PDF as your file type, then select Save A Copy. Under Compression, choose High for the best quality.
|