Setting Input Panel Options
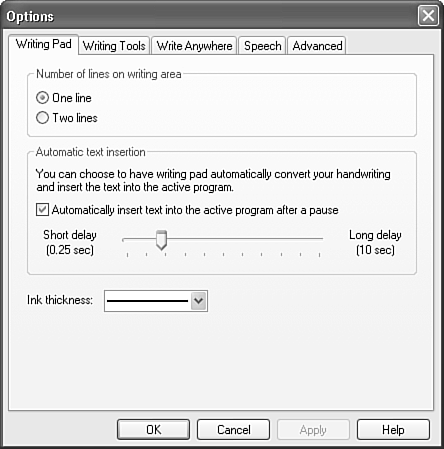
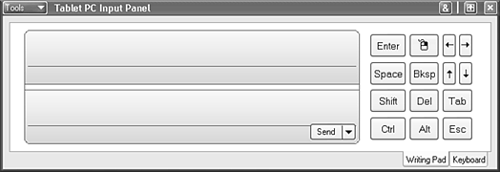
| There are numerous options you can set in the Input Panel that enable you to use the Input Panel more effectively. Some of these change the nature of the Input Panel itself, and others change how it does things behind the scenes. You change these options in the Options dialog box, which you can open by tapping the Tools button in the upper-left corner of the Input Panel and then tapping Options. This opens the Options dialog box. Writing Pad OptionsIn the Writing Pad tab of the Options dialog box, shown in Figure 8.8, you can change the number of lines in the writing pad as well as the delay period before the writing pad submits your handwriting to your application. Figure 8.8. The Writing Pad tab of the Options dialog box lets you change several settings. To change the number of lines in the writing pad, click either the One line or Two lines option button in the Number of lines on writing area box. Choosing the Two lines option enables you to write more text at a time in the same space, as shown in Figure 8.9. Using the Two lines option also seems to work faster because as you write on the next line, the previous line is recognized and converted to text. Figure 8.9. Using the Two lines feature lets you enter twice as much text in the same space. Tip
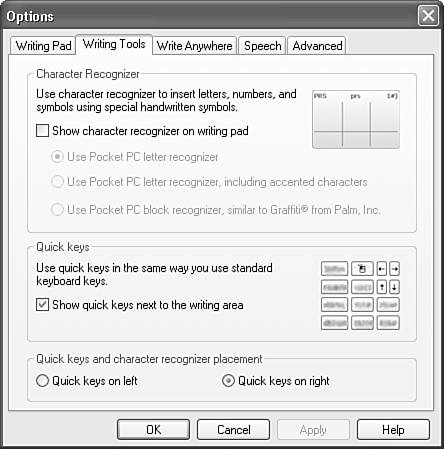
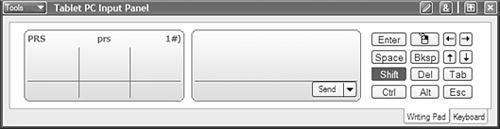
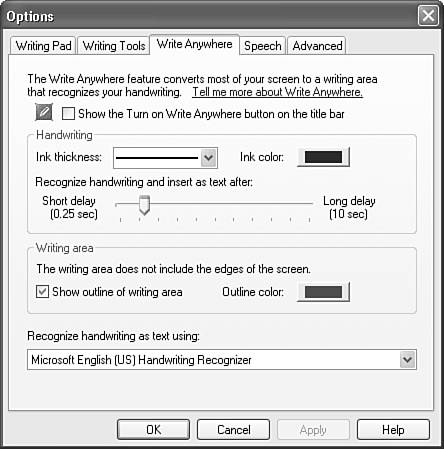
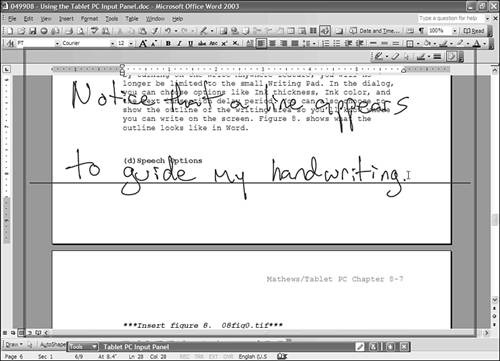
To set the delay period before the writing pad submits your handwriting to the open application, drag the slider bar to the desired delay. The delay you set can be as brief as 0.25 seconds or as long as 10 seconds. If you want the Input Panel to automatically insert text into your application after the delay, mark the check box above the slider; if you prefer to tap Send in order to insert the text, leave the check box unchecked. Finally, you can use the Ink thickness drop-down list in the Writing Pad tab to specify how thick the lines drawn by your pen appear in the writing pad. Writing Tools OptionsThe Options dialog box's Writing Tools tab, shown in Figure 8.10, lets you choose whether or not to use a character recognizer with the Input Panel's writing pad, and if so, which one. The character recognizer can help you enter individual letters and symbols more accurately than with the writing pad alone. To enable the character recognizer, mark the Show character recognizer on writing pad check box. Figure 8.10. The Writing Tools dialog box is where you can choose to use the character recognizer and the quick keys. Using a character recognizer is for those who are most comfortable with the Pocket PC or Palm PDAs. If you're familiar with one of these PDAs, it may be helpful, at least in the short term, to enable this feature. Figure 8.11 shows what it looks like when you have the Pocket PC letter recognizer enabled. Figure 8.11. The character recognizer is enabled here. Quick keys is the other setting that you can change in the Option dialog box's Writing Tools tab. Quick keys are special buttons in the Input Panel that enable you to emulate the use of some of the main keys on the keyboard, such as the arrow keys, Enter, Tab, and others. If you don't want the quick keys to be displayed in the Input Panel Writing Pad tab, simply de-select the Show quick keys next to the writing area check box. You can also choose whether you want the quick keys to be placed on the left or right of the writing pad. Write Anywhere OptionsThe next tab in the Options dialog is Write Anywhere. In addition to using the writing pad, you can enable the Write Anywhere feature, as shown in Figure 8.12, to convert most of your screen to a writing area that recognizes your handwriting. If you enable the Write Anywhere feature, you will no longer be limited to using the small writing pad available in the Input Panel. Figure 8.12. The Write Anywhere tab of the Options dialog box lets you change the Write Anywhere settings. In addition to enabling the Write Anywhere feature, you can use the Options dialog box's Write Anywhere tab to change settings like Ink thickness, Ink color, and the text-insertion delay period. You can also choose to show the outline of the writing area so you'll know where you can write on the screen, and even set the color of the outline in order to see it better in certain applications. (Figure 8.13 shows what the outline looks like in Word.) Figure 8.13. The Write Anywhere outline shows where you can write, and the guides help you keep your handwriting legible. Tip
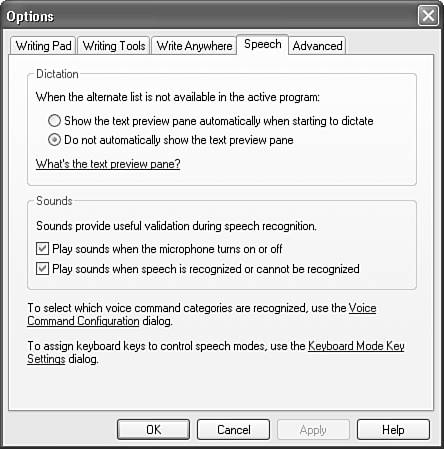
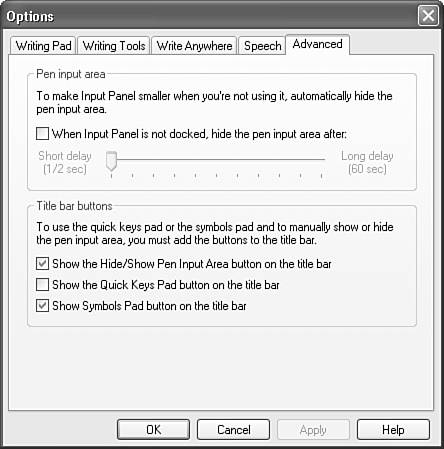
Notice that a line appears to guide your handwriting. This method of text input allows a much larger input area than the writing pad. Just realize you can't use your pen in the writing area without it marking, because the Write Anywhere feature assumes that all pen strokes are handwriting. In other words, you can't try to move the cursor, as this will create marks on the screen that the computer will try to recognize as handwriting. Speech OptionsYou can use the Options dialog box's Speech tab to set some basic speech-input settings. Speech input is covered in the next chapter, but to give you a taste of what's to come, look at Figure 8.14 to see the basic Speech settings that can be changed. Note that you can use this tab to, among other things, specify whether the text preview pane should appear automatically when you begin to dictate, as well as whether sounds should be played when the microphone is turned on or off. Figure 8.14. The Speech tab of the Options dialog box. Advanced OptionsThe Advanced tab in the Input Panel's Options dialog box, shown in Figure 8.15, lets you specify how long the pen-input area should be displayed when it is not being used before it is hidden. To change the delay, mark the When Input Panel is not docked, hide the pen input area after: check box, and then drag the slider beneath the check box to set the amount of time the system should wait. The delay can be as brief as half a second, or as long as 60 seconds. Figure 8.15. The Advanced options dialog box lets you set pen input and title bar button options. Note
In addition to setting the delay, you can use this tab to choose which buttons Hide/Show Input Area, Quick Keys Pad, and Symbols Pad show up on the right side of the Input Panel's title bar. Displaying these buttons enables quicker access to the associated function. |


EAN: 2147483647
Pages: 172