Controller Automation


One of the most powerful emulation tools at your disposal is controller automation. This means real-time, preset tweaking of control parameters such as volume, filters, envelopes, and LFOs.

Though you can record your knob movements, it's more reliable to draw them in your Sequencer track's Controller lane. The Controller lane gives you access to nearly every device parameter for all your Rack instruments. One typical use would be to create volume ebbs and swells to emulate the way a bowed string instrument gets louder and softer as it plays.

To emulate a string part using volume controllers

1.

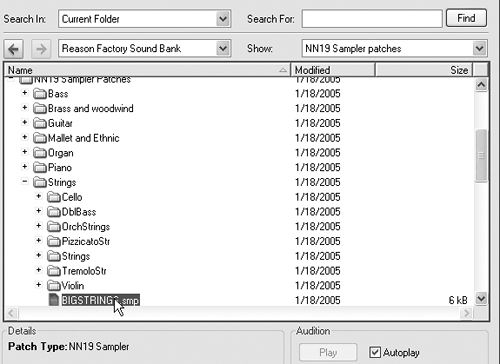
Re-initialize your NN-19 and load the BIGSTRINGS patch from the /NN19 Sampler Patches/Strings folder of the Reason Factory Sound Bank (Figure 6.61).

Figure 6.61. Load the BIGSTRINGS patch.


2.

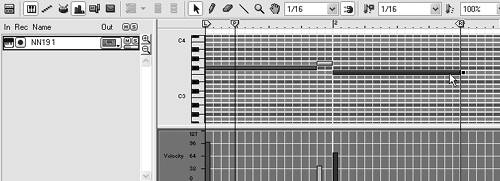
In the Sequencer, map out a two-bar section using the loop markers, and input a sustained melody (Figure 6.62).

Figure 6.62. A basic melody for the BIGSTRINGS patch


3.

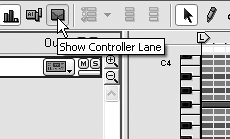
With your sustained loop playing, click the Show Controller Lane button (Figure 6.63) at the top of the Sequencer window. Space for Controller lanes will appear at the bottom of your Sequencer window.

Figure 6.63. The Show Controller Lane button adds space in your Sequencer window to display knob movement or adjustable parameters for any device.


Emulating "Real" Instruments

It takes work to make sampled instruments sound convincing. At worst, "passable" is usually possiblebut the more versatile the instrument you're building, the more it will need coaxing with controllers and elaborate sample mapping.

In general, strings and brass are hostile to the sampling process, whereas piano and percussion instruments are more forgiving (though any pianist or a percussionist will tell you differently).


4.

Now click the Controllers button (Figure 6.64) to pop up a list containing all the NN-19 controller parameters.

Figure 6.64. The Controllers button pops up a list of all the writable NN-19 parameters.


5.

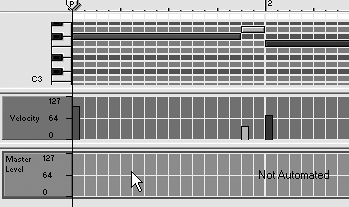
Select Master Volume from the list. A new blue Controller lane marked Master Level appears beneath the red Velocity lane (Figure 6.65).

Figure 6.65. Add a master volume Controller lane in your Sequencer edit window.


6.

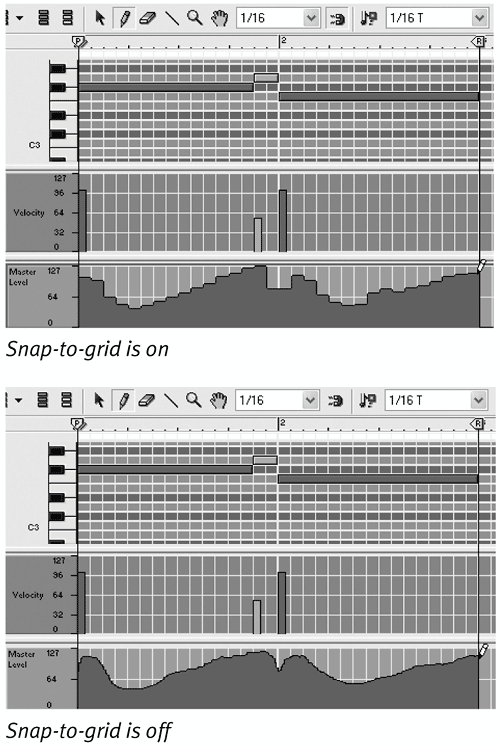
Disable the Snap-to-Grid function so you can input smooth volume changes that are not quantized to the grid resolution value.

7.

Use the Pencil or Line tool to draw in volume curves for the BIGSTRINGS instrument (Figure 6.66).

Figure 6.66. With grid-snapping disabled, the master volume changes are smoother and more natural-sounding.


Upward-moving curves will increase the instrument volume, and downward curves will decrease it.

8.

Experiment to find volume variations that sound the most natural for your part.

Tip

  • Don't use too wide a volume range real string instruments react to bow pressure and won't vary all the way from zero to maximum.


Reason 3 For Windows and Mac
ISBN: 321269179
EAN: N/A
Year: 2003
Pages: 180

flylib.com © 2008-2017.
If you may any questions please contact us: flylib@qtcs.net