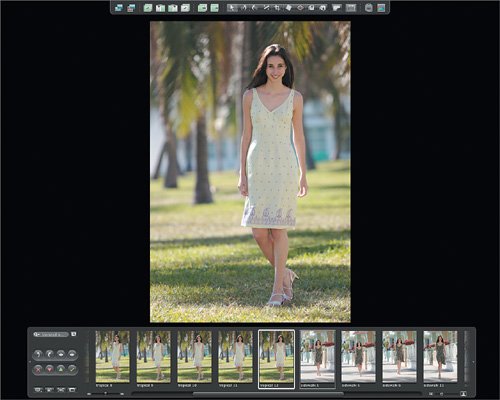
| As you saw in Lesson 6, Full Screen mode allows you to focus completely on the images you need to evaluate, hiding all other distractions. When it's time to apply adjustments to images, Full Screen mode also offers a number of options to customize the interface to suit the way you work. 1. | Click the tropical image in the Viewer to make it the primary selection.
| | | 2. | Press Option-R to see just the primary selection in the Viewer.
 |
Hiding the Toolbar We'll be adjusting this image, but before we start, let's rearrange the toolbar and filmstrip to customize the Full Screen mode viewing area for performing adjustments. | | 1. | Click the Always Show Toolbar button. Then, move the cursor away from the toolbar area.
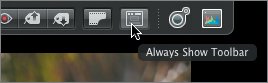 The image scales up to take advantage of the space created by the hidden toolbar. The toolbar is activated with cursor activity at the top of the Full Screen mode Viewer. You can gain access to any of your tools at any time by simply moving the cursor to the top of the screen, and the toolbar will appear. OK, time to customize the filmstrip.
|
Positioning the Filmstrip The filmstrip contains many of the tools that are in the Browser, and it can be moved and positioned on the screen. | | 1. | Click a gray area of the filmstrip (but not an edge) and drag it to the left side of the screen.
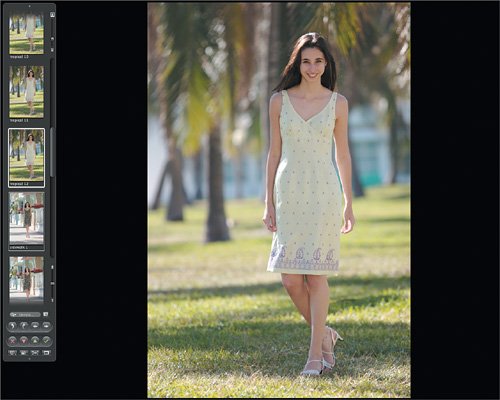 The portrait-oriented image scales again to take advantage of the newly available space. The filmstrip can be free floating or docked to the edge of the display area. Depending on the filmstrip's location, the image is centered differently. The portrait-oriented image scales again to take advantage of the newly available space. The filmstrip can be free floating or docked to the edge of the display area. Depending on the filmstrip's location, the image is centered differently.
| 2. | Drag the filmstrip into the display area so that it is floating.
 The image centers in the entire display area. The image centers in the entire display area.
| 3. | Drag the filmstrip back to the left edge of the display area.
The image centers itself in the space between the right edge of the filmstrip and the right edge of the display area. Whether a single image is centered or not is determined by the Avoid command that is in the Viewer Mode pop-up menu. In addition to being able to move the filmstrip around the Full Screen mode, you can also change the filmstrip's length and increase the width by increasing the size of the thumbnails.
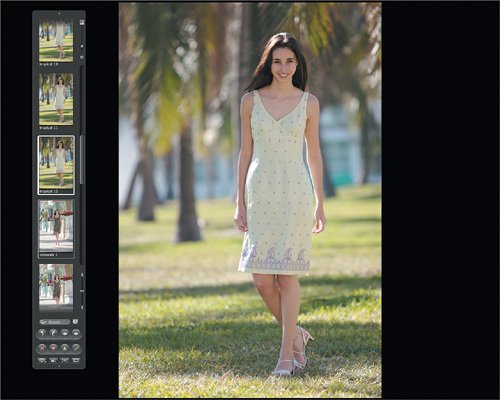
| | | 4. | Drag the bottom edge of the filmstrip up until only four thumbnails are visible.
 Adjusting the position and the size of the filmstrip gives you more room onscreen for images in the display area.
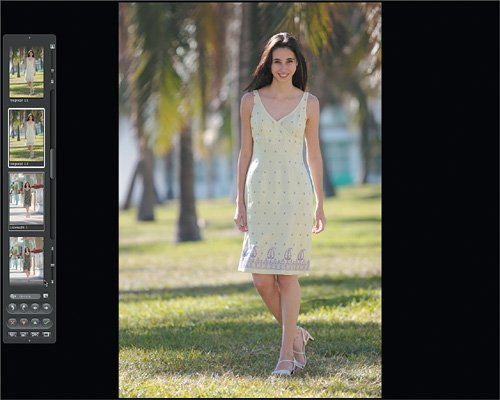
| | | 5. | In the filmstrip, drag the scroller, if necessary, until both hero images are visible.
 Having both selected images visible in the filmstrip allows you to switch the primary selection without having to use the Viewer Mode pop-up menu.
| 6. | Click the sidewalk hero image, sidewalk 1, in the filmstrip.
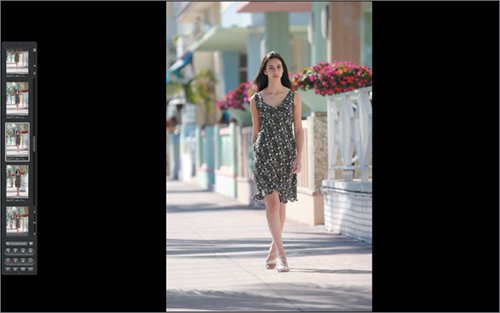 The sidewalk image becomes the primary selection.
| 7. | Press the L key to scroll down the thumbnails in the filmstrip. Press the K key when the tropical and sidewalk hero images are centered in the filmstrip. If you scroll too far down, press the J key to scroll up, and then the K key once again to stop.
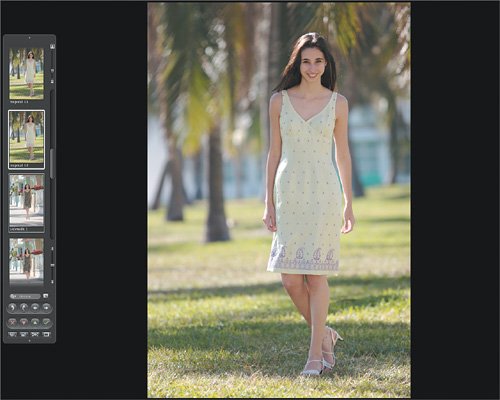
| 8. | Click the tropical hero image, tropical 12, to make it the primary selection.
The filmstrip automatically scrolls until the selected thumbnail is centered.
| | | 9. | Use the J, K, and L keys to scroll the filmstrip thumbnails until both hero images are centered in the filmstrip.
 Tip Press either J or L up to five times to accelerate the scroll. Press the "opposite" letter key to decelerate the scroll, and press K to stop the scroll. Watch the shuttle control to see how fast you are scrolling and where you are in the collection. You can hide the filmstrip altogether if you want to completely focus on the image.
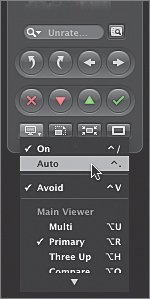
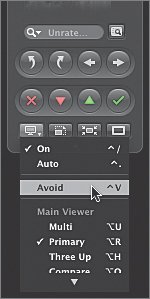
| | | 10. | Choose Auto from the Viewer Mode pop-up menu, or press Control-. (period). Then, move the cursor away from the filmstrip.
 The filmstrip disappears and the image re-centers in the display area.
 You can access the filmstrip at any time by simply placing the cursor over the area where the filmstrip was most recently positioned. When the filmstrip appears, however, the image will re-center itself, which can be a bit distracting. Let's modify that behavior.
| 11. | Choose Avoid from the Viewer Mode pop-up menu or press Control-V to deselect the Avoid command.
 | | | 12. | Move the cursor over and then away from the filmstrip.
 The filmstrip will now appear whenever you move the cursor over it and then disappear when you move your cursor away. Since you turned the Avoid command off, the image in the display area does not move as the filmstrip appears and disappears. The filmstrip will now appear whenever you move the cursor over it and then disappear when you move your cursor away. Since you turned the Avoid command off, the image in the display area does not move as the filmstrip appears and disappears.
Now that you have customized the Full Screen mode, it's time to adjust the first hero image.
|
|