Chapter 7. Shooting Raw
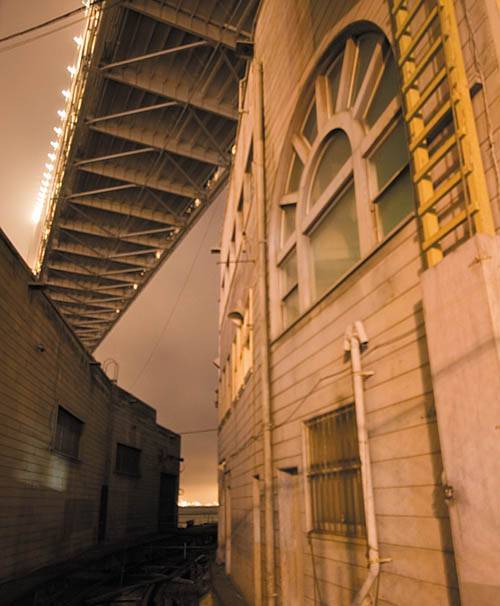
| San Francisco Bay Bridge. Canon EOS 20D with Canon 10-22mm EF-S. 6s at f/4.
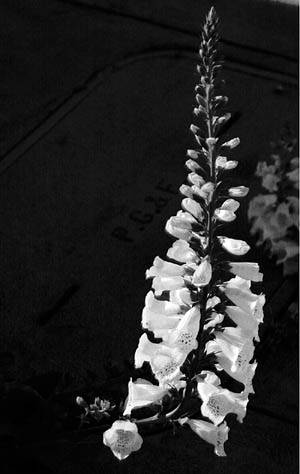
When we speak of image editors like Photoshop, we often say that their tools are used for performing "corrections" on an image. While this is truea Photoshop-caliber image editor can perform amazing corrections of everything from bad exposure to lens flaresthinking of your image editor as a tool for "correction" can be a limiting mind-set when shooting. Sure, some images need correction, but in other cases, it's simply not possible to get the image you have in mind using only your camera. Whether you're shooting analog or digital, the camera is very often the starting point for the image that you have in mind. For these occasions, your image editor is not used to correct the image that comes out of your camera, but to finish the image that comes out of your camera, so that it matches what you perceived when you saw the scene. For example, one night while walking down the street in San Francisco, I saw the scene shown in Figure 7.1. Figure 7.1. When I encountered this flower, the actual scene looked something like this.
The actual scene looked slightly different from this picture. My eye could perceive a little more detail in the shadows than what you see in this image. But for the most part, this is fairly accurate. The yellow lighting of the streetlights was fairly dim, so the flower was not particularly illuminated. What struck me about the scene though, was the fact that the flower was sticking up out of darkness into light. While my eyes saw a dimly lit flower sitting in a field of slightly darker, but still discernible, background, the image in my head was of a luminous white flower on a field of black. I knew that I wanted to preserve as much of the flower's detail as possible, so I chose an exposure that would properly expose the flower, and shot what you see in Figure 7.1 Though it's not particularly interesting, there's nothing wrong with this image. The shadow and highlight details are both reasonably exposed, given the available lighting; the colors are accurate, given that I was looking at a scene bathed in yellow light. This image doesn't need to be "corrected." However, it's not finished. The image in my mind of a luminous white flower in a field of black is not here. With a combination of raw processing and some additional manipulation in Photoshop, I was able to finish the image to produce the one shown in Figure 7.2. Figure 7.2. With some simple adjustments, I finished the image that I began in my camera to produce a picture that matches the vision that I had when I shot the scene.
No matter how good your camera, photography never produces a completely accurate reproduction of the reality of a scene. Just like painting or sculpture or ballet, photography is a representational process. Photographs are not three-dimensional, they don't provide the same field of view as your eye, and they are not capable of capturing the full range of light to dark that your eye can see. Because of all of these factors, you often have to decide how you want to use the capabilities of your camera to represent the scene that you're looking at. Very often, you'll need your image editor to finish this process. Your goal when shooting, therefore, is to capture as much information as you can, and ideally to capture it in a way that will facilitate easy and effective editing later. In this chapter, we're first going to look at how you can use your camera's exposure controls to better exploit the capabilities of raw shooting. Later, we're going to look at some of the special types of shooting that are facilitated by the raw format. |

EAN: 2147483647
Pages: 76