Defining Custom Roles
| 1. | Open Report Manager, and select Site Settings from the upper-right side. |
| 2. | The process for creating an item-level role versus a system-level role is identical, so simply select Configure Item-Level Role Definitions or Configure System-Level Role Definitions. For this example, select Configure Item-Level Role Definitions. |
| 3. | Click the New Role button. |
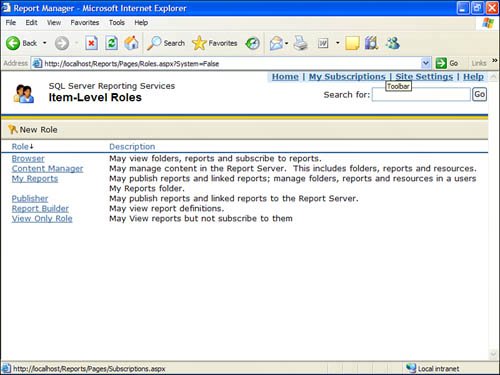
| 4. | Enter View Only Role in the Name text box and "May View reports but not subscribe to them" in the Description field, as shown in Figure 18.10. Figure 18.10. New View Only role. |
| 5. | Select View Folders, View Models, View Reports, and View Resources from the tasks, as shown in Figure 18.11. Figure 18.11. Tasks to assign the View Only role.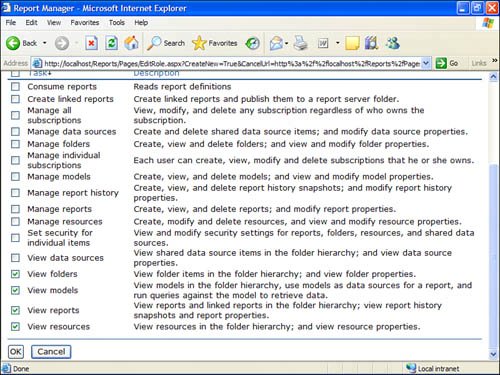 |
| 6. | Click OK. |
Figure 18.12 shows how the new role functions just like any of the predefined roles.
Figure 18.12. New View Only role functions just as the built-in roles.
To modify a role, simply click on the role name after selecting Configure Item-Level Role Definitions or Configure System-Level Role Definitions. Update the list of tasks, and then click OK.
To delete a role, follow the same processes as modifying the role, except click the Delete button at the bottom of the screen. Click OK when it asks you to confirm.
Managing Roles with SQL Server Management Studio
The following steps create a new View Only Role using SQL Server Management Studio:
| 1. | Open SQL Server Management Studio. |
| 2. | Click File and then Connect Object Explorer. |
| 3. | Change the server type to Reporting Services. |
| 4. | Click the Connect button. |
| 5. | In Object Explorer, open the Security folder. At this point, if you want to create a system-level role, open the System Roles folder; otherwise , open the Roles folder. |
| 6. | Right-click the Roles folder and select New Role from the context menu. |
| 7. | Enter View Only Role in the Name text box and "May View reports but not subscribe to them" in the Description field. |
| 8. | Select View Folders, View Reports, View Models, and View Resources from the tasks. |
| 9. | Click OK. |
To modify a role, right-click on any role and select Properties. The same screen appears as for adding a new role. Update the task list and/or description and select OK. To delete a role, select the role from Object Explorer, right-click the role, and select Delete from the context menu.
EAN: 2147483647
Pages: 254