Section 18.1. Creating a Windows Application
18.1 Creating a Windows ApplicationTo get started building a Windows application, open VS.NET and choose the New Project item from the Projects menu. As you have done throughout this book, choose Visual Basic Projects from the Project Types window, but this time choose Windows Application in the Templates Window, as shown in Figure 18-1. Figure 18-1. Creating the new project Hello World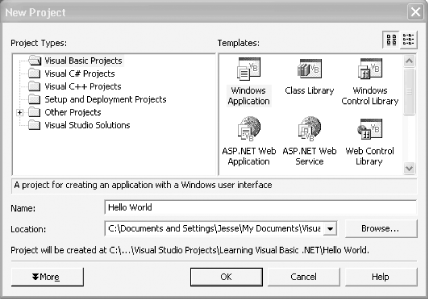 Choose an appropriate location for your project folder and name the project Hello World. VS.NET will create a work area for you and will also create an initial form, as shown in Figure 18-2. Figure 18-2. Visual Studio .NET initial form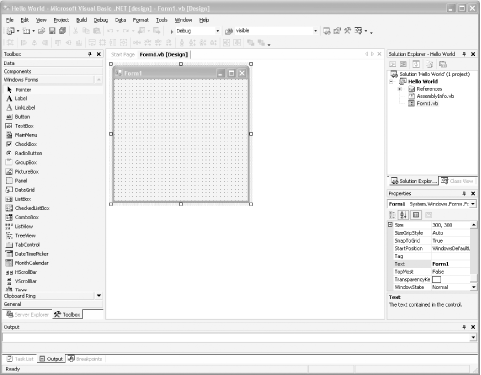 The Toolbox should appear docked to the left-hand side of your work area. If not, you can open the toolbox by choosing the Toolbox item from the View menu or by using the keyboard shortcut Ctrl-Alt-X. The toolbox provides easy-to-use widgets for your application. To get a sense of how this works, click and drag a label from the Toolbox onto the form. Position the label in the upper third of the form. Notice that the label has sizing handles on each side that you can click on and drag to stretch the label to accommodate a fair amount of text. The Properties window should be docked along the right side of your window. If not, you can open the Properties window by choosing the Properties Window item from the View menu or by using the keyboard shortcut F4. Once the Properties window is open, you can click on the label to display the label's properties in the Properties window. To see how the Properties window can help you in specifying properties, try setting the label's name to lblOutput. Then set the label's text to: Hello World Now scroll down the Properties window until you come to the Font property. Click the plus sign ( + ) to expand the Font property, as shown in Figure 18-3. Figure 18-3. The Properties window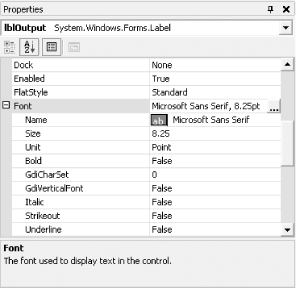 Notice the button following the name of the Font; the button is marked with an ellipsis. Click on this button to open the Font selection window. Set the Font to Verdana, also selecting Bold from the Font style list and 12 (point) from the Size list, as shown in Figure 18-4. Figure 18-4. The Font selection window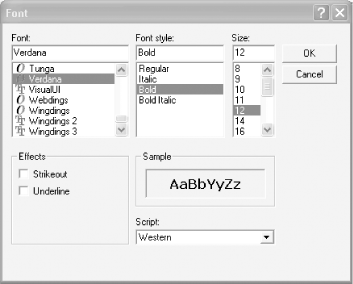 If you look back at the label you created on the initial form, you'll see that the label has been modified in accordance with the properties you've set. Now go back to the Toolbox and drag a button onto your form; name it btnChange and set its Text property to: Change! Click on the BackColor property. The drop-down menu (which should list "Control" as the default color) opens to reveal a color picker. Click on the Custom tab and choose the red square, as shown (in black and white) in Figure 18-5. Figure 18-5. Picking a color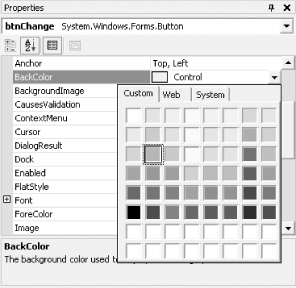 Set the Button's ForeColor property to yellow and then expand the Font property. Set the font to Verdana and set the Bold attribute of the Font to true. Click on the form and grab the lower righthand corner by clicking and dragging with the mouse. Resize the form to accommodate just the label and the button, as shown in Figure 18-6. Figure 18-6. Making the form smaller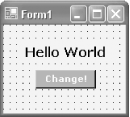 Now run the Hello World application by holding the Control key and pressing F5. The form comes up and looks just great. But when you click on the Change! button, nothing happens. In order to understand why, you must understand a bit about events. |
EAN: 2147483647
Pages: 153