Starting a New Project
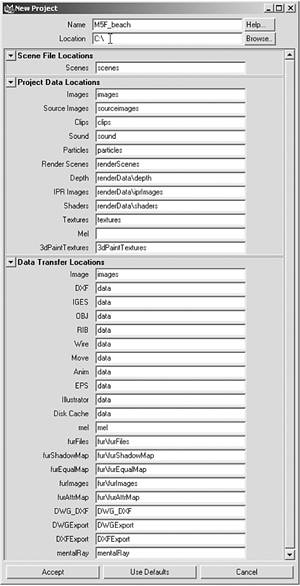
| Maya's workflow is based on a project structure. As you work in 3D, you rapidly accumulate resource files, such as depth maps, software caches, test renders, and a grab-bag of other digital items. These items are the nuts and bolts of your 3D production. For this reason, it's an excellent idea to get in the habit of setting up your projects correctly before doing anything else. Then, as you progress through your project, complex processes become easier because you're able to organize your resources properly at the beginning. The tutorial for this chapter can be divided into two parts: liquid and air. The camera starts underwater and tracks fish along the sandy ocean floor. Then, the camera breaks the water's surface to survey a tropical beach. The project is handled in sections modeling, texturing, lighting, animating, and rendering. First, you model the ocean, beach, and fish. Then, you add materials to these elements and create lighting for the scene. Next, you animate the fish swimming, the ocean undulating, and the choreography of the camera. For landscaping, you rely on Paint Effects to whistle up some palms, starfish, grass, and coral. After it's all built, you render a finished movie that brings the scene to life. Tutorial: Initial Setup The first step in creating this scene, as with any scene in Maya, is to create a new project. Don't forget that if any steps in this tutorial confuse you, you can see them performed and explained by playing the movie noted next to the DVD movie icon. The introduction to this book includes tips on getting the movie to play on your computer.
Organizing Your Project FoldersWhen you created your new project, you told Maya to specify a default file structure. Your project directory is an organized method for storing and retrieving information about a project and its scene files so that Maya knows where to look for information about a particular component in a scene. Look over the folders that have been created in your project directory; most of the names are self-explanatory. The most important one is the Scenes folder, where you save your scene files and information for your project. In addition to having your project folders organized, it's important to continually save your scene as you develop your project. Saving in increments allows you to go back to a previous stage in your project by opening a scene you saved earlier in development, and saves you remodeling time if something didn't work out as expected. To use the incremental save feature, choose File | Save Scene | option box to open the Save Scene Options dialog box, and select the Incremental Save check box. This creates a backup folder in your project's Scenes folder (\Scenes\incrementalsave\). Each time you save your scene, a backup file is placed in this folder and numbered with an incremental extension (for example, filename.000.mb, filename.001.mb). By default, you have an unlimited number of incremental saves, but you can specify a limit to conserve hard drive space. Go ahead and activate the incremental save feature now to get used to how it works. If you have problems while working on this tutorial, you can always refer to an earlier scene file to pick up at a safe stopping point. |
EAN: 2147483647
Pages: 198