Flylib.com

Books Software


Making Images Float


Making Images Float

You can use the align attribute (with the left and right values only) to make images float along one side of your page, with text and other elements wrapping around the other.

To make images float:

1.

Type <img src="image.jpg" where image.jpg indicates the location of the image on the server.

2.

Either type align="left" to float the image on the left of the screen while the text flows to the right, or type align="right" to float the image on the right edge of the screen while the text flows on the left side of the image.

3.

Add other image attributes, as described in other parts of this chapter, if desired.

4.

Type the final /> .

5.

Create the elements that should flow next to the image.

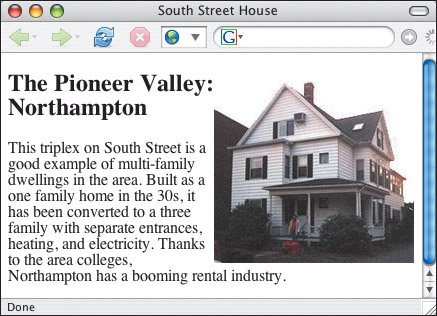
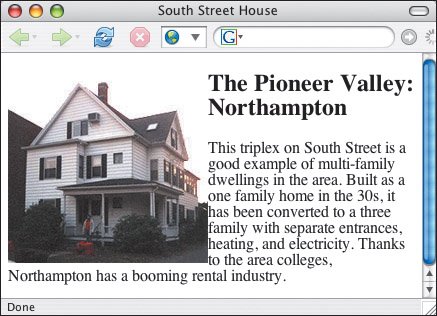
Figure 5.22. When you align an image to the right, you are actually wrapping text to its left.


Figure 5.23. The image is aligned to the right and the text wraps around it.


Tips

  • Don't get confused about right and left. When you choose align="right" , it's the image that goes to the right (while the text goes to the left). When you choose align="left" , again, the image will be on the left side with the text flowing around the right side.

    Figure 5.24. To make the image appear on the left with the text wrapped around the right side, use align="left".

  • The align attribute is deprecated. Nevertheless, I think it's a useful trick to have in your bag. If you're doing (X)HTML strict, use the CSS float property (see page 181) instead.

  • Why use the word align for floating images? I don't know. Personally, I'd prefer a float attribute, but it doesn't exist. For more details about what you can do with align , see page 100.


Figure 5.25. With the image floated on the left, the text wraps around on the right side (rather closely, but we'll fix that pretty soon).


To float images on both sides:

1.

Type <img src="right.image" align="right"> where right.image indicates the location on the server of the image that should appear on the right side of the screen.

2.

Type the text that should flow around the first image.

3.

Type <img src="left.image" align="left"> where left.image indicates the location on the server of the image that should appear on the left side of the screen.

4.

If desired, type <p> to begin a new paragraph, that will be aligned with the image placed in step 3.

5.

Type the text that should flow around the second image. Type </p> to complete that paragraph, if necessary.

Figure 5.26. The image always precedes the text that should flow around it.


Tips

  • The key is to place each image directly before the text it should " disrupt ."

  • Each image will continue to push the text to one side until it either encounters a break (see page 98) or until there is no more text.


Figure 5.27. The first image is floated to the right and the text flows to its left. The next image appears after the last line of text in the preceding paragraph and pushes the following paragraph to the right.
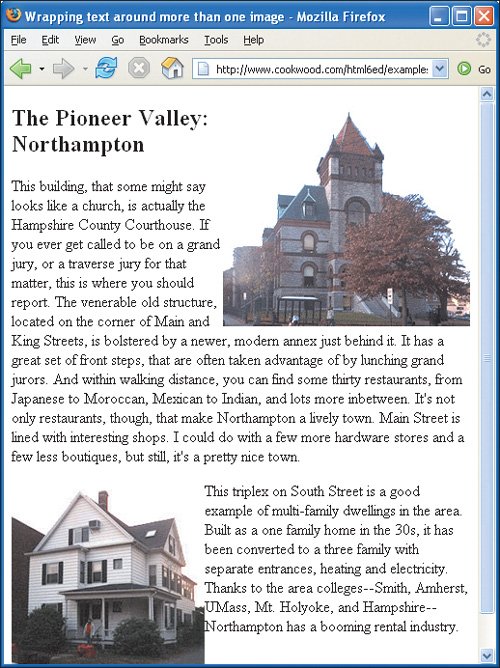


Stopping Elements from Wrapping

A floated image affects all the elements that follow it, unless you insert a special line break. The clear attribute added to the regular br tag indicates that the text should not begin until the specified margin is clear (that is, at the end of the image or images).

To stop elements from wrapping:

1.

Create your image and the text or other elements (see pages 96 and 97) .

2.

Place the cursor where you want to stop wrapping text and elements to the side of the image.

3.

Either type <br clear="left" /> to stop flowing content until there are no more floating objects aligned to the left margin.

O r type <br clear="right" /> to stop flowing content until there are no more floating objects aligned to the right margin.

Or type <br clear="all" /> to stop flowing content until there are no more floating objects on either margin.

Figure 5.28. Notice the order: first the house, then the header, then the flower logo, then more text.


Figure 5.29. The clear="left" attribute makes the text stop flowing until it reaches an empty left margin (that is, below the bottom of the left-aligned flower).


Figure 5.30. With clear="all" the text won't flow until both the left and right margins are completely clear.


Tips

  • The clear attribute is deprecated in favor of style sheets. However, I think it's important to know about the clear attribute. For information on using styles to control the text flow, consult Controlling Where Elements Float on page 182.

  • Note that the clear attribute affects the elements that follow a floated image, while the CSS clear property described on page 182 more directly affects the floated element itself. It's just a slightly different perspective.