Creating Inline Spans


While you can organize big chunks of your Web page into head and body sections, into divisions, or even with headers (H1, h2, etc.), you can name smaller chunks or spans of text or other inline elements in order to identify them and apply styles to them.

To name inline spans:

1.

At the beginning of the inline content, type <span.

2.

If desired, type , where name uniquely identifies the spanned content.

3.

If desired, type , where name is the identifying name of the class that the spanned content belongs to.

4.

Type > to complete the opening span tag.

5.

Create the inline contents you wish to label.

6.

At the end of the span, type </span>.

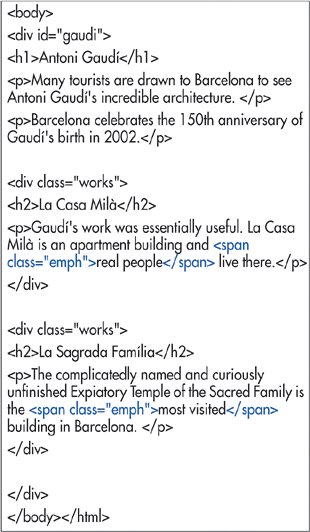
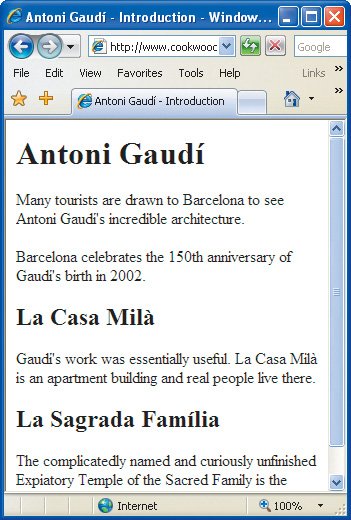
Figure 3.18. The span tag is used to mark a bunch of inline content. You can then format the marked content however you like (which we'll do in Chapters 10 and 11).


Figure 3.19. Again, the span element gives your document underlying structure. You can't see its effect until you apply styles (see page 127). You can see this page with styles on my Web site (see page 26).


Tips

  • For more details on the differences between block-level and inline content, consult Block vs Inline on page 30.

  • A span has no inherent formatting. It becomes useful when you apply styles to it, generally through its class or id, as you'll see in Chapters 914.

  • You may apply both a class and id attribute to the same span element, although it's probably more usual to apply one or the other. The principal difference is that class is for a group of elements while id is for identifying individual, unique elements.


HTML, XHTML, & CSS(c) Visual QuickStart Guide
HTML, XHTML, and CSS, Sixth Edition
ISBN: 0321430840
EAN: 2147483647
Year: 2004
Pages: 340

flylib.com © 2008-2017.
If you may any questions please contact us: flylib@qtcs.net