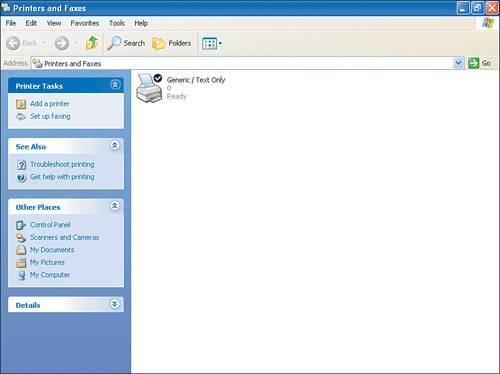
Sharing Printers on Your Home Network


In the following sections, you will share the printer attached to the FAMILYROOM computer. You will then be able to print documents from the BEDROOM computer. This will save you the trouble of having to walk down to the FAMILYROOM computer with your files in order to print them.

In this example, you will install a generic printer. Keep in mind that your printer installation may differ from what you see here, depending on the printer. This example is meant to show you the basics of verifying networking printing capabilities. Installing a printer in Windows XP is a fairly straightforward task; Windows XP guides you through the entire process unless you have a very unusual printer model. In that case, you should follow your manufacturer's directions for installing the printer.

Changing Sharing and Security Settings

Try editing one of the pictures on the remote computer (that is, the FAMILYROOM computer) by right-clicking the picture and then clicking Edit. This starts the Paint application, which you can use to draw on the existing picture. After you draw a few lines, select File, Save As and then give your new picture a name. Because sharing is configured to only allow read access and not the ability to change files by default, your changes will not be saved.

Now go back to the FAMILYROOM computer, right-click the My Pictures folder that is being shared, and then click Sharing and Security. Now click Allow Network Users to Change My Files and try to edit another picture, following the preceding procedure. You should now be able to save your changes.

Using this method is a way to share your files yet maintain security. Your family members can see your photographs in this case, but they cannot make changes to them.


Sharing Your Printer

To share your printer with the rest of the computers in your home network, follow these steps:

1.

Select Start, Printers and Faxes. The window shown in Figure 3.12 appears.

Figure 3.12. The Printers and Faxes window.


2.

Right-click the printer you want to share and then click Sharing.

3.

On the Properties page for the printer, select Share This Printer and then click OK.

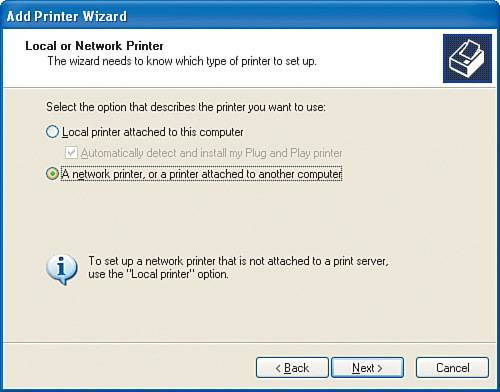
Connecting To and Using a Shared Printer

At this point you will connect to the shared printer from the preceding section. After you make the connection, you will send a file to the printer. You will use the Notepad application in this project to verify printing capabilities. However, you could use any other Windows application to do this by selecting File Print. Then you follow the onscreen instructions to print your document, which is usually as easy as a click on the OK or Print buttons.

To connect to a shared printer on your home network, follow these steps:

1.

Select Start, Printers and Faxes.

2.

Under Printer Tasks, select Add a Printer. The Welcome to the Add Printer Wizard page appears.

3.

Click Next. The Local or Network Printer page appears (see Figure 3.13).

Figure 3.13. The Local or Network Printer page.


4.

Select the option A Network Printer, or a Printer Attached to Another Computer and then click Next.

5.

You may have to double-click the computer on which the printer is located and then select the printer, click Next, and then click Finish to complete the wizard. The printer is now installed.

6.

Select Start, All Programs, Accessories, Notepad. The Notepad application opens.

7.

In Notepad, type some text onscreen then select File, Print.

8.

If you see the Print dialog box, choose your printer and then click Print.


Create Your Own Home Networks
ISBN: 0672328321
EAN: 2147483647
Year: 2003
Pages: 82
Authors: Eli Lazich

flylib.com © 2008-2017.
If you may any questions please contact us: flylib@qtcs.net