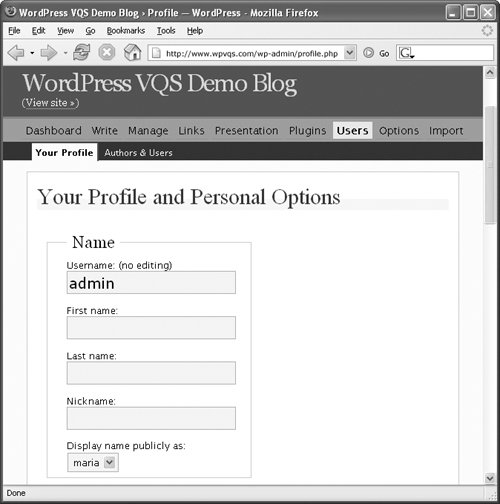
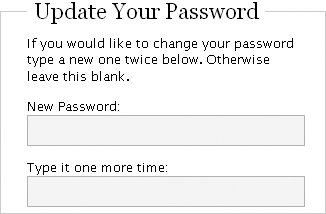
Changing Your Password
| One of the first things you might want to do after setting up your blog is to change your password. Although the WordPress-generated password is secure, it isn't very easy to remember. You may want to change it to a password that's easier to remember. To change your password
Tips
|
EAN: 2147483647
Pages: 142