| Fetch (Figure 11) is an easy-to-use, affordable FTP client for Mac OS. Created and distributed by Fetch Softworks, you can download it from www.fetchsoftworks.com. Figure 11. Fetch displays a remote folder's contents in a window like this one. 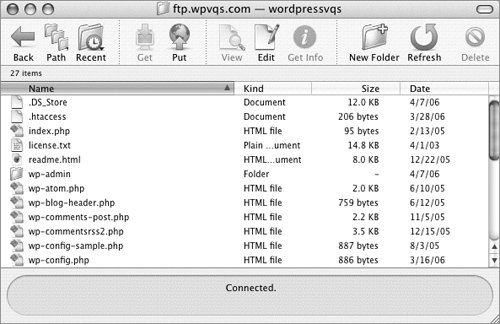
To connect to a remote server 1. | Launch Fetch.
| 2. | If necessary, choose File > New Connection or press  to display the New Connection dialog (Figure 12). to display the New Connection dialog (Figure 12).
Figure 12. The New Connection dialog with options set for a connection. 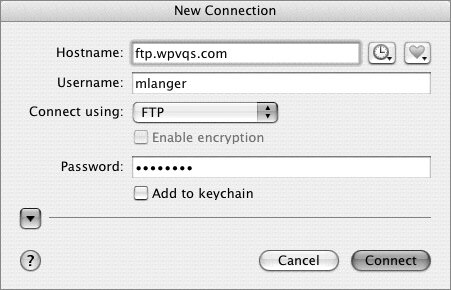
| 3. | Enter your FTP login information:
- Hostname is the FTP server address.
- Username is your user name or ID.
- Connect using is the method of con-nection. Normally, this will be FTP.
- Password is your password. You can turn on the Add to keychain check box to add your FTP password for the site to your Mac OS Keychain.
| 4. | To specify an initial folder and set other options, click the blue triangle to expand the dialog (Figure 13) and enter additional options:
- Initial folder is the remote folder you want to open when you first connect.
- Port, which is optional, is for entering a non-standard port.
- Try to connect n times specifies the number of connection attempts that should be made.
Figure 13. Click the triangle to display additional options you might want to set, as shown here. 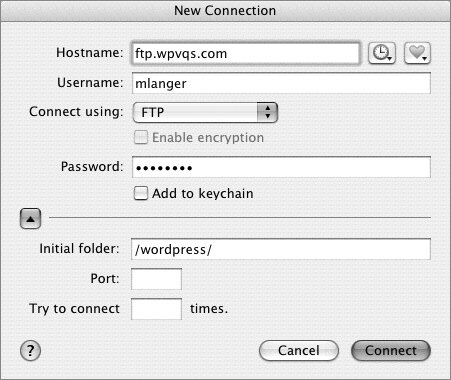
| 5. | Click the Connect button. Fetch connects to the server and displays a list of files and folders (Figure 11).
|
To navigate a remote server In the Fetch file window (Figure 11), use the following navigation techniques: - Double-click a folder to open it.
- To return to a recently visited directory choose a location from the Recent menu on the toolbar (Figure 14).
Figure 14. Use the Recent menu to revisit a recently viewed folder. 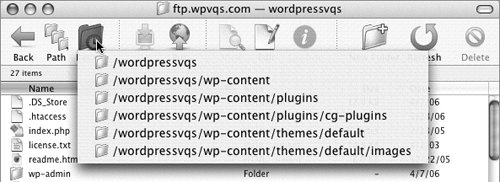
- To back up one folder, click the back button on the toolbar.
- To back up to another folder in the hierarchy, choose a location from the Path menu on the toolbar (Figure 15).
Figure 15. Use the Path menu to back up to a previous folder. 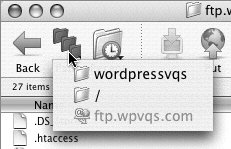
To add a shortcut 1. | View the remote directory for which you want to create a shortcut.
| 2. | Choose Shortcuts > New Shortcut to display the New Shortcut dialog (Figure 16).
Figure 16. Use this dialog to create a new shortcut. 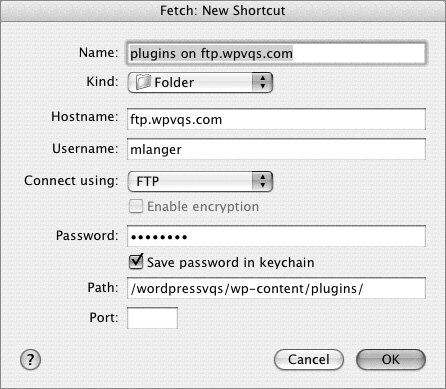
| 3. | Check, and if necessary, modify the settings in the New Shortcut dialog.
| 4. | Click OK. The new shortcut is saved.
|
Tip
To use a shortcut Choose the shortcut name from the Shortcuts menu (Figure 17). The remote folder set in the shortcut opens. Figure 17. To open a remote location quickly, choose it from the Shortcuts menu. 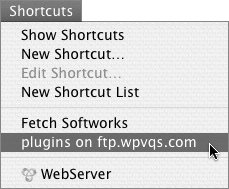
To change permissions 1. | Display the contents of the folder in which the file or folder resides.
| 2. | Select the file or folder for which you want to change permissions.
| 3. | Choose Remote > Get Info or press  . .
| 4. | In the Info window that appears, if necessary, click the disclosure triangle to expand the Ownership and Permissions area (Figure 18).
Figure 18. The Info window for a folder. 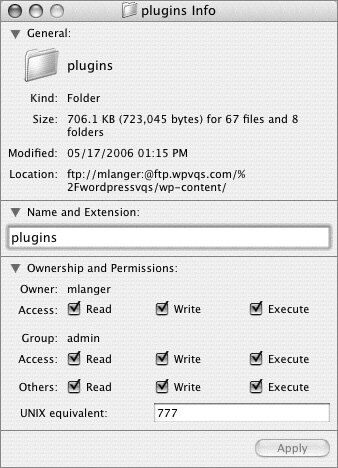
| 5. | Use the check boxes or UNIX equivalent edit box to set permissions as desired.
| 6. | Click Apply. The permissions are updated.
| 7. | Close the Info window.
|
To rename a file or folder 1. | Display the contents of the folder in which the file or folder resides.
| 2. | Select the file or folder for which you want to change the name.
| 3. | Choose Remote > Get Info.
| 4. | In the Info window that appears, if necessary, click the disclosure triangle to expand the Name and Extension area (Figure 18).
| 5. | Change the name in the Name and Extension text box.
| 6. | Click Apply. The name is updated.
| 7. | Close the Info window.
|
To delete a file or folder 1. | Display the contents of the folder in which the file or folder resides.
| 2. | Select the file or folder you want to delete.
| 3. | Click the Delete button on the toolbar. A confirmation dialog appears (Figure 19).
Figure 19. Click Delete in this dialog to confirm the deletion of a file. 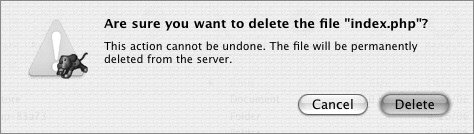
| 4. | Click Delete to delete the selected item.
|
To transfer files or folders 1. | In the Fetch window, navigate to the folder in which you want to put or get files or folders.
| 2. | In the Finder, navigate to the folder in which you want to put or get files or folders.
| 3. | To download files or folders, drag their icons from the Fetch window to the Finder window or Desktop.
or
To upload files or folders, drag their icons from the Finder window to the Fetch window (Figure 20).
Figure 20. Drag files from a Finder window to a Fetch transfer window to upload them. 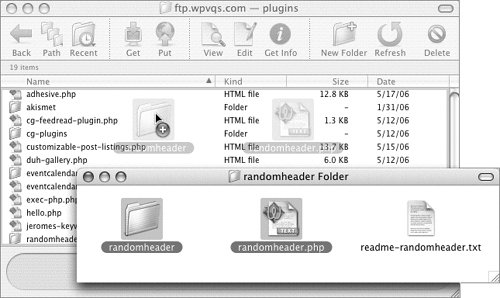
| 4. | Wait while the transfer is conducted. When it's finished, the status area at the bottom of the Fetch window should display a Transfer complete message (Figure 21).
Figure 21. When the transfer is complete, Fetch tells you. 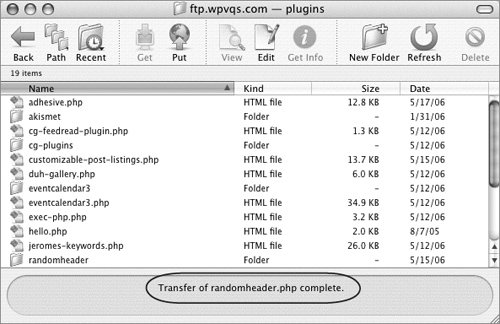
|
Tip
|