Creating & Editing Files with pico Although it's easy to use a GUI text editor in Mac OS X, it's a good idea to know a little about Unix text editors and how they work. This way, if you ever find yourself sitting in front of a Unix system, you'll have a chance at making it usable. Unix offers a number of text editors: the easy-to-use pico, the ever-present vi, and the geek-favorite emacs. Which one you use is a personal decision: Each has strengths and weaknesses. It is far beyond the scope of this chapter (or book) to help you master any one of these, let alone all three. Because pico is the easiest Unix text editor to use, I'll introduce it here.  Tips Tips
The emacs and vi text editors are so powerful and complex that entire books have been written about them. You can learn a little more about them in their somewhat inadequate man pages; type man emacs or man vi and press  to view them. to view them. pico is normally a piece of the pine email package, but Apple did not make pine part of the standard Mac OS X Unix installation. You can download the entire pine-pico package for Mac OS X from www.osxgnu.org/software/Email/pine/.
To open a file with pico Type pico file (for example, pico sample.txt) and press . pico starts up in the Terminal window. If you entered the name of an existing file, the first 25 lines of the file appear (Figure 34). If you entered the name of a file that does not already exist, pico creates a new file for you (Figure 35). Either way, the pico menu appears at the bottom of the window. The cursor appears as a gray box at the beginning of the file. Figure 34. pico can open an existing file… 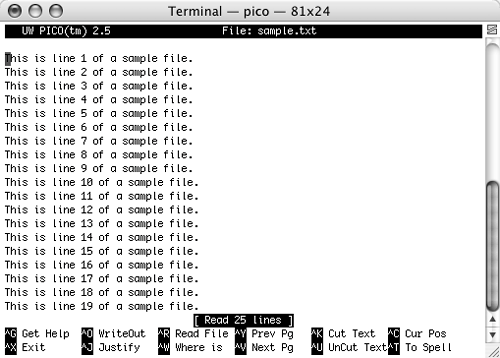
Figure 35. …or create a new one with the name you specify. 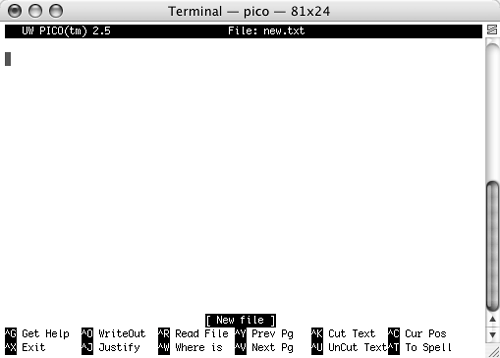
To use pico menu commands Press the keystroke for the command you want. Each command includes  (indicated by ^). For example, you can view onscreen help by pressing (indicated by ^). For example, you can view onscreen help by pressing  (Figure 36). (Figure 36). Figure 36. The beginning of pico's onscreen help. 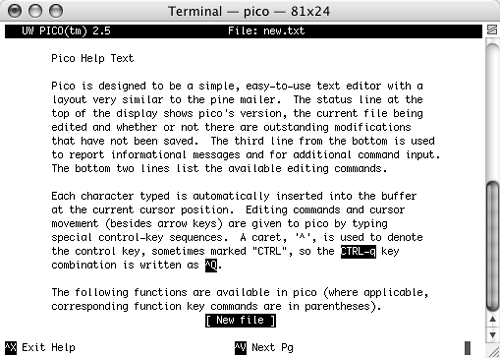
To navigate through text To move one character in any direction, press the corresponding arrow key. Or To move to the previous or next page, press  or or  . . To insert text 1. | Position the cursor where you want to insert character(s) (Figure 34).
| 2. | Type the character(s) you want to insert. The new text is inserted (Figure 37).
Figure 37. Text is inserted at the cursor. 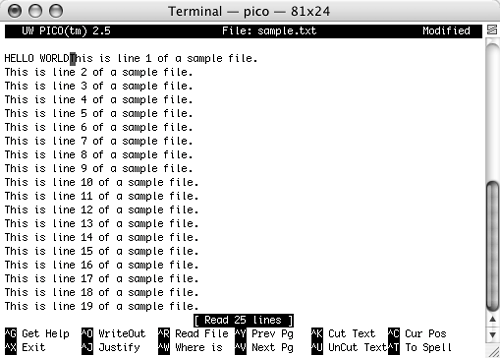
|
To delete text 1. | Position the cursor on the character you want to delete (Figure 38).
Figure 38. Position the cursor on the character you want to delete. 
| 2. | Press  . The character disappears (Figure 39). . The character disappears (Figure 39).
Figure 39. Text at the cursor is deleted. 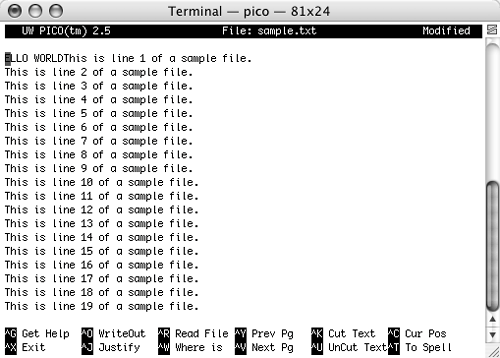
|
To cut & paste text 1. | Use the arrow keys to position the cursor at the beginning of the text you want to cut (Figure 34).
| 2. | Press  . [Mark Set] appears near the bottom of the window (Figure 40). . [Mark Set] appears near the bottom of the window (Figure 40).
Figure 40. [Mark Set] appears in the window. 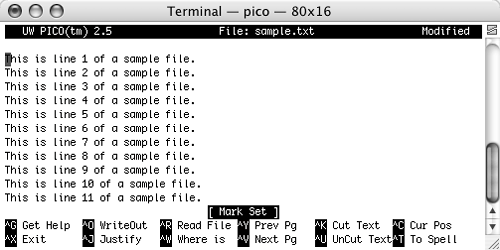
| 3. | Use the arrow keys to position the cursor at the end of the block you want to cut. Text between the starting point and cursor turns black (Figure 41).
Figure 41. Use the arrow keys to select text. 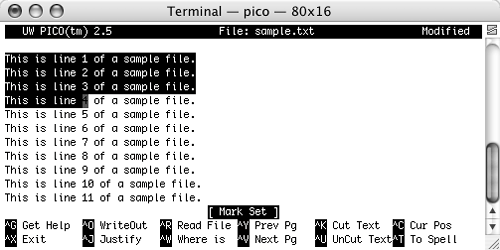
| 4. | Press  (Cut Text). The selected text disappears (Figure 42). (Cut Text). The selected text disappears (Figure 42).
Figure 42. Using the Cut Text command removes the selected text. 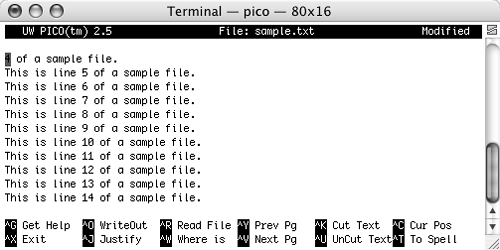
| 5. | Position the cursor where you want to paste the text (Figure 43).
Figure 43. Position the cursor where you want to paste the text. 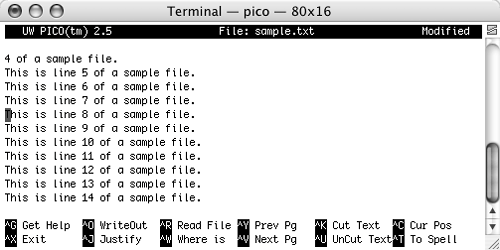
| 6. | Press  (Uncut Text). The cut text appears at the cursor (Figure 44). (Uncut Text). The cut text appears at the cursor (Figure 44).
Figure 44. Using the Uncut Text command pastes the text back into the document. 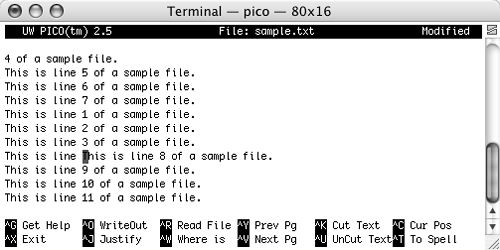
|
Tip
To insert an existing file 1. | Position the cursor where you want to insert the file (Figure 34).
| 2. | Press  (Read File). (Read File).
| 3. | The Insert file prompt appears at the bottom of the window. Enter the path name for the file you want to insert (Figure 45) and press . The contents of the file appear at the cursor (Figure 46).
Figure 45. Enter the name of the file you want to insert at the Insert file prompt. 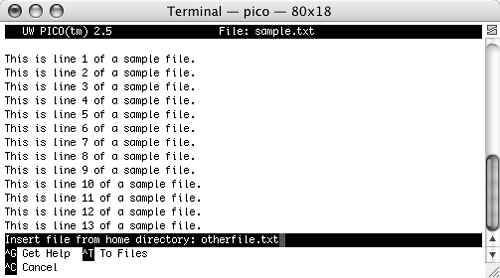
Figure 46. The file is inserted at the cursor. 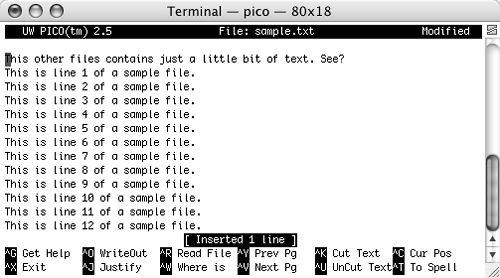
|
To save changes to a file 1. | Press  (WriteOut). The File Name to write prompt appears at the bottom of the window, along with the name of the file you originally opened (Figure 47). (WriteOut). The File Name to write prompt appears at the bottom of the window, along with the name of the file you originally opened (Figure 47).
Figure 47. Use the File Name to write prompt to enter a name for the file. 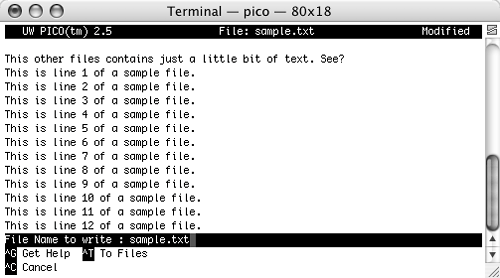
| 2. | To save the file with the same name, press .
or
To save the file with a different name, use  to remove the existing file name, enter a new file name, and press . The file is saved. to remove the existing file name, enter a new file name, and press . The file is saved.
|
To exit pico 1. | Press  (Exit). (Exit).
| 2. | If you have made changes to the file since opening it, the Save modified buffer prompt appears at the bottom of the window (Figure 48).
Figure 48. The Save modified buffer prompt enables you to save changes to the file before you exit pico. 
|
|