Merging Documents


The last step in performing a data merge is to merge the main document and data source.

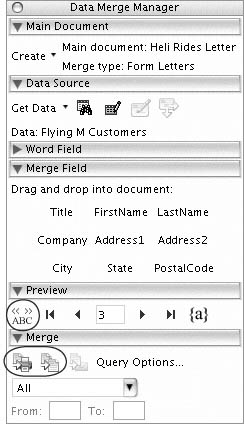
The Data Merge Manager offers several buttons you can use to merge data (Figure 29):

Figure 29. The Data Merge Manager offers several options for merging data.


  • View Merged Data displays the merged documents onscreen, enabling you to spot potential problems before actually performing the merge.

  • Merge to Printer merges the documents directly to paper, labels, or envelopes to create final output.

  • Merge to New Document creates a file with all of the merged data. The resulting file can be saved, modified, or printed another time.

To view merged data onscreen

1.

Display the main document and the Data Merge Manager.

2.

Click the View Merged Data button in the Preview area of the Data Merge Manager.

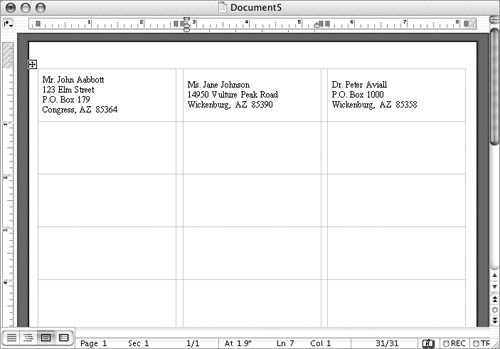
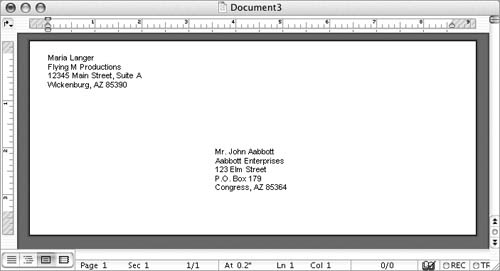
The merge field names in the main document are replaced with the contents of the first record in the data source (Figures 11, 30, and 31).

Figure 30. Viewing merged data for a mailing labels main document.


Figure 31. Viewing merged data for an envelopes main document.


Tip

  • You can scroll through the records in the data source while viewing merged records by clicking the First Record, Previous Record, Next Record, and Last Record buttons in the Preview area of the Data Merge Manager.


To merge to a printer or to a new document

1.

Display the main document and the Data Merge Manager.

2.

If necessary, choose an option from the pop-up menu in the Merge area of the Data Merge Manager (Figure 32):

Figure 32. To merge less than all of the records, choose an option from this pop-up menu.


  • All merges all of the records.

  • Current Record merges just the record number indicated in the text box in the Preview area of the Data Merge Manager (Figure 29).

  • Custom enables you to set the starting and ending record number. If you choose this option, enter values in the text boxes beneath the pop-up menu.

3.

To merge directly to a printer, click the Merge to Printer button in the Merge area.

or

To merge to a new document, click the Merge to New Document button in the Merge area.

4.

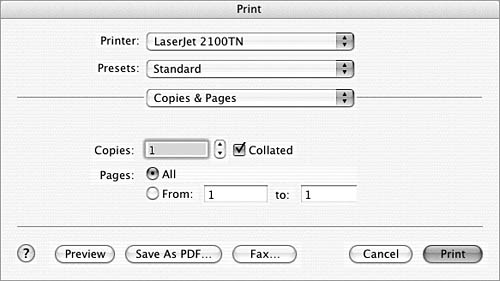
If you are merging to a printer, Word displays the Print dialog (Figure 33). Set print options as desired and click the Print button.

Figure 33. The Print dialog.


or

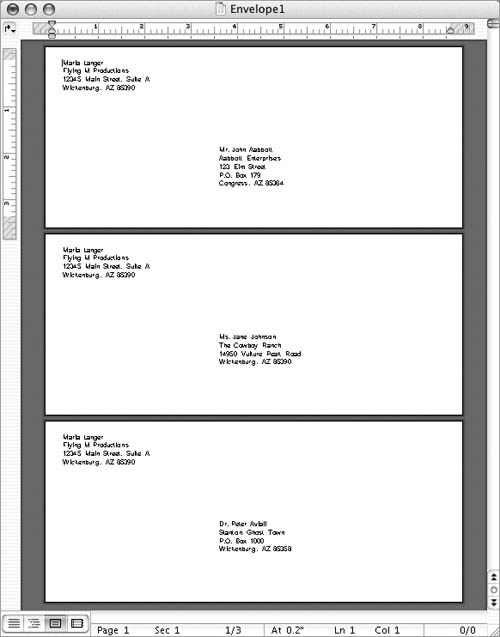
If you are merging to a new document, Word creates the new document (Figure 34) and displays it as the active window. You can edit, save, or print the document.

Figure 34. Envelopes merged to a new document.


Tip

  • I tell you more about printing in Chapter 6.


MIcrosoft Word 2004 for Mac OSX. Visual QuickStart Guide
ISBN: N/A
EAN: N/A
Year: 2003
Pages: 199

flylib.com © 2008-2017.
If you may any questions please contact us: flylib@qtcs.net