| One of the great things about digital capture is the way it lets you shoot and react quickly to a scene. When you combine this feature with the ability to create and combine multiple exposures seamlessly, you have a powerful process for creating and controlling a composition. The basic approach for taking multiple-exposure images is to set up the camera on a tripod to keep it stationary, and shoot multiple images without moving the camera position. By varying the exposure, lighting, or compositional vehicles, you can create and combine multiple versions of the same scene, with much greater control. The Basic Approach After setting up the tripod and framing the scene, I shot Figure  to expose for the background and Figure to expose for the background and Figure  to bring out some glow in the bottles. to bring out some glow in the bottles. Background Exposure
Nikon D2H
1/60 sec, f/9.0
Focal length 48mm

Bottle Exposure
Nikon D2H
1/160 sec, f/9.0
Focal length 48mm
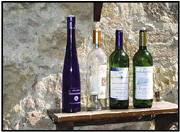
I opened both images in Photoshop, copied and pasted the files into one master file, and aligned the two layers. I added a mask to the top layer by clicking the Mask button in the Layers palette. I painted in the mask with a brush set to a black or white foreground color to reveal the glow of the bottles. The result of blending these two images is shown in Figure  . .
Bottle Composite 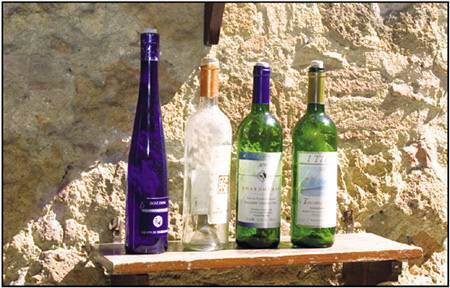
Options and Variables This multiple-exposure approach can be applied in a number of ways. The example of the bottles shows an outdoor candid setup, which allows you to control focus and exposure. You could also shoot a sunset, exposing for the foreground area first, waiting with the camera in place, and exposing the saturated sky areas later as they intensify. In Figure  , I set up my camera in Siena's main square and captured several images, capturing people walking through different areas of the square. , I set up my camera in Siena's main square and captured several images, capturing people walking through different areas of the square.
Campo Time Lapse 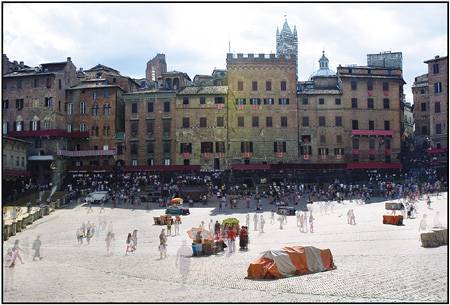
I brought each image into Photoshop as a separate layer. Because the images were shot on a tripod, I didn't have to make any adjustments to align the layers, I simply copied and pasted them into the composite image. I added a layer mask to each image and revealed or concealed the various figures using a transparent mask. Painting in Shadows and Light One of the most dramatic applications for using multiple exposures is in the studio. In Figure  , my intention was to create a soft, warm image that would support the overall ambiance of the lit candles. , my intention was to create a soft, warm image that would support the overall ambiance of the lit candles.
Tuscan Still Life 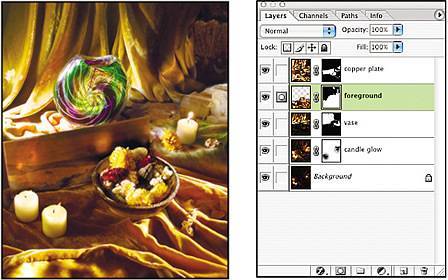
With the camera set up, I took a series of shots from the same vantage point, using a cable release and tripod. After exposing for the foreground area, I moved the lights to the front to light the rectangular copper plate behind the bowl and changed the exposure to bring out the detail there. I moved the lights again to backlight the vase, and shot another exposure to bring out the details in the glass. Finally, I lit the candles and shot two exposures, one to clearly delineate the flames, and another to capture the glow coming off the candles. I opened each image in Photoshop, selected it, and copied each into a single file as multiple layers. I added a layer mask to each layer by clicking the Mask icon at the bottom of the Layers palette. In some cases where I only wanted to add a small section of the layer, I added a mask that concealed the entire layer by holding down the Option key (Alt in Windows) as I clicked the Mask icon. This action generates a mask filled with black, which conceals the entire layer. This makes it easy to select a brush with white as the foreground color to paint in nothing but the desired area. Using this approach, I blended the candle flames, candles, copper plate, and vase areas together with masks, and I added a Curves adjustment layer to even out the warm yellow light effect I was after. I set the Curves options to RGB channel: Input: 190, Output: 195, Input: 50, Output: 38 Red channel: Input: 123, Output: 135 Green channel: Input: 187, Output: 172, Input: 93, Output: 87 Blue channel: Input: 121, Output: 97
Composition and the Landscape We've all seen our share of poorly composed landscapes, with centered subjects and cliché points of view. Follow the steps below to make your landscape compositions more interesting. Don't center the horizon vertically; experiment with high and low horizon placement. Use compelling foreground objects that draw the viewer into the scene. Consider the direction of the shadows and use them as pointers to lead the eye through the composition. Use the correct focal length to express the expansive grandeur of the scene or to capture close-up, intimate details.
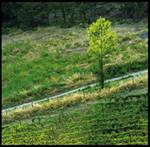
 Vineyard Sunset Vineyard Sunset
Nikon D2H
1/125 sec, f/5
Focal length 125mm
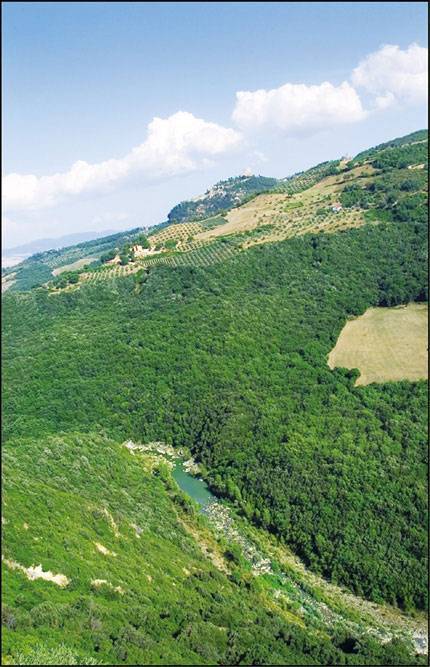
 Ripa d'Orcia Ripa d'Orcia
Nikon D2H
1/160 sec, f/13
Focal length 24mm
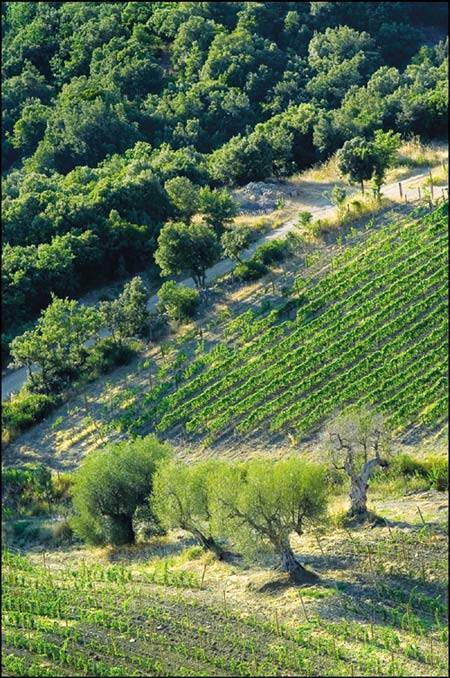
 Treeline Treeline
Nikon D2H
1/200 sec, f/7.1
Focal length 46mm
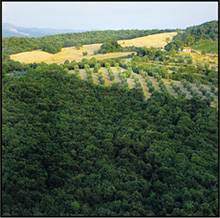
 Olive Trees Olive Trees
Nikon D2H
1/125 sec, f/7.1
Focal length 105mm
 Hay Bales Hay Bales
Nikon D2H
1/350 sec, f/10
Focal length 75mm

|
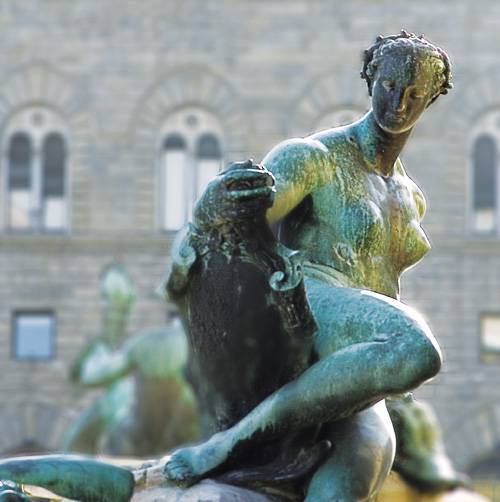
Composition and the Object Objects can be composed in a wide number of ways. Consider whether your intent is to feature the object itself, or just use it as an element of the overall composition. Use a symmetrical, centered composition to spotlight the object. Cropping the object partially out of the frame immediately draws attention to object details and texture, de-emphasizing the object as a whole. Use depth of field to present the object in sharp detail, blurring any background or foreground elements that might be distracting.
 Marconi Statue Marconi Statue
Nikon D2H
1/250 sec, f/7.6
Focal length 400mm

 Duomo Face Duomo Face
Nikon D2H
1/640 sec, f/4.8
Focal length 75mm

 Duomo Minstrels Duomo Minstrels
Nikon D2H
1/500 sec, f/4.5
Focal length 75mm

 Bronze Statue Bronze Statue
Nikon D2H (Image Flipped)
1/160 sec, f/6.3
Focal length 105mm
|
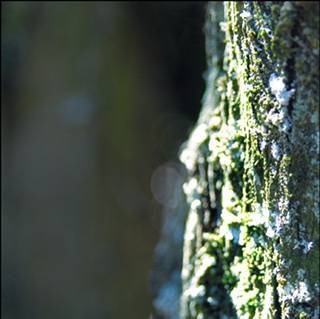
Compostion and Close-Up Photography Close-up photography is abstract by nature because we're generally not used to the shallow depth of field and enlarged textural images. This fact narrows our compositional options, although there are still some basic compositional tips you should keep in mind. Use color to your advantage because color often becomes the dominant aesthetic attribute in close-up compositions. Find an interesting angle and use the depth of field and focus plane to enhance it. Remember that the focal plane can be a diagonal pointer. Look for interesting textural pattern and variation, and frame the composition to emphasize it. Use the Rule of Thirds, offset center, or other composition techniques to guide your explorations as necessary.
 Fresco Detail Fresco Detail
Nikon D2H
1/6 sec, f/4.5
Focal length 75mm

 Two Trees Two Trees
Nikon D2H
1/400 sec, f/6.3
Focal length 75mm
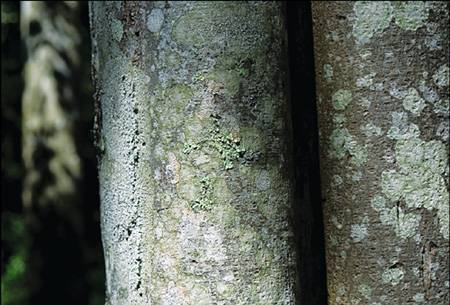
 Tree Bark Tree Bark
Nikon D2H
1/60 sec, f/4.5
Focal length 60mm
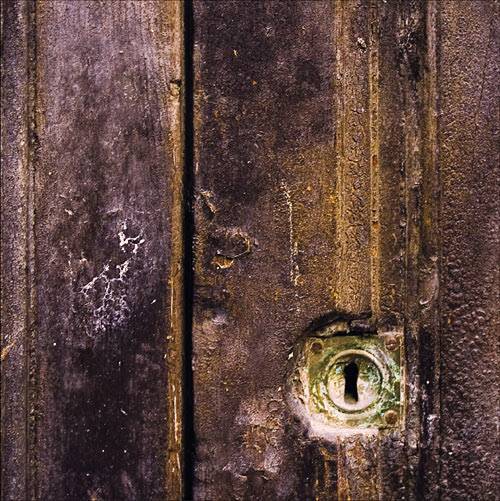
 Key Hole II Key Hole II
Nikon D2H
1/60 sec, f/4.5
Focal length 75mm
|
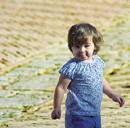
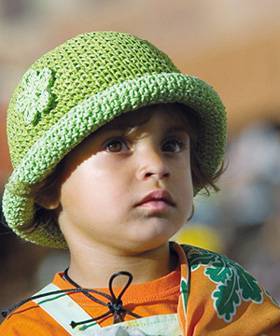
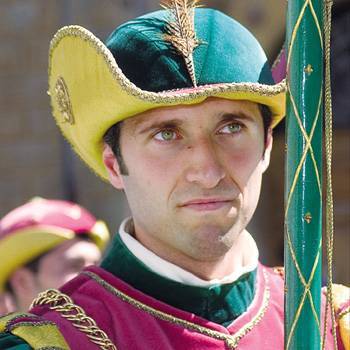
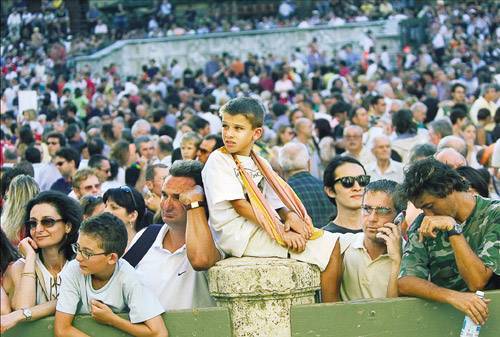
Compostion and People and Portraits People are very compelling subjects to whom everyone can relate. This makes shooting people and portraits both difficult and rewarding. Structure the composition to harmonize the body language, expression, and lighting within the geometry of the frame. Crop the body to emphasize clothing, texture, or specific limbs. Crop on a face to emphasize features such as skin, eyes, or mouth. Avoid casually framing a face straight on. Turn the subject's face a quarter turn to create depth and to articulate the form of the face and features.
 Siena Girl I Siena Girl I
Nikon D2H
1/200 sec, f/7.1
Focal length 400mm
 Siena Girl II Siena Girl II
Nikon D2H
1/200 sec, f/7.1
Focal length 250mm
 Palio Procession Palio Procession
Nikon D2H
1/100 sec, f/5
Focal length 75mm
 Palio Boy Palio Boy
Nikon D2H
1/80 sec, f/4.5
Focal length 80mm
|
|