Task 3 How to Improve Contrast with Curves
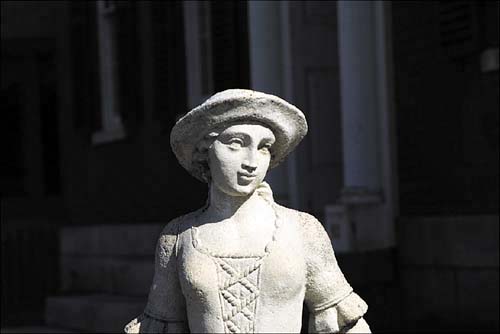
| Task 2 showed how to use the Levels dialog box to set the white point and the black point of an image, thus optimizing the tonal range for the image. You can use the Curves dialog box to increase the contrast in the image, allowing you to selectively enhance image details. If the image seems flat or lacking in contrast, curves can make a dramatic improvement. Curves provide complete control over every color and tonal area of your image, as opposed to the Levels command (see the preceding task) or the Shadow/Highlight command (see the next task), which automates edits to specific tonal areas. 1. Open the Info PaletteOpen the image you want to affect. Select Window, Info to open the Info palette. 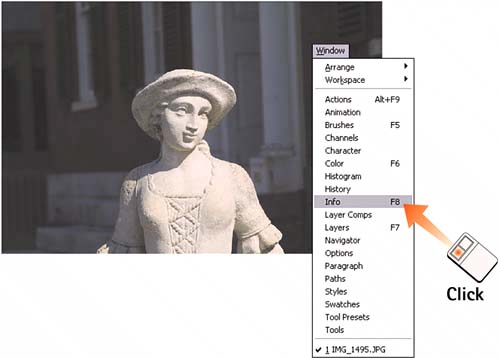 2. Open the Curves Dialog BoxSelect Image, Adjustments, Curves to open the Curves dialog box. 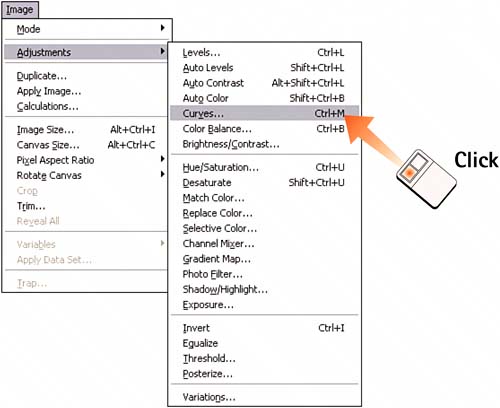 3. Set the Black and White PointsFollow the steps in Task 2 to set the black and white points for the image. Use the Eyedropper icons in the Curves dialog box rather than those in the Levels dialog box. 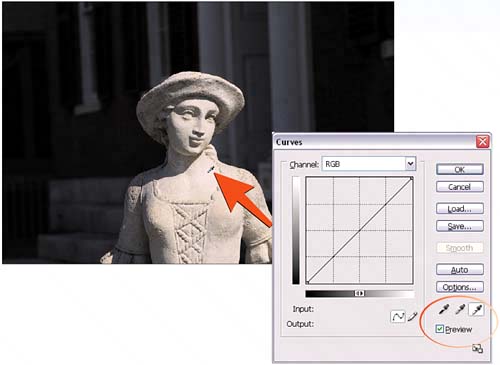 4. Darken ShadowsClick the lower-left portion of the diagonal line in the Curves dialog box to place a point on the line. If necessary, slowly drag the point you placed downward to darken the shadow areas in the image. 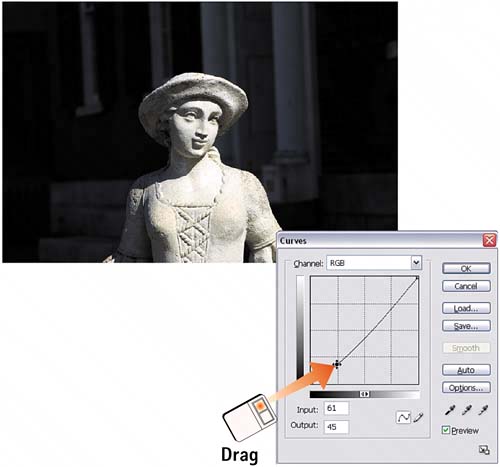 5. Brighten HighlightsClick the upper-right portion of the diagonal line in the Curves dialog box to place a point on the light-areas portion of the line. Slowly drag the point up to lighten the highlights, increasing the overall contrast, especially in the midtones. Click OK to apply the effect. 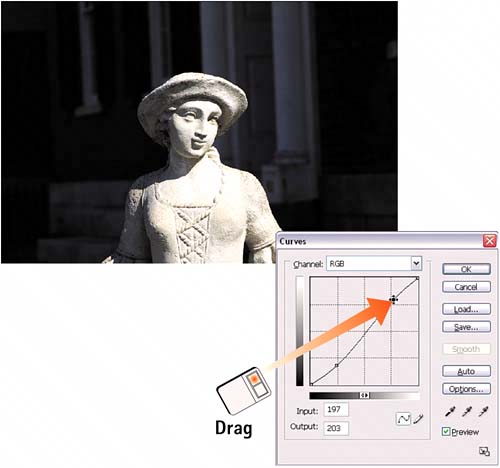 6. View ResultsCompare the final result of the Curves adjustment shown here to the image from step 1. Notice the improved detail and clarity in the adjusted image.
|
EAN: 2147483647
Pages: 184