Creating Handouts

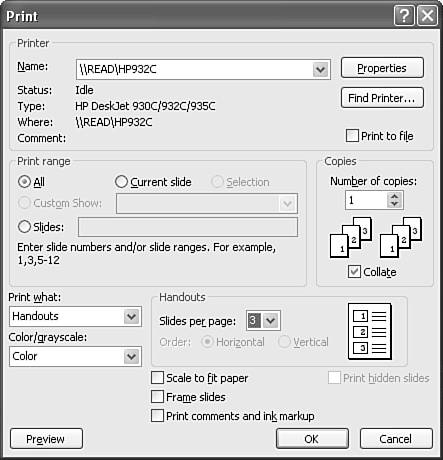
If you're bound and determined to provide your audience with printed handouts of your slides, you can at least conserve resources while helping viewers be actively involved by taking notes. Try these steps:

  1. Choose File, Print to access the Print dialog box.

  2. From the Print What drop-down list box, choose Handouts (see Figure 17.9).

    Figure 17.9. You can print multiple slides per handout to conserve paper or to provide note-taking areas.

    graphics/17fig09.jpg

  3. Choose 1, 2, 3, 4, 6, or 9 in the Slides per Page drop-down list box and preview the effect in the Handouts preview box. Note that choosing 3 slides also provides lined spaces for viewers to take notes.

  4. Choose Vertical to make slide numbers increment down the columns or Horizontal to increase them across rows.

  5. Click Preview to see a larger view of the printout (see Figure 17.10). Here you can also click the Landscape button on the toolbar to get a different arrangement of slides and notes areas (see Figure 17.11). Note that the notes areas are left blank and do not include your speaker notes.

If you want a little more editing control over the printout, you can also send the slide show to Word by using the Send to Microsoft Word feature (refer to Figure 17.6). This way you can use Word to add a comment or two and still leave room for viewers to take their own notes (see Figure 17.12).

Figure 17.10. Choosing three handouts per page also gives lined spaces for viewers to take their own notes.

graphics/17fig10.gif

Figure 17.11. You can print handouts in landscape as well as portrait orientation.

graphics/17fig11.gif

Figure 17.12. By using Microsoft Word, you can customize note-taking handouts.

graphics/17fig12.gif


Absolute Beginner's Guide to Microsoft Office PowerPoint 2003
Absolute Beginners Guide to Microsoft Office PowerPoint 2003
ISBN: 0789729695
EAN: 2147483647
Year: 2003
Pages: 154
Authors: Read Gilgen

flylib.com © 2008-2017.
If you may any questions please contact us: flylib@qtcs.net