Large-Format Transparency
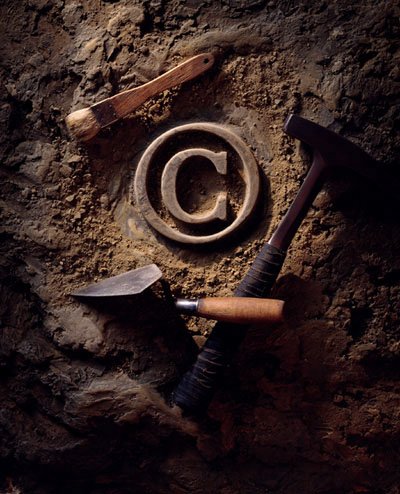
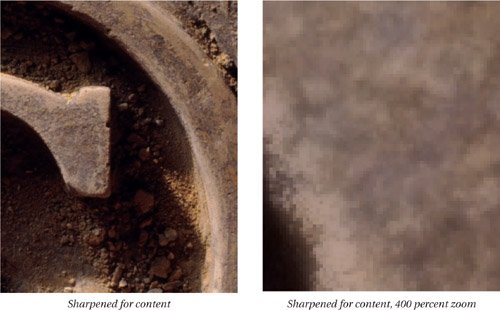
| This image was scanned from a 4 by 5 transparency at 1600 ppi, creating a file with pixel dimensions of 6950 x 8572. At 300 ppi, the full image would measure approximately 23 by 28.5 inches. Figure 6-1 shows a detail at 300 ppi, and a zoomed-in view that approximates 400 percent zoom on screen. The full image is shown in Figure 6-2. Figure 6-1. A large-format transparency scan, details
Figure 6-2. A large-format transparency scan
Looking at the zoomed-in view, I see some color noise that could cause problems with sharpening, so the first task is to reduce the color noise. With relatively mild color noise like this, it's tempting to overlook it and just start sharpening the imageat small reproduction sizes, the noise will largely be resampled out of existence. But the goal here is to produce a master file that can be printed at a wide range of sizes, so I deem the color noise reduction a wise investment of a couple of minutes. Since this is a flat file, I can simply duplicate the Background layer to provide a noise reduction layer. With a layered file, I'd use Option-Merge Visible. A light application of the Reduce Noise filter as shown in Figure 6-3 eliminates the color noise without adding too much softness and, more importantly, without adding artifacts that would be made more obvious by subsequent sharpening, which is the next stepsee Figure 6-4. Figure 6-3. After noise reduction with Reduce Noise Figure 6-4. Applying sharpening for source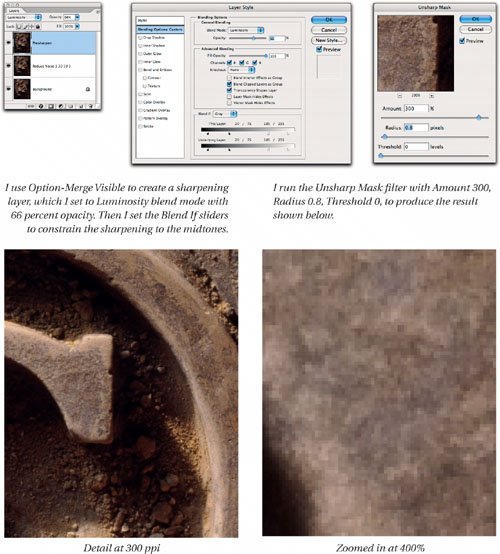 To sharpen for content, I make an edge mask which I apply to the sharpening layer as a layer mask. Then I apply Unsharp Mask to the masked layersee Figure 6-5. Figure 6-5. Applying sharpening for content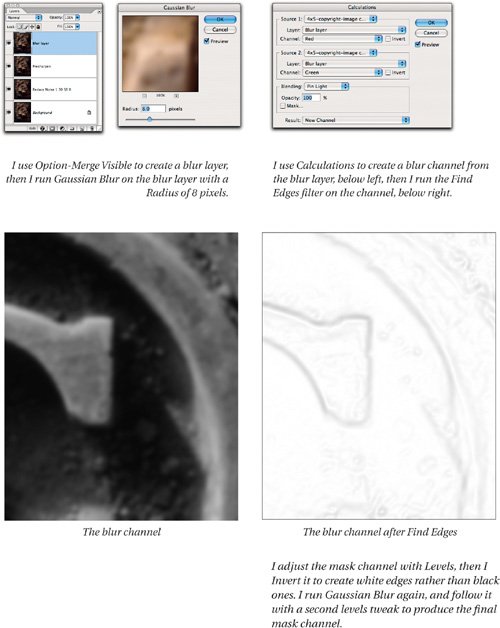 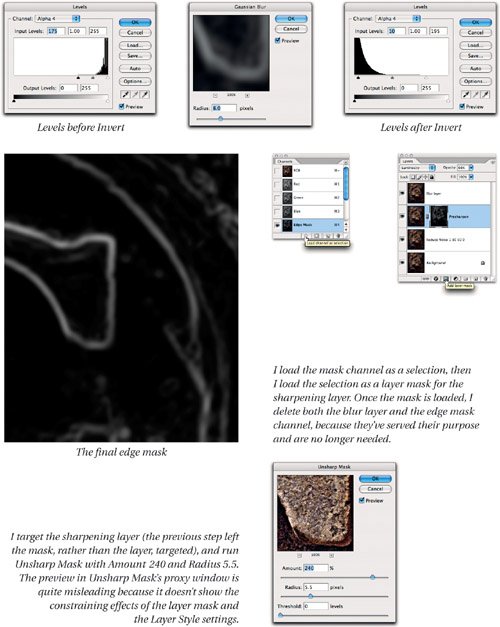
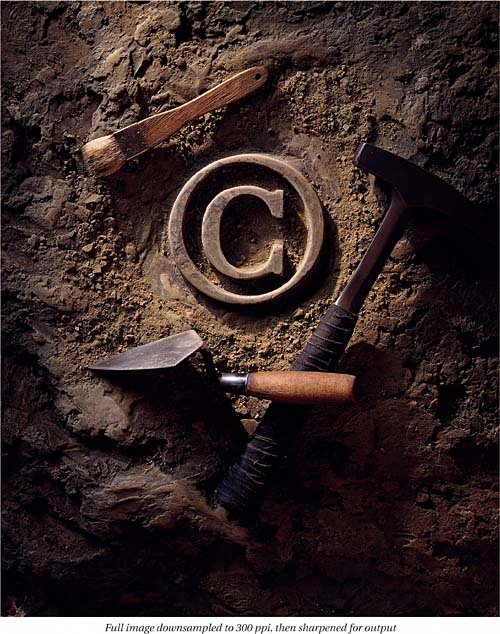
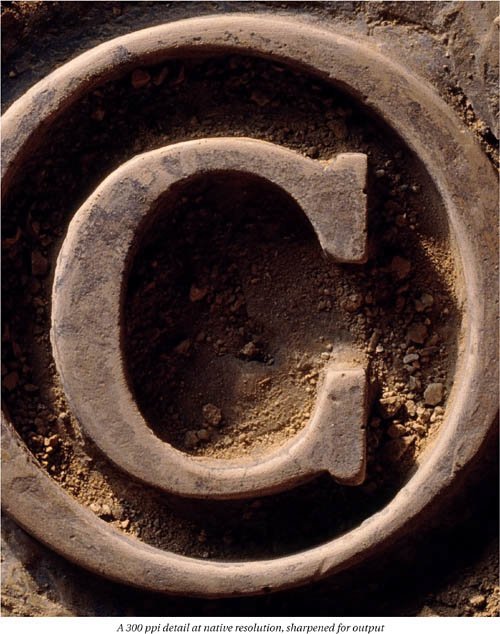
At 400 percent zoom, the wide edges look alarmingly crunchy. Remember, though, that on final output, the pixels that look scary will be very small indeed. Examining image pixels at high magnification (which some refer to in a derogatory fashion as "pixel-peeping") is a good way to learn what happens when you sharpen images, but tells you very little about final image appearance. For halftone output, 25 percent view is probably the least inaccurate on-screen view. The noise reduction, source sharpening, and content sharpening create a use-neutral version of the image that I can repurpose for different output sizes and resolutions. I always archive the layered files, but at this stage in the workflow I flatten a copy of the image and use the flattened copy for any further work. Output sharpening must always be done at the final print resolution, so if any resampling is required, it must be done before applying the output sharpening. For downsampling, I always use Photoshop's Bicubic Sharper option to downsample, while on the rare occasions that I upsample, I use Bicubic Smoother. The output sharpening for this book, applied to 300-ppi images, is quite simple. I create a layer using Option-Merge Visible, and set it to Luminosity blend mode at 66 percent opacity, using the Blend If sliders to protect the extreme highlights and shadows. Then I run Unsharp Mask with Amount 132 and Radius 1.5. Figure 6-6 shows the output sharpening settings, the entire image downsampled to 300 ppi, then sharpened for output, and a 300-ppi detail at the image's native resolution, also sharpened for output. Figure 6-6. Output sharpening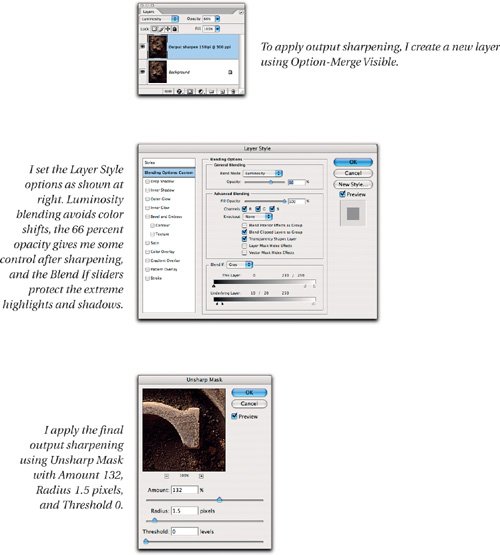
|

EAN: 2147483647
Pages: 71