Creating a New Project
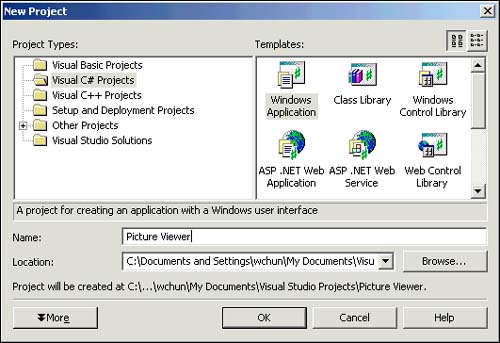
When you first start Visual Studio .NET, you're shown the Visual Studio Start Page tab within the IDE. Using this page, you can open projects created previously or create new ones (see Figure 1.1). For this quick tour, you're going to create a new Windows application, so click New Project to display the New Project dialog box shown in Figure 1.2.
Figure 1.1. You can open existing projects or create new projects from the Visual Studio Start page.
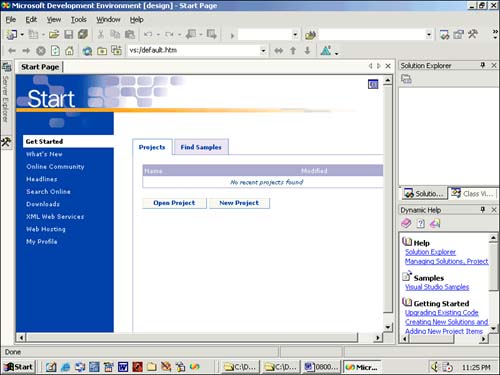
Figure 1.2. The New Project dialog box allows you to create many types of .NET projects.
 | If you don't see the Visual Studio Start page, chances are that you've changed the default settings. Hour 2, "Navigating C#," shows you how to change them back. For now, be aware that you can create a new project from the File menu in addition to using the techniques described in this hour . |
You can create many types of projects with C#, as well as with the other supported languages of the .NET platform. The New Project dialog box is used to specify the type of C# project you want to create. If the Visual C# Projects folder isn't selected, click it to display the C# project types and then make sure the Windows Application icon is selected (if it's not, click it once to select it). At the bottom of the New Project dialog box is a Name text box, in which you specify the name of the project you're creating; in the Location text box, you can enter the location in which to save the project files.
| | You should always set these values to something meaningful before creating a project, or you'll have more work to do later if you want to move or rename the project. |
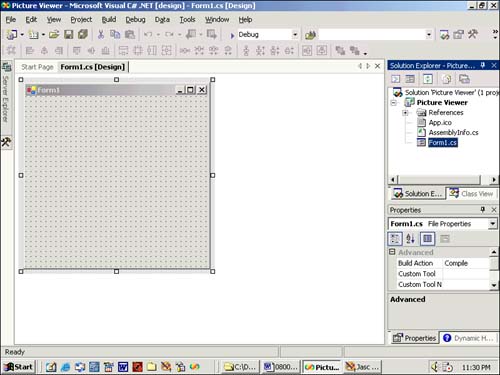
Type Picture Viewer into the Name text box to name your project. There's no need to change the location where the project files are to be saved at this time, so go ahead and create the new Windows Application project by clicking OK. C# creates the new project, complete with one form (design window) for you to begin building the interface for your application (see Figure 1.3).
Figure 1.3. New Windows applications start with a blank form; the fun is just beginning!
Your C# environment may look different from that shown in the figures of this hour, depending on the edition of C# you're using, whether you've already played with C#, and other factors such as the resolution of your monitor. All the elements discussed in this hour, however, exist in all editions of C#. (If your IDE doesn't have a window displayed that is shown in a figure, use the View menu to display the window.)
| | To create a program that can be run on another computer, you start by creating a project, and then you compile the project into a component, such as an executable (a program a user can run) or a DLL (a component that can be used by other programs and components ). The compilation process is discussed in detail in Hour 22, "Deploying a Solution." The important thing to note at this time is that when you hear someone refer to creating or writing a program, just as you are creating the Picture Viewer program now, they're referring to the completion of all steps up to and including compiling the project to a distributable file. |
| Top |
EAN: 2147483647
Pages: 253
- Chapter III Two Models of Online Patronage: Why Do Consumers Shop on the Internet?
- Chapter IV How Consumers Think About Interactive Aspects of Web Advertising
- Chapter V Consumer Complaint Behavior in the Online Environment
- Chapter XIII Shopping Agent Web Sites: A Comparative Shopping Environment
- Chapter XIV Product Catalog and Shopping Cart Effective Design