Using Dreamweaver Code Generation
| The data used by the Orange Whip Studios applications hasn't been set up yet, so for this first application we'll use one of the example databases that is installed with ColdFusion, and we'll display a list of available art items from an art database. If you haven't already done so, open Dreamweaver. Your screen should look something like the one shown in Figure 4.1, although you may have different panels open. You can expand and collapse panels as needed by clicking the little arrow to the left of the panel name; when the arrow points downward, the panel is expanded; when the arrow points right, the panel is collapsed. Figure 4.1. Dreamweaver features a large editor window and many surrounding panels.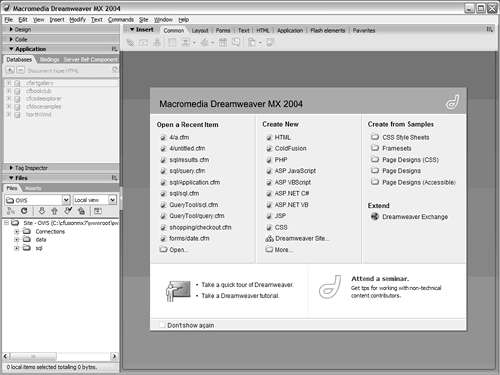 The most important panel for developers is the Files panel, which provides access to all your code, so make sure you have Files expanded and ready for use. Preparing to Create an ApplicationBefore you can start using Dreamweaver to write ColdFusion code, the following steps must have been performed:
Make sure that the ows site (created back in Chapter 2) is open. Creating a Work Directory and FileAs explained previously, to simplify organizing the code created in this book, each chapter's code goes in its own directory. To create a directory for this chapter, do the following:
TIP Remember these steps, as you'll need to repeat them for most of the chapters in this book. Now you'll create a file to display the art list. The file will go in the new 4 directory, and will be named art.cfm.
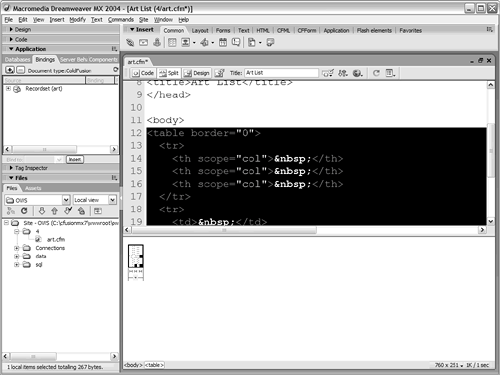
TIP You can also create files by selecting New from the File menu, or by pressing Control-N. Let's name the file right away (with an HTML name, the one that appears in the Browser title bar). Above the editor window is a toolbar, and one of the options is a field for the HTML title. By default it will be Untitled Document, so change it to Art List by typing that text in the field. Press Enter to update the title; the HTML below will reflect the change as seen in Figure 4.2. Figure 4.2. The editor window contains your code and reflects any changes made using toolbars or menu options.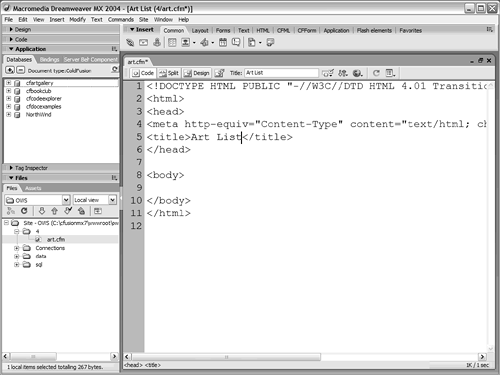 Saving, Closing, and Opening FilesBefore you go any further, let's review how to save, close, and open files. To save a file, do one of the following:
TIP If a file has changed since the last save and therefore needs saving again, an asterisk will appear after its name in the file tab. To close a file, do one of the following:
TIP Windows users can press Control-F4 to close an open file. To open a file, do one of the following:
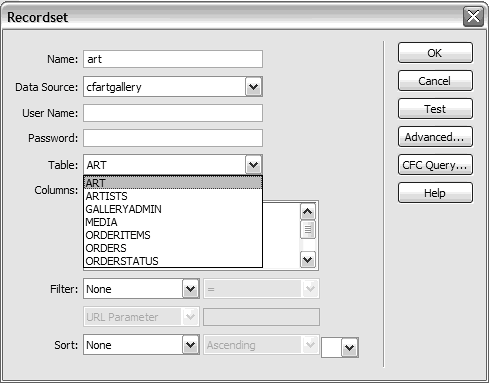
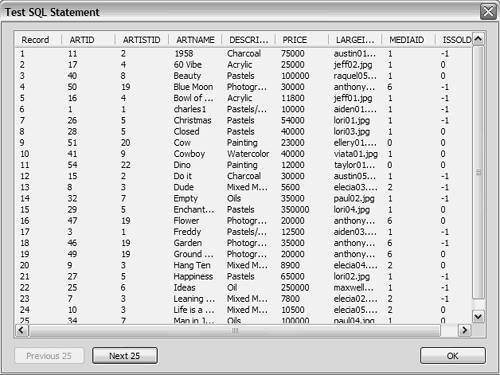
As you changed art.cfm (you added the HTML title), save the file. Testing the PageNow that you have created a page, you should make sure it is accessible via a Web browser. Open your browser and enter the URL to the page. If you are using the integrated HTTP server, the URL will be: http://localhost:8500/ows/4/art.cfm or http://localhost:8300/ows/4/art.cfm If you are using a local external Web server, the URL will probably be: http://localhost/ows/4/art.cfm The file displayed will be empty (you've put nothing in it), but as long as you don't receive a browser error, and the browser title bar reflects the specified title, you'll know it's working properly. You can now create ColdFusion pages in Dreamweaver and access them via ColdFusion using your browser. TIP Windows users can launch a browser directly from within Dreamweaver by pressing F12. Creating an Application in DreamweaverMost of this book teaches ColdFusion coding, so you won't be using Dreamweaver's code-generation (codegen for short) features very much. However, to create the art list application quickly (without writing any code at all), you'll let Dreamweaver do the work. The application is rather simple; it displays a list of available art items along with the description and price for each. As this list could include lots of items, the application displays just ten at a time, so you'll need navigation options to move from page to page, as well as to the start and end of the list. As you won't be coding manually right now, you'll switch Dreamweaver from Code view to Code and Design view (you could use Design view, but it's kind of fun to see Dreamweaver writing the code for you). To do so, click the Show Code and Design Views button on the toolbar above the editor window (it's the second button from the left, the one with the word Split on it). TIP If you're having a hard time finding the buttons to switch views, just select the desired view from the View menu. Dreamweaver will display a split screen, as seen in Figure 4.3, with the code at the top and a design window beneath it. As you add design elements and features at the bottom, Dreamweaver will update the code above. Figure 4.3. Dreamweaver features a Code view, a Design view, or a Code and Design view in split-screen mode.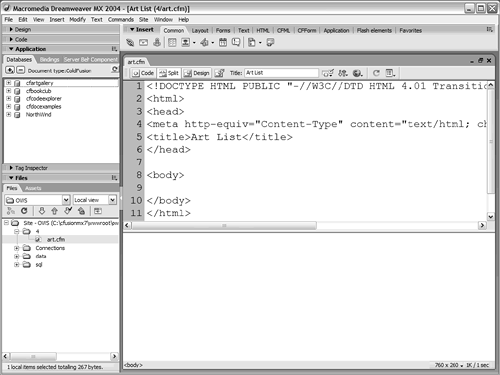 Creating a RecordsetWe'll be displaying the art list retrieved from a database, and so the first thing you need to do is to tell Dreamweaver how to get that data. In Dreamweaver this is done by creating a Recordset.
You'll now create a recordset that retrieves all items sorted alphabetically by title:
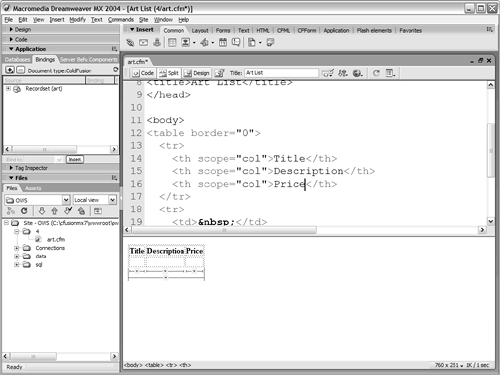
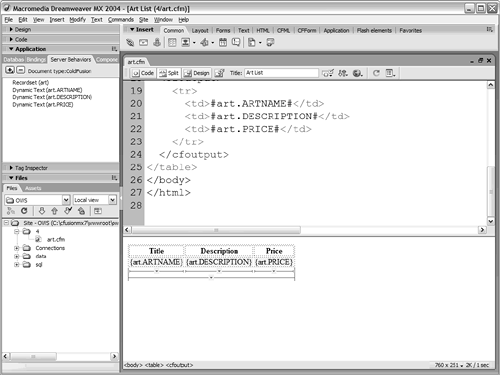
This ColdFusion page won't display the art list yet, but it now knows how to obtain that information from the database. Displaying Dynamic DataNext, you want to display the data. You'll use an HTML table with a header above each column, and you'll let Dreamweaver create that table for you:
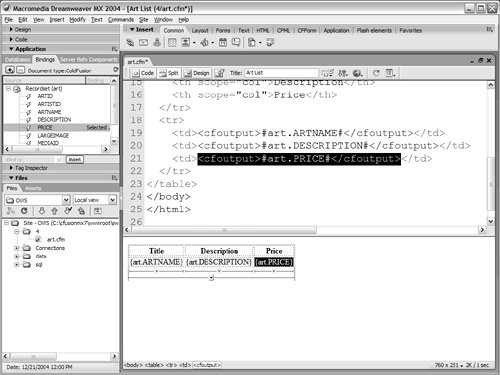
NOTE If you select any code in the Code window, that highlights the corresponding design element in the Design window. Similarly, selecting any design element in the Design window highlights its code in the Code window. Next you'll add the titles and database columns to the HTML table:
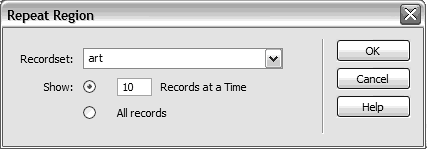
Save your changes, and reload the page in your browser (refer to the "Testing the Page" section earlier in this chapter if you need help). You should see output similar to that in Figure 4.11a single item listed beneath the specified headers. Figure 4.11. When building dynamic content, keep checking the results in a browser as you work.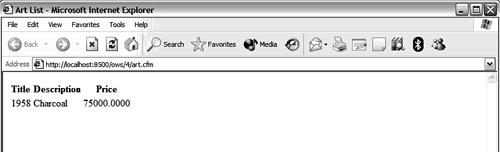 Displaying Multiple RowsSo far, so goodbut the page displayed just the first item, and as Figure 4.6 above shows, the database actually contains lots more. So why did only the first item display? Because you didn't tell Dreamweaver to show any more. Your next task is to define a Repeat Region, a block of code or design that will repeat once per row retrieved. Here are the steps:
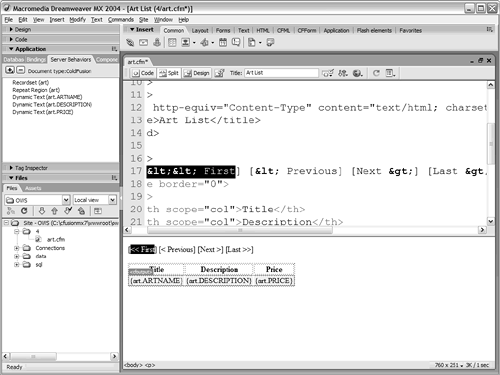
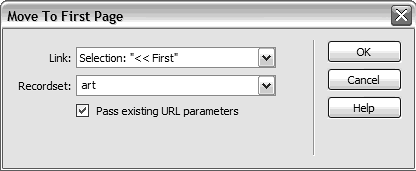
Save your changes and refresh the browser to test your new code. You'll now see the first ten rows as seen in Figure 4.14. Figure 4.14. Refresh your browser anytime you want to test changes you've made to the code.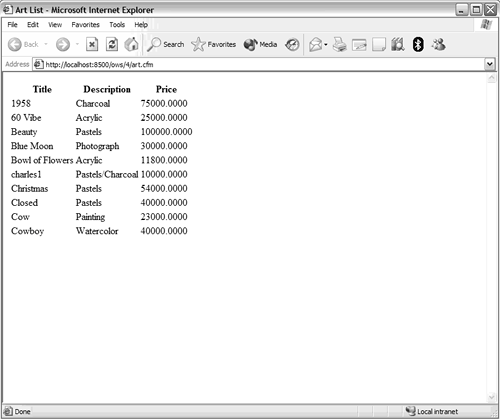 Implementing Page NavigationThis new version is much better, but now you need a way to get to the next page or any other page. Dreamweaver can generate the code for this too, using Recordset Paging behaviors. Here are the steps:
Now save the page and test it once again in your browser. As seen in Figure 4.17, the page displays the first ten items, and navigation links allow you to move between pages and jump to the first or last page. Figure 4.17. Always test all options and links in your application.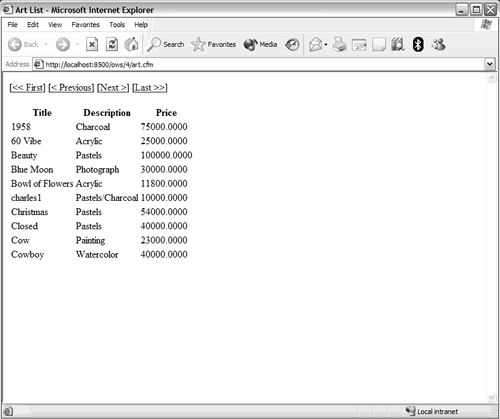 And there you have ityour very first ColdFusion application. If you look at the code window, you'll see that the entire application is about 40 lines of code, not bad at all for this much functionality (and even better considering that you didn't have to write any of the code yourself). |
 If you did not complete these steps back in Chapter 2, "Introducing Macromedia Dreamweaver MX 2004" please refer to that chapter before continuing.

EAN: N/A
Pages: 282