Columnar Reports
In the section on using the Report Wizard earlier in this chapter, the sample columnar report produced by the AutoReport: Columnar selection didn’t look too promising. However, there is one type of report that benefits from a simple top-to-bottom format: a name and address report, say for use as an address book. Starting with the selection of Design View in the New Report dialog, I created a columnar report based on qryEmployees and placed a few fields on it:
-
EmployeeID
-
FirstNameFirst
-
DepartmentName
-
Title
-
EmailName
-
FullAddress
Concatenated name and address fields are especially useful on reports, because they automatically eliminate spaces and blank rows between name and address components.
I ran the LNC Rename add-in from the Name property of the report’s Detail section to rename all controls, changed the captions of some labels, and saved the report as rptEmployeeAddressBook. The resulting report is shown in Figure 6.18.
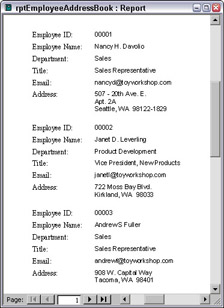
Figure 6.18
For an address book report, it would be nice to have the records sorted by the LastNameFirst field, and to have large letters (A, B, and so forth) setting off each group of names. To do this, switch to Design view and open the Sorting and Grouping dialog. Create an expression for the first sort level as follows: Select the LastName field for the first line, set the Group Header property to Yes, select Prefix Characters for its Group On property, and 1 as the group interval. Finally, to make sure that the big letter won’t print on the last line of a page, set the Keep Together property to With First Detail (see Figure 6.19).
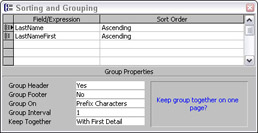
Figure 6.19
Select the LastNameFirst field for the second line, and set its Group Footer property to Yes, and the Keep Together property to Yes. Close the Sorting/Grouping dialog, and place a textbox in the LastName group header, with a control source of =Left([LastName],1). Make it several sizes larger than the main font (I made it 12 pt and bold). In the LastNameFirst footer section, place a horizontal line to divide the addresses.
Next, the report needs to be formatted for the appropriate paper size for printing pages that can be put into a Junior-size DayTimer, Filofax, or similar small notebook, which takes 3.75" 6.75" paper. Unlike Outlook, Access doesn’t have a wide selection of standard paper sizes to pick from, so you need to create a custom size for this purpose. The exact details of how to do this depend on your printer. You can access the printer’s properties sheet from the Properties button on the Access Page Setup dialog. For my HP LaserJet 3200 printer, a custom size is created in the printer’s properties sheet’s Custom Paper Size dialog, as shown in Figure 6.20.
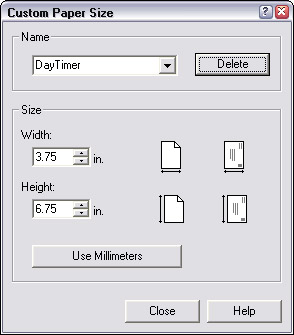
Figure 6.20
Save the custom paper size, and then select it in main printer properties sheet dialog (shown in Figure 6.21).
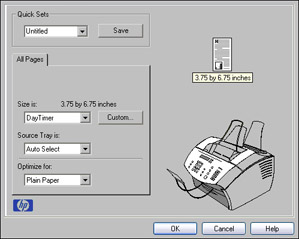
Figure 6.21
After closing the printer properties sheet, the selected size appears in the Page Setup dialog, as shown in Figure 6.22.
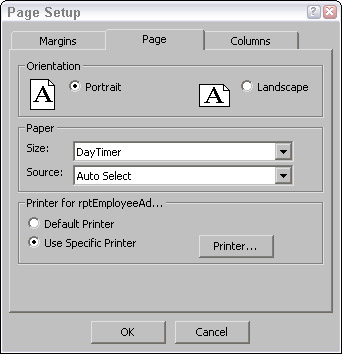
Figure 6.22
After selecting this small paper size, you won’t see Access resizing the report to match the selected paper size; you have to do this yourself. I made the report’s margins .5 inches all around, in the Page Setup dialog, and the report width 2.75 inches (I also made the divider line in the LastNameFirst footer 2.75 inches wide). The report doesn’t need a page header or footer, so I turned them off from the View menu. Figure 6.23 shows the G and H pages of this report. You will get either two or three addresses per page, depending on how long the address is, and whether there is a new letter section. The Keep Together property settings prevent an address from being split over two pages, and also prevent the big letter from printing at the bottom of a page.
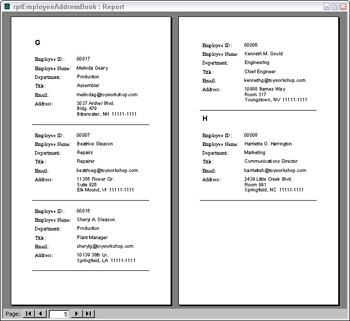
Figure 6.23
EAN: 2147483647
Pages: 124