Improving Your Outlook
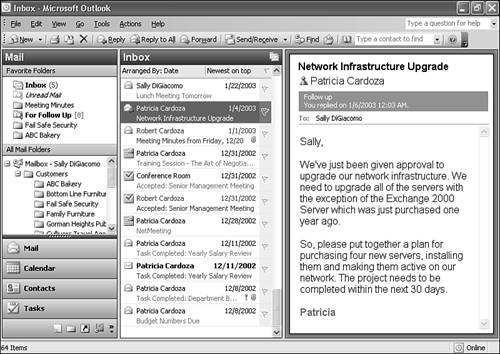
| Now that you know how to create, assign, and track your tasks, we'll look at a complicated business project made easier through the use of tasks. The project you're responsible for is a network infrastructure upgrade project. On a Friday afternoon, you receive the email shown in Figure 14.26. Figure 14.26. You have 30 days to complete a network infrastructure upgrade.
After you get over your initial panic, you start to plan. You need to make a listing of all the various actions you need to take to complete this project:
All the previous activities are good candidates for tasks. Some will have subtasks, and some will be assigned to others in your department. Start by entering all the tasks into your Tasks folder. Give all these top-level tasks the same category: Network Infrastructure Upgrade. Switch your Tasks view to Active Tasks to display Figure 14.27. Figure 14.27. Your Tasks folder now has heading tasks entered.
Now that you've entered all the top-level tasks, you can begin to break all of those tasks down into smaller, more manageable subtasks. For example, determining ideal server configuration might entail other tasks such as running the SQL Server sizing tool to determine proper size for a SQL Server serving 100 users with a 2GB database. Determining other necessary network upgrades might entail inventorying the current implementation of network hubs and switches to see how much capacity you have for growth as well as ensuring that you have adequate power available for the new machines. After you've broken down your tasks, your Tasks folder should look something like Figure 14.28. Figure 14.28. Enter all subtasks for each master task.
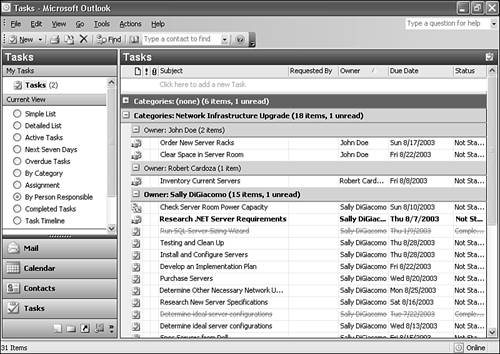
Now that you've entered all your tasks, you can start delegating responsibilities to others in your organization. After delegation, you can view your Tasks folder grouped by category and assignment to display Figure 14.29. Figure 14.29. Grouping can help you evaluate progress of the project.
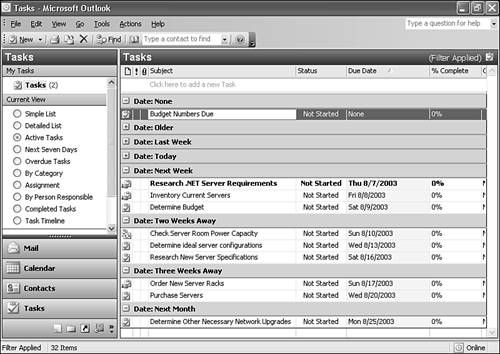
It might be a good idea to print out your task list on a regular basis and post it in a common location. Doing this can help everyone involved with the project see what has been accomplished and what's still left to be completed. Experiment with different views to determine the most effective method of displaying the data. A Timeline view is helpful to show how different tasks relate to each other. You cannot purchase the new server hardware without determining your budget or your ideal hardware configurations. A Timeline view of tasks, shown in Figure 14.30, can illustrate a rudimentary form of dependency information. Outlook's task features aren't as sophisticated as Microsoft Project, but they can be used to display some basic dependency information. If one task falls behind, you must move the subsequent tasks out, delaying the end of your project. Figure 14.30. A Timeline view of your tasks can help see dependency information.
As tasks are completed, either by you or by an assignee, mark them as complete. That way you always have an up-to-date view of the remaining tasks for this project. Instruct your task assignees to update their progress on tasks daily so that you can see whether they're falling behind or need assistance. You can use some of the advanced task features, such as Total and Actual Work, for additional task information. When multiplied by the hourly rate of the task assignee, these numbers can help you understand the total cost of the project. Using Outlook's task capabilities can help break a daunting project into smaller, manageable pieces and help you accomplish those smaller tasks in a timely fashion. |

EAN: 2147483647
Pages: 426