Emailing Photos


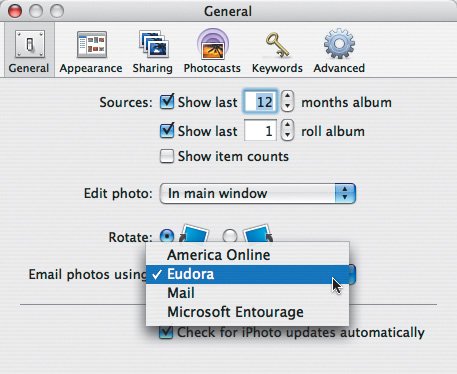
For many people, email is the preferred method of receiving photos from friends.

To configure iPhoto for email:

  • In the General pane of iPhoto's Preferences window, choose your email program from the Email Photos Using pop-up menu (Figure 8.15).

    Figure 8.15. In the General pane of iPhoto's Preferences, choose your email program from the Email Photos Using pop-up menu.

    iPhoto changes the Email button's icon to match your email program.

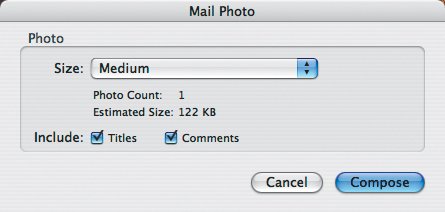
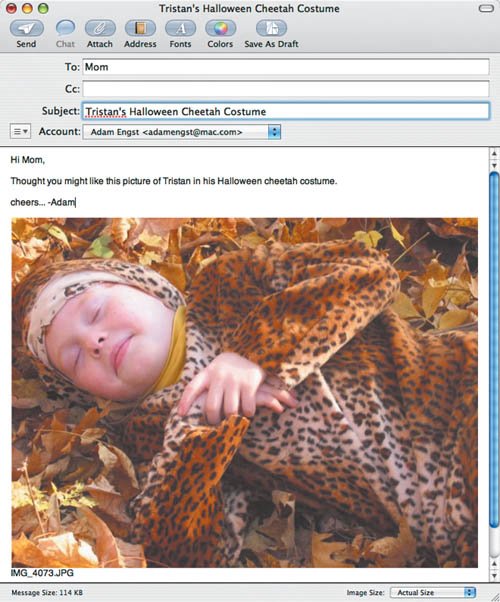
To send photos via email:

1.

Select the photos you want to send.

2.

Choose Email from the Share menu, or click the Email button.

iPhoto displays a dialog with options for your photos (Figure 8.16).

Figure 8.16. Make sure to set a reasonable size for your photos before sending them via email or they'll take too long to transfer for you and your recipient.


3.

Choose the maximum size you want the photos to appear from the Size pop-up menu, and, if you want to include titles and comments, select their checkboxes.

4.

Click the Compose button.

iPhoto exports the pictures (converting them to JPEG), creates a new message, and attaches the photos, which appear inline only in Apple's Mail (Figure 8.17).

Figure 8.17. Here's what the message looks like in Mail. You don't get much control over the layout, but don't worry, because there's no way of telling what it will look like on the receiving end anyway.


Tips

  • If you send too many photos, or don't shrink their sizes enough, your message may be too large to be delivered.

  • You can also drag photos from iPhoto into some email programs, but that sends the photos at full size.


iPhoto 6 for Mac OS X. Visual QuickStart Guide
iPhoto 6 for Mac OS X
ISBN: 0321423313
EAN: 2147483647
Year: 2004
Pages: 225
Authors: Adam Engst

flylib.com © 2008-2017.
If you may any questions please contact us: flylib@qtcs.net