Automating Master/Detail Page Creation The Master Detail Page Set application object enables you to build a master/detail page set in one operation. You open a page and define a recordset, and then insert the application object. The application object enables you to use one dialog to define recordsets for both the master and detail pages, create a detail page, and add HTML tables to both pages to display the recordset data. The application object adds server behaviors to display the records per your directions in the dialog. Although you can easily change the background color or text formatting of the master and detail pages, if you want to make changes to the way the pages display the recordset data, you will likely need to make changes to several server behaviors. For example, if you want to display the master page data in a dynamic form menu rather than a dynamic table, it's quicker and easier to build the pages from scratch using server behaviors rather than modifying the pages created by the application object. In this section, you'll create a master/detail page set for all the records in the cafetownsend LOCATIONS table. The cafetownsend database is the sample database included with Dreamweaver 8. For more details on this database, see "Using Server Behaviors" earlier in this chapter. The following task uses ColdFusion, but you can also use ASP, PHP, or JSP. The Master Detail Page Set application object is not available for ASP.NET. To create the recordset for the master/detail page set: 1. | Open a new ColdFusion page (File > New > Dynamic page > ColdFusion). Save the page as master2_cafe.cfm.
| 2. | In the Application panel group, click the Bindings tab to access the Bindings panel.
| 3. | Click the plus button, and from the menu choose Recordset (Query) (Figure 10.25).
Figure 10.25. Create a new recordset by selecting Recordset (Query) from the Bindings panel menu. 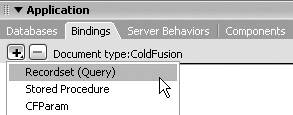
The Recordset dialog appears (Figure 10.26).
Figure 10.26. Use the Recordset dialog to create a recordset that includes all the fields in the LOCATIONS table. 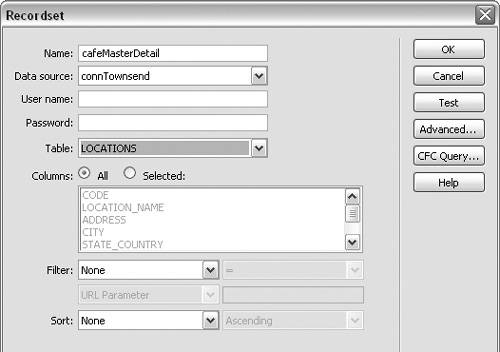
| 4. | In the Name field, enter a name for the recordset. Choose a name that will help you to identify the recordset later.
For this exercise we're using the cafe-townsend database, so we named our recordset cafeMasterDetail.
| 5. | From the Data Source drop-down list, select the name for your connection to the sample cafetownsend database. Our connection is named connTownsend.
If you're using ASP or PHP, this field will be called Connection instead of Data Source.
| 6. | In the User Name and Password fields, enter a user name and password if required by your database administrator. Otherwise, leave these two fields blank.
| 7. | From the Table drop-down list, choose LOCATIONS.
| 8. | In the Columns section, select the All radio button.
You've added all the fields in the LOCATIONS table to the recordset.
| 9. | Click OK to save the recordset and close the dialog.
| 10. | Save the page.
In the following task, you'll insert the application object and complete the master/detail page set.
|
To create a master/detail page set using an application object: 1. | Open master2_cafe.cfm or the dynamic page you created in the preceding task.
| 2. | Choose Insert > Application Objects > Master Detail Page Set (Figure 10.27).
Figure 10.27. Use the Insert menu to select the Master Detail Page Set from the Application Objects menu. 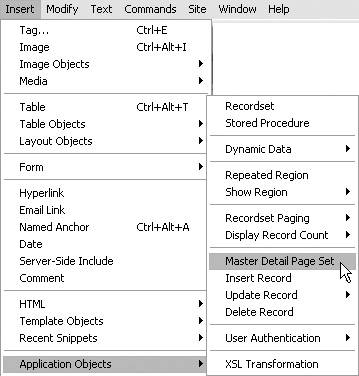
The Master Detail Page Set dialog appears (Figure 10.28).
Figure 10.28. Configure your page set in the Master Detail Page Set dialog. 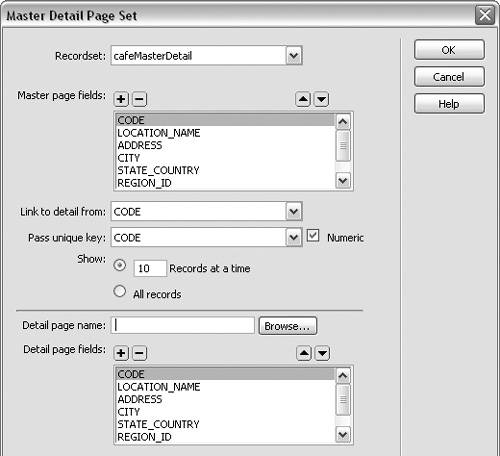
| 3. | From the Recordset drop-down list, select cafeMasterDetail.
In the Master Page Fields section, all the fields of the LOCATION table are listed.
| 4. | Use the minus (-) button to delete fields from this list until only the CODE, LOCATION_NAME, CITY, and STATE_COUNTRY fields are left (Figure 10.29).
Figure 10.29. Select fields to display on the master page in the Master Page Fields section of the dialog. 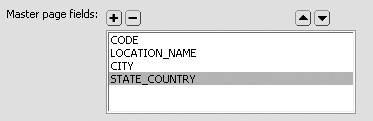
If you want to change the order of the fields, use the up and down arrow buttons. The record fields will be added to the master page table in this order.
| 5. | From the Link to Detail From drop-down list, select CODE (Figure 10.30).
Figure 10.30. Select a field for the link in the Link to Detail From drop-down list, and select a field for the URL parameter in the Pass Unique Key drop-down list. Choose the number of records to display on the page in the Show field. 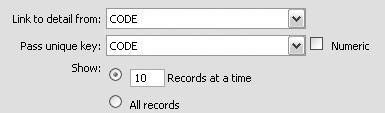
You've just selected the CODE field for the link from the master page to the detail page.
| 6. | From the Pass Unique Key drop-down list, select CODE. If you're using ColdFusion and the Numeric box is checked, uncheck it. If you're using ASP or PHP, there is no Numeric box in this dialog.
You've just selected the CODE field for the URL parameter that's added to the master page link.
| 7. | In the Show section, select the Show 10 Records at a Time radio button.
The number 10 is entered in this box by default, but you can change that if you want to show a different number of records. Otherwise, the master page will display ten records at a time. The application object will automatically add navigation links and additional master pages, since there are more than ten records in the LOCATIONS table.
| 8. | In the Detail Page Name field, enter a name for the detail page (Figure 10.31).
Figure 10.31. Enter a name for the detail page in the Detail Page Name field. Select fields to display on the detail page in the Detail Page Fields section of the dialog. 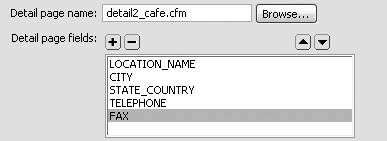
For this exercise, we used the name detail2_cafe.cfm to correspond to the name we chose for the master page (master2_cafe.cfm).
| 9. | In the Detail Page Fields section, all the fields of the LOCATION table are listed. Use the minus (-) button to delete fields from this list until only the LOCATION_NAME, CITY, STATE_COUNTRY, TELEPHONE, and FAX fields are left.
If you want to change the order of the fields, use the up and down arrow buttons. The record fields will be added to the detail page table in this order.
 Tip Tip
| 10. | Click OK to complete the master/detail page set and close the dialog. Save the pages.
| 11. | Choose File > Preview in Browser to preview the master page (Figure 10.32), and then click a link to preview a detail page (Figure 10.33).
Figure 10.32. A preview of the master page displays in a browser window (Microsoft Internet Explorer). 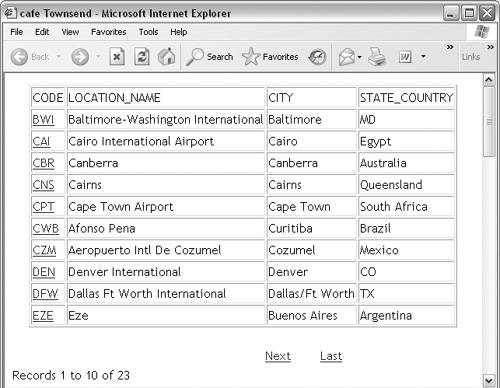
Figure 10.33. The detail page in Internet Explorer. 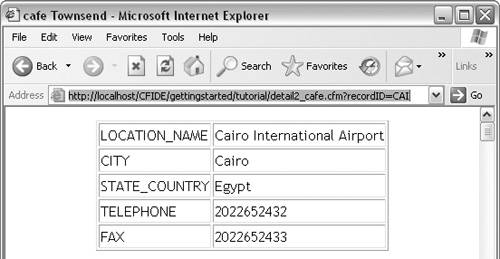
Navigation links and a record counter have been automatically added to the master page, since there are more than ten records in the recordset.
|
|