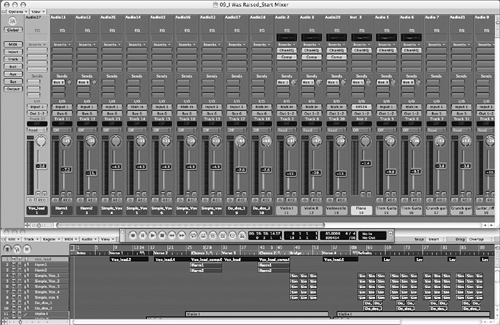
| The Track Mixer has two display modes that are used to access the channels of a mix: Global view and Track view. Understanding the difference between the two will help you navigate through your mix efficiently. In this first exercise you will open the song file to use throughout the lesson. 1. | Choose File > Open.
| 2. | In the file selector, open ~ > Music > Advanced Logic 7_Song Files > Lesson 09 Project Files > 09_I Was Raised_Start.lso.
| 3. | Play the song to familiarize yourself with the material, clicking the Stop button when you are finished.
|
Using the Track View The Track Mixer's Track view is often referred to as an adaptive mixer. In this display mode, Logic creates a mixer setup, adapted from the Arrange window's Track List, reflecting aspects such as track order, track names, and assigned colors. Due to this relationship, the Track Mixer's Track view will always reflect the Arrange window's Track List, even when new Objects are created and assigned. Track view probably will be the mode you use most often when mixing, as it allows you to focus on those elements that are directly involved with the song's arrangement. With the song opened, you can observe firsthand the relationship between the Arrange window and the Track Mixer's Track view by rearranging the track order for a more ergonomic mixing setup. 1. | Bring up Screenset 2.
This screenset contains a Track Mixer with a small Arrange window and Transport.
 NOTE You add a Track Mixer to an existing screenset by choosing Windows > Track Mixer. | 2. | In the Track Mixer window, use the scroll bar to examine the channels used for the song.
This is a fairly large session, with 30 channels displayed side by side.
| 3. | In the Arrange window, use the vertical scroll bar at the far right to examine the tracks in the arrangement.
There are 30 tracks listed here, displayed vertically in the Track List.
| 4. | Try selecting different tracks in the Track Mixer by clicking the name area at the bottom of each channel strip.

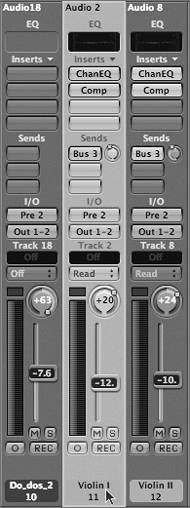
When a channel is selected, it is highlighted with a light green border. Note that the same track is highlighted in the Arrange window, which automatically scrolls to display the track selected in the Track Mixer.
| 5. | Try selecting other tracks in the Track List of the Arrange window.

When a track is selected in the Arrange window's Track List, the Track Mixer automatically scrolls to display the selected channel.
| 6. | In the Track Mixer, select the Drum Overheads channel (Track 25).
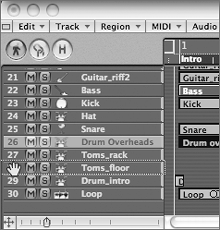
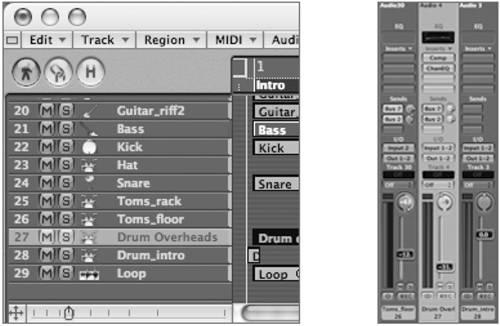
Note that this channel is located between the Snare and Toms_rack channels. It would be more conveniently located in the mixer next to the other stereo drums tracks (Drum_intro and Loop).
You can move the track within the Arrange window while observing the changes in the Track Mixer.
| 7. | In the Arrange window's Track List, place the pointer over the Drum Overheads track (Track 26). When you see the pointer change to a hand, drag the track downward, dropping it on top of the Toms_floor track.

The track order shifts in both the Arrange window and the Track Mixer, and the Drum Overheads track is inserted between the Toms_floor and Drum_intro tracks.
Arrange window Track List Track Mixer 
|
Using the Track Filters The Filter buttons, located at the far left side of the Track Mixer, define the types of Objects displayed in the Track Mixer. They can be selected singly or in combination. When Filter buttons are used in the Track view, the display will show only the tracks in the Arrange window that are of the selected types defined by the Filter buttons. 1. | Click the Instrument button, located at the far left side of the Track Mixer window.
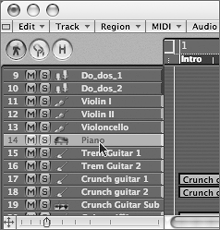
All Audio Instrument tracks used in the arrangement are displayed. Only one track is seen because only one Audio Instrument trackthe Piano trackis used in this song.
 | 2. | Click the Instrument button again.
All Filter buttons become active, and the complete arrangement is visible. When you have nothing selected, the Track Mixer defaults to displaying all track types.
|
Using the Global View The Track Mixer's Global view displays all Objects of any type that are available in the song. Global view has a direct connection to the Environment; an Object has to exist in the Environment to be displayed in the Global view. Since the tracks displayed in Global view correspond to Environment Objects and not to tracks in the Arrange window, you can use this view mode to look at Objectssuch as Bus and Aux channelsthat are not otherwise contained in your arrangement. As in the Track view, Objects in Global view are displayed through the use of Track Filter buttons. The Track Filter selections made for both Track view and Global view are independent, and they remain intact, even when you toggle between the display modes. Rather than have Global view display multiple (or all) types of Objects, it is most useful to dedicate the Global view to a single type of Object, such as busses. The Global view then becomes an "alternative" mixer providing quick access to a frequently used Object type in a mix. In this exercise you will set up the Global view as a dedicated Bus mixer. 1. | In the top left of the Track Mixer window, click the Global button.

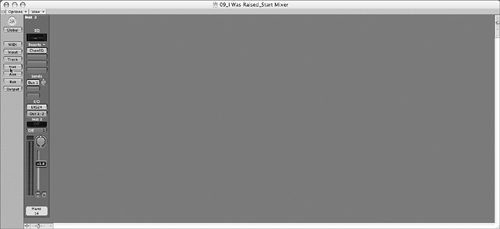
All channels in the Track Mixer disappear. This is normal because you haven't yet used the Filter buttons to indicate what Object types are to be viewed.
| 2. | In the Track Filter menu, click the Bus button.
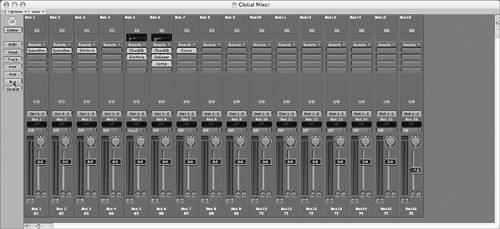
The audio tracks disappear and are replaced by the Bus channels (16 in all) that are available to the song. Here you can conveniently assign the bussed effects used by the mix, such as the reverbs in the various tracks.
 | 3. | Click the Global button to toggle between the view of the busses (Global view) and the tracks used in the arrangement (Track view).
Notice that the display modes remember the Track Filter settings you last assigned, even when switching between Track view and Global view.
The Track Filter settings are saved in the screenset, so it is necessary to unlock and then relock Screenset 2 to make this a part of the mix setup.
| 4. | Make sure that Track view is active. (The Global button is not enabled.)
| 5. | Unlock, then relock the screenset by choosing Windows > Screensets > Lock Screenset twice.
|
This setup enables you to quickly check return levels, change reverb settings, and conveniently access the often-used busses when working with the main mix. In this way, the Global view acts as an alternative mix setup that can be toggled by clicking the Global button. |
