Unit Testing
To test the Printing application:
-
Download the Javacomm20-win32 JCA, which is available in zip format. This JCA is available at the following URL:
http://java.sun.com/products/javacomm/downloads/index.html
-
Unzip the zip file downloaded from the above URL.
-
Copy win32com.dll from the unzipped file to the jre\bin directory where Java 2 Software Development Kit (J2SDK) is installed.
-
Copy comm.jar from the unzipped file to the jre\lib\ext directory where J2SDK is installed.
-
Copy javax.comm.properties from the unzipped file to the jre\lib directory where J2SDK is installed.
-
Set the path of the bin directory of J2SDK by executing the following command at the command prompt:
set path=%path%;D:\j2sdk1.4.0_02\bin;
-
Set the classpath of the lib directory of J2SDK by executing the following command at the command prompt:
set classpath = %classpath%;d:\j2sdk1.4.0_02\lib; d:\j2sdk1.4.0_02\jre\lib\ext\comm.jar;
-
Copy the CommPrinting.java, PortChoice.java, FontChoose.java, ColorChoose.java, and Printcomponent_Class.java files to a folder on your computer. At the command prompt, use the cd command to move to the folder where you have copied the Java files. Compile the files using the javac command, as follows:
javac *.java
-
Run the Printing application using the following command at the command prompt:
java CommPrinting
-
Select File->Open to open the text document that you want to print. The selected document opens in the user interface, as shown in Figure 4-8:
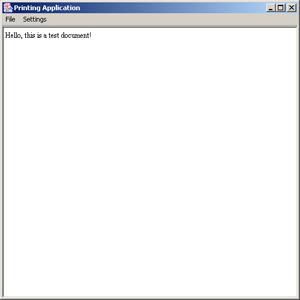
Figure 4-8: The Printing Application Interface -
Click File->Choose COM Port to Print to select the port to which the printer is connected. You can select the port to use for printing from the list of ports that appears on the user interface of PortChoice.java and click OK.
-
Select Font->Font to set the font of the text in the document to be printed. The Selecting the Font dialog box appears.
-
Select the type, style, and size of the font of the text in the document and click OK. The font of the text changes to the selected font, as shown in Figure 4-9:
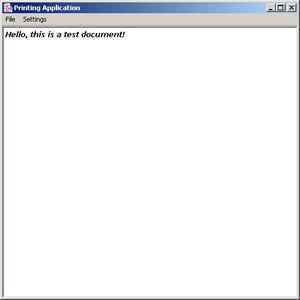
Figure 4-9: Changing the Font -
Select Color->Color to select the color of the text in the document to be printed. The Selecting the Color dialog box opens. The end user can select a specific color for the text and click OK. This changes the color of the text in the document to the selected color, as shown in Figure 4-10:
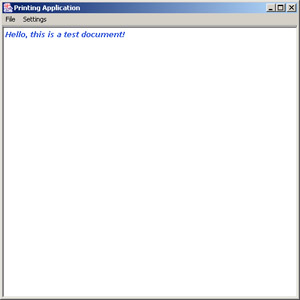
Figure 4-10: Changing the Color -
Select File->Page Setup and Print to print the text in the document that is currently opened. This opens the Page setup dialog box, as shown in Figure 4-11:
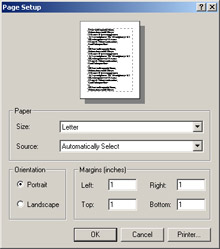
Figure 4-11: The Page Setup Dialog Box -
Click OK. The Print dialog box opens, as shown in Figure 4-12:
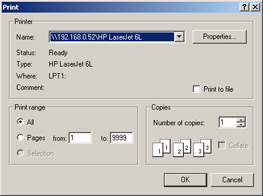
Figure 4-12: The Print Dialog Box -
Click OK.