Appendix A. Paint Shop Pro 8 Menus, Toolbars, and Palettes
| [ LiB ] |
Appendix A. Paint Shop Pro 8 Menus , Toolbars , and Palettes
This appendix contains screen captures of Paint Shop Pro 8's major menus, toolbars, and palettes.
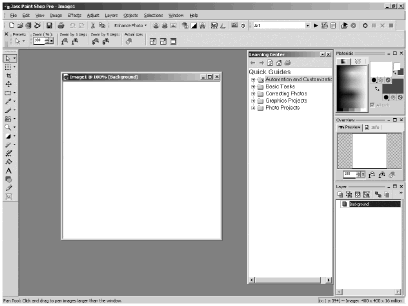
If you reconfigure Paint Shop Pro and then want to return to the default workspace, shown in Figure A.1, choose F ile > W orkspace > L oad and choose Default.
Figure A.1. The Paint Shop Pro default workspace (with an image open ) .
The menu bar shown in Figure A.2 is the one that appears when an image file is open and active. Specialized menu bars appear when no file is open or when the Browser is open and active.
Figure A.2. The menu bar .
![]()
By default, the Standard toolbar (shown in Figure A.3) includes buttons for these common operations: New, Open, Browse, Twain Acquire, Save, Print, Undo, Redo, Cut, and Copy.
Figure A.3. The Standard toolbar .
![]()
The Photo toolbar (shown in Figure A.4) includes controls for the most commonly used photo adjustment commands, all of which are also accessible from the Adjust menu.
Figure A.4. The Photo toolbar .
![]()
The Script toolbar (shown in Figure A.5) includes controls for running, editing, and recording scripts. These commands are also accessible via F ile > Sc r ipt.
Figure A.5. The Script toolbar .
![]()
The Tool Options palette that is shown in Figure A.6 is for the Pan tool. The Tool Options palette for any tool includes a drop-down list of presets as well as controls specific to the tool.
Figure A.6. Sample Tool Options palette .
![]()
The Tools toolbar (shown in Figure A.7) includes icons for all of Paint Shop Pro's tools. By default, the tools are grouped in families. For example, the Pan and Zoom tools are grouped in one family, and the Paint Brush, Airbrush, and Warp Brush are grouped in another family.
Figure A.7. The Tools toolbar .
![]()
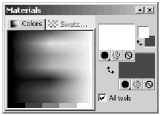
You select materials for drawing and painting in the Materials palette, shown in Figure A.8. A material can be a solid color , a pattern, or a gradient. A material can also optionally include a texture.
Figure A.8. The Materials palette (for 16-million color images) .
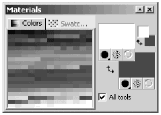
Paletted images have only 256 or fewer colors. For such images, only the colors present in the palette are displayed in the Materials palette, as shown in Figure A.9.
Figure A.9. The Materials palette (for paletted images) .
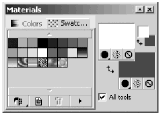
Swatches of materials can be saved and loaded from the Swatch tab of the Materials palette, shown in Figure A.10.
Figure A.10. The Materials palette (Swatch tab) .
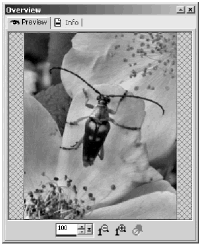
The Overview palette (shown in Figure A.11) displays a preview of the active image. There are also controls in this palette for zooming in and out on the image.
Figure A.11. The Overview palette (Preview tab) .
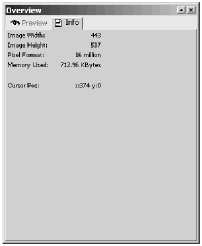
The Info tab of the Overview palette (shown in Figure A.12) displays information about the image's dimensions and format. The current cursor position in the image is also displayed. When the Preset Shapes tool is in use, the start and end points of the shape and the height and width of the shape are also displayed dynamically.
Figure A.12. The Overview palette (Info tab) .
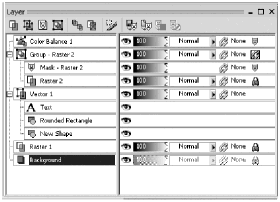
The Layer palette (shown in Figure A.13) makes clear the layer structure of your image, differentiating between the Background layer, raster layers, mask layers, vector layers, and adjustment layers. Vector objects and layer groups are also represented. Commands accessed from the Layer palette are also available in these menus: Layers , Objects, and Selections.
Figure A.13. The Layer palette.
The Status bar is shown in Figure A.14. On the left side of the Status bar, information is displayed about the active tool or about toolbar icons over which the mouse is placed. On the right side, information on cursor placement and file dimensions. Depending on what tool is active, other information might also be displayed on the right side of the Status bar.
Figure A.14. The Status bar .
![]()
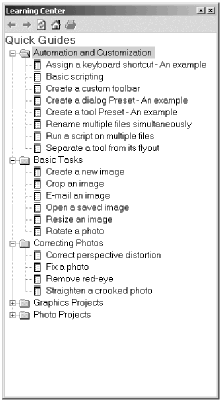
The Learning Center, shown in Figure A.15, contains several tutorials (called Quick Guides). To toggle the Learning Center on and off, press F10.
Figure A.15. The Learning Center (with some headings expanded) .
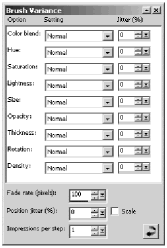
The Brush Variance palette, shown in Figure A.16, provides a powerful means of control of the Paint Brush and Airbrush. To toggle this palette on and off, press F11.
Figure A.16. The Brush Variance palette .
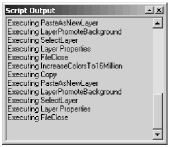
The Script Output window, shown in Figure A.17, displays error messages and output from scripts. It opens automatically when anything is written to it. To toggle this window on and off, press F3.
Figure A.17. The Script Output window .
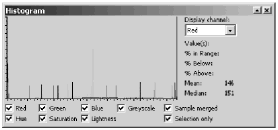
The Histogram, shown in Figure A.18, provides information about the distribution of tones in your image. It is most useful in analyzing digital photos. To toggle the Histogram on and off, press F7.
Figure A.18. The Histogram .
The Effects toolbar, shown in Figure A.19, includes buttons for several commonly used commands available from the Effects menu.
Figure A.19. The Effects toolbar .
![]()
The Web toolbar, shown in Figure A.20, includes buttons for several Web- related commands that are also available from the File menu.
Figure A.20. The Web toolbar .
![]()
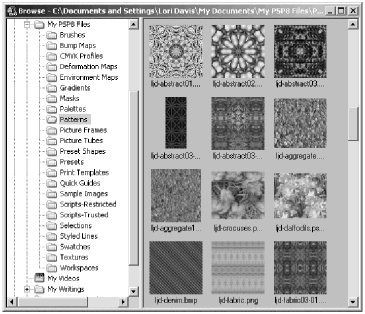
The Browser, shown in Figure A.21, displays thumbnails of your images. Navigate to a particular folder to see thumbnails of the images stored there. You can copy, move, open, and delete images from the Browser. You can also access information about images from the Browser.
Figure A.21. The Browser .
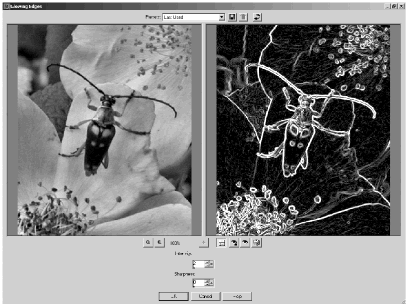
Most effects and commands accessed from the Adjust menu make use of a dialog box. In addition to controls specific to the effect or command, a dialog box includes a drop-down list of presets, controls for saving and deleting presets, a reset button, preview windows showing the unaffected image and the processed image, controls for zooming the previews and positioning the previews, a toggle to show or hide the previews, controls for proofing the effect on the actual image, and a randomize button. A sample dialog box is shown in Figure A.22.
Figure A.22. Sample dialog box .
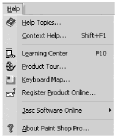
When there is an open image in the Paint Shop Pro workspace, the following menus are available: F ile (Figure A.23), E dit (Figure A.24), V iew (Figure A.25), I mage (Figure A.26), Effec t s (Figure A.27), A djust (Figure A.28), L ayers (Figure A.29), O bjects (Figure A.30), S elections (Figure A.31), W indow (Figure A.32), and H elp (Figure A.33).
Figure A.23. The File menu .
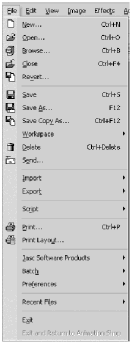
Figure A.24. The Edit menu .
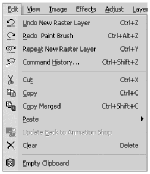
Figure A.25. The View menu .
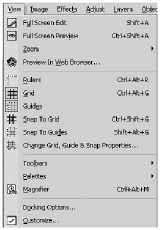
Figure A.26. The Image menu .
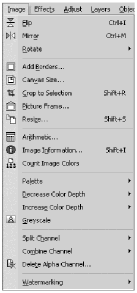
Figure A.27. The Effects menu .

Figure A.28. The Adjust menu .
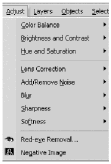
Figure A.29. The Layers menu .
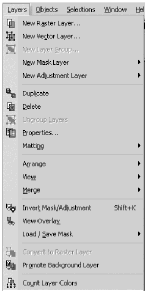
Figure A.30. The Objects menu .
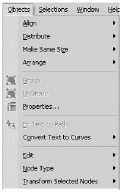
Figure A.31. The Selections menu .
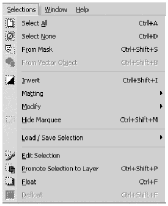
Figure A.32. The Window menu .
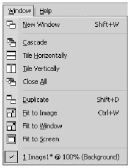
Figure A.33. The Help menu .
| [ LiB ] |