Technique 11. Inserting a Shape from Illustrator
Technique #11. Inserting a Shape from Illustrator
key concepts: illustrator to photoshop layer masks
|
Technique #11. Inserting a Shape from Illustrator
key concepts: illustrator to photoshop layer masks
|
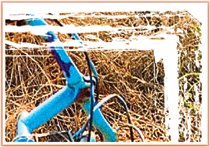

 In order to edit the shape of your photo, you have to either add more pixels to the copied Illustrator layer where you want the photo to show, or erase pixels in areas where you don't want to see the image. To give yourself a little more flexibility, consider turning the shape into a layer mask.
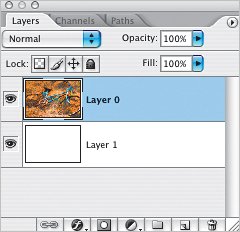
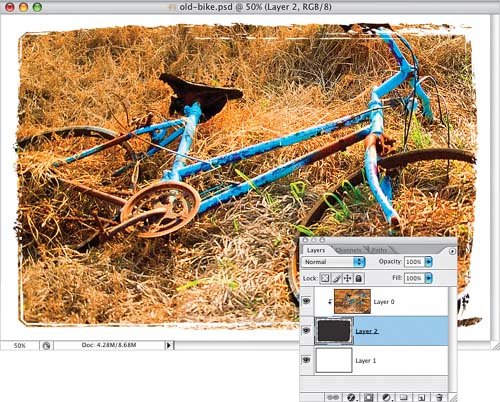
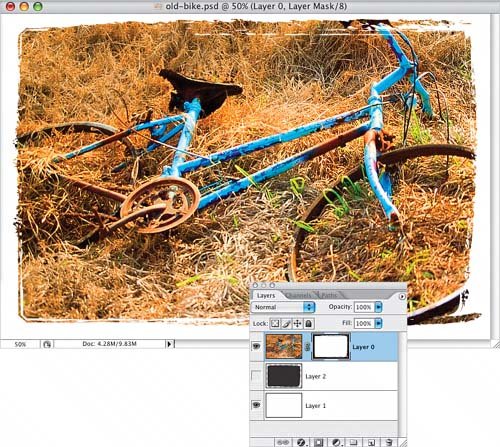 If you've already pasted the shape from Illustrator and pressed Return to finalize the size, here's what you do to create a layer mask: press-and-hold the Command key (PC: Control key) and click on the thumbnail of the shape layer to make a selection in that shape. Click on the photo layer to activate it, and then click on the Add Layer Mask icon at the bottom of the Layers palette.