Chapter 20: Introduction to the 3D Gamemaker
Of all of tools we have looked at, perhaps none is quite as easy to use as the 3D Gamemaker. In this chapter, we’ll take a quick look at the installation of the software. In the next chapter, we’ll use the 3D Gamemaker to build a complete game in a matter of minutes.
On the CD There is a demo version of the 3D Gamemaker on the CD-ROM that comes with this book. This has all the functionality of the standard version but is lacking the capability to make an external game. If you would like to purchase the full version, please visit www.darkbasic.com.
Installation
On the CD You can begin by placing the CD-ROM that accompanies this book into your drive. Next, double-click My Computer and then the letter of your CD-ROM drive. Locate the directory called Applications and inside it you will find another called 3DGamemaker. Inside the directory, you will find an installation file. Double-click it to begin the installation (see Figure 20.1).
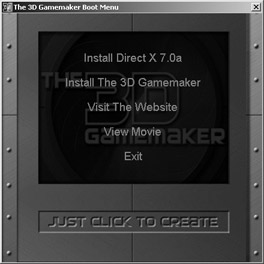
Figure 20.1: The opening screen for installation.
From the opening screen, point your mouse over the Install the 3D Gamemaker area. It will light up similarly to Figure 20.2.
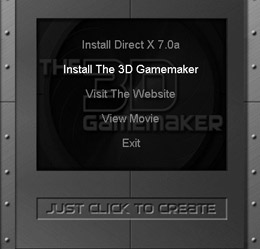
Figure 20.2: The install area is highlighted.
Once the area is highlighted, click the left mouse button to begin installing the 3D Gamemaker. This will display another window (see Figure 20.3).
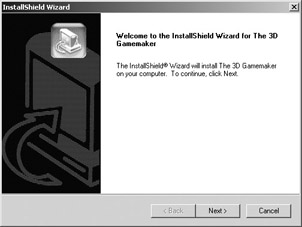
Figure 20.3: The Install Wizard walks you through the steps.
Click the Next button on the window to display the license agreement, a portion of which can be seen in Figure 20.4.
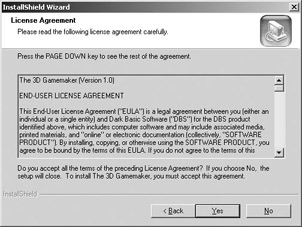
Figure 20.4: 3D Gamemaker’s license agreement.
Read through the license agreement and then click Yes to continue the installation. You should choose Typical Installation from the window that is displayed next (see Figure 20.5).
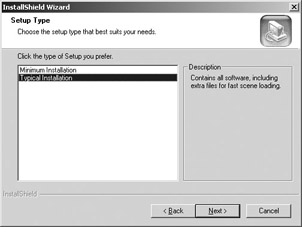
Figure 20.5: You can choose the Typical Installation.
The next step in the Install Wizard, seen in Figure 20.6, asks you to choose the installation directory. You can leave it at the default setting unless you have some reason to choose another.
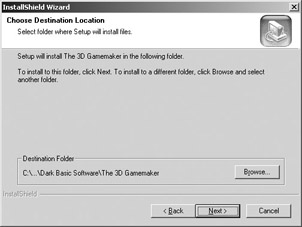
Figure 20.6: You need to choose an installation directory.
Next, you’ll be presented with a window that resembles Figure 20.7. This allows you to choose a program group, but again, you can leave the default setting and click the Next button.
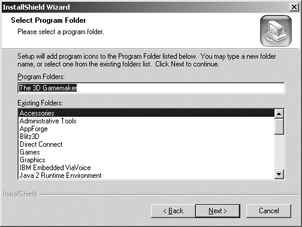
Figure 20.7: Choose a program group or leave the default setting.
The Install Wizard will display all the settings you have picked. You should review these settings (the defaults can be seen in Figure 20.8) and then choose Next if everything is okay. If not, you can go back and make changes.
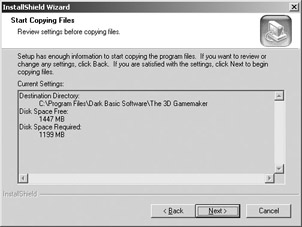
Figure 20.8: Review your settings and then click Next.
The files will begin copying, and you should see a window like that in Figure 20.9 that displays the current information.
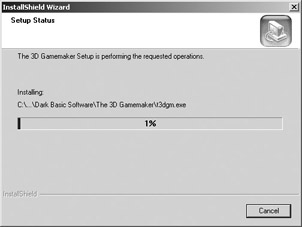
Figure 20.9: The files are being copied to your computer.
After the files have finished copying, you are given an option of creating an icon on your desktop (see Figure 20.10). If you create an icon, you will have easy access to the 3D Gamemaker. Otherwise, you can run it by choosing it from your Start menu. Choose the option you prefer.
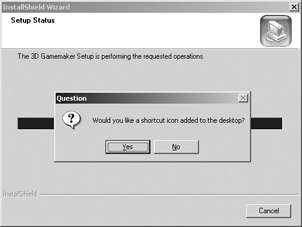
Figure 20.10: You can decide if you would like an icon on your desktop.
The final install screen is displayed, and you can click the Finish button (see Figure 20.11).
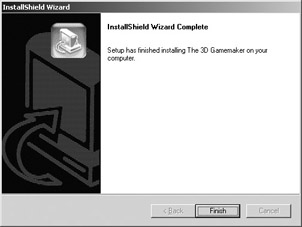
Figure 20.11: The final step in the installation.
EAN: 2147483647
Pages: 168
- Structures, Processes and Relational Mechanisms for IT Governance
- Integration Strategies and Tactics for Information Technology Governance
- An Emerging Strategy for E-Business IT Governance
- Linking the IT Balanced Scorecard to the Business Objectives at a Major Canadian Financial Group
- A View on Knowledge Management: Utilizing a Balanced Scorecard Methodology for Analyzing Knowledge Metrics