Drawing the Duck
We now have all the background images finished, so it’s time to draw the main character, a duck. We’ll ultimately use the image we render in MilkShape for our game, but because it’s an interesting comparison, we’ll also draw the image in PSP.
-
Create a new image sized 80 x 50 in PSP.
-
It looks very small onscreen (see Figure 17.49), so we can zoom in by 5 by choosing Zoom (see Figure 17.50).
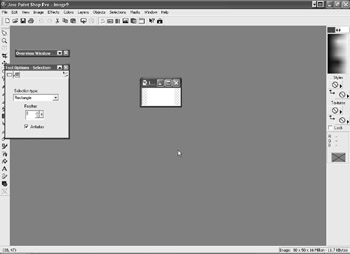
Figure 17.49: We need to zoom in.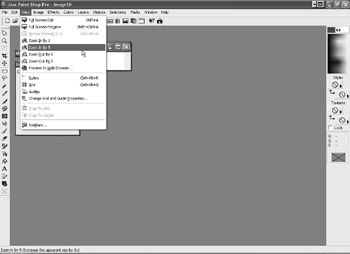
Figure 17.50: The Zoom command is located in the View menu.
It’s now much easier to work with (see Figure 17.51).
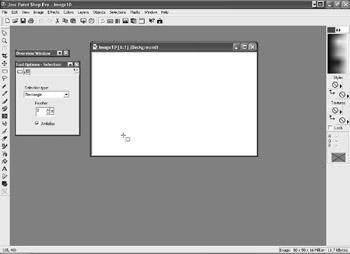
Figure 17.51: We now have a much better picture of the image.
-
Select the Preset Shapes tool and choose Ellipse.
-
Draw two ellipses (see Figure 17.52).
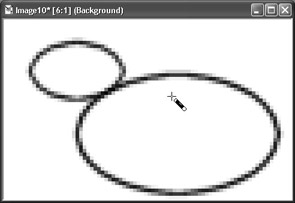
Figure 17.52: Draw two ellipses. -
Use the Magic Wand to select outside of the ellipses (see Figure 17.53).

Figure 17.53: The Magic Wand selects the outside of the ellipses.
Figure 17.54: Invert the selection. -
Choose Selection, Invert (see Figure 17.54).
-
Use the Flood Fill tool and a yellow color to fill (see Figure 17.55).
-
We’ll just freehand the small details. Invert the selection again (see Figure 17.56) and choose Paintbrush tool (see Figure 17.57).
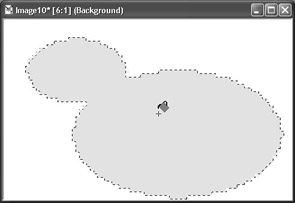
Figure 17.55: Flood fill with yellow.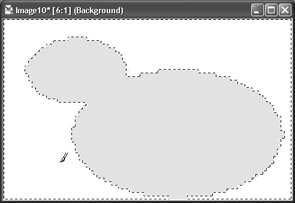
Figure 17.56: Invert the selection again.
Figure 17.57: Choose the Paintbrush tool. -
Set the brush Size to 1 and Hardness to 1 (see Figure 17.58). If this menu is not visible, right-click on the paintbrush and choose Tool Options from the pop-up menu.
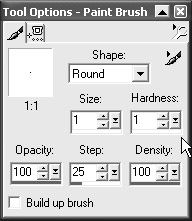
Figure 17.58: Set a hardness of 1. -
Select the orange color and draw a beak (see Figure 17.59). We reversed the selection again so that we did not accidentally interfere with the yellow body with the orange paint.
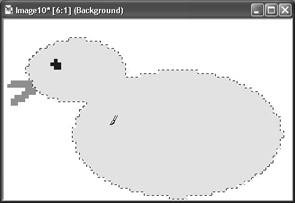
Figure 17.59: Select the color orange to draw the beak. -
Change the color to dark blue and invert the selection once again and draw an eye (see Figure 17.60).
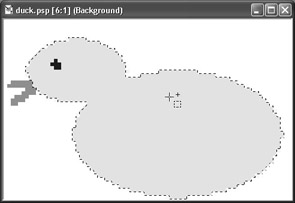
Figure 17.60: The next step is to draw an eye.
At first glance, this seems to be a quick route to produce the duck. However, we have not yet completed any of the “tipping over” animations, which are going to be a time-consuming process in PSP. In the next chapter, you’ll see that it takes slightly longer to create the model in 3D, but the simple animation will be very easy to do, which is why the 3D route is ultimately a great timesaver.
Before we move on, let’s square off the bottom of the figure so that it looks like it is flat on the bottom. Choose the selection tool and draw a rectangle along the bottom (see Figure 17.61). Press the Delete key on your keyboard several times to remove any yellow from this area (see Figure 17.62). We are done in PSP for the moment and will return to it later in the next chapter.
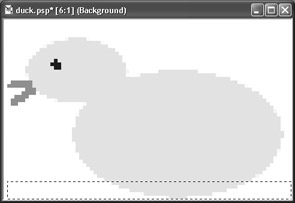
Figure 17.61: Draw a rectangle along the bottom.
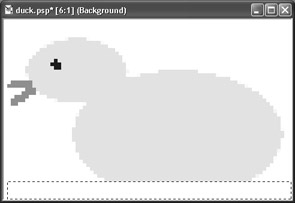
Figure 17.62: Remove all the yellow along the bottom.
EAN: 2147483647
Pages: 168