2.6 Configuring Caucho Resin
| To run Resin on your desktop, you should first download the Resin zip file from http://caucho.com/products/resin/ and unzip it into a location of your choosing (hereafter referred to as install_dir ). Once you have done so, configuring the server involves two simple steps.
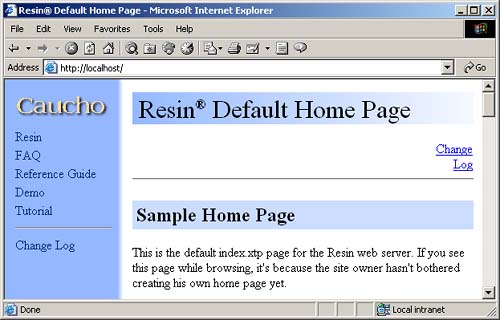
Details are given in the following subsections. Setting the JAVA_HOME VariableThe most important setting is the JAVA_HOME environment variable. This variable should refer to the base SDK installation directory. Details are given in Section 2.4 (Configuring Apache Tomcat), but for a quick example, if you are using Java 1.4.1 on Windows, you might put the following line in C:\autoexec.bat . set JAVA_HOME=C:\j2sdk1.4.1_01 Specifying the Resin PortTo avoid conflicts with preexisting servers, Resin uses port 8080 by default. However, if you won't be simultaneously running another server, you will probably find it convenient to change Resin to use port 80, the standard HTTP port. To do this, edit install_dir / conf/resin.conf and change <http port='8080' /> to <http port='80' /> . Testing the Basic Server SetupTo verify that you have configured Resin successfully, double-click on install_dir /bin/httpd.exe . Open a browser and enter http://localhost/ ( http://localhost:8080/ if you chose not to change the port to 80). You should see something similar to Figure 2-9. Shut down the server by selecting Stop in the small dialog box that pops up when you start the server. Figure 2-9. Resin home page. After you customize your development environment (see Section 2.7), be sure to perform the more exhaustive tests listed in Section 2.8. |
EAN: 2147483647
Pages: 194