Managing Images in the Clip Organizer
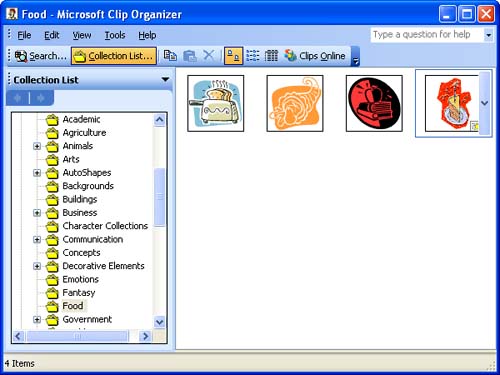
| Occasionally, you might want to add or delete clip art images from folders on your computer. Managing images is accomplished using the Clip Organizer. When you install Microsoft Office 2003 (using the default installation), a fairly large library of clip art is placed on your hard drive in different category folders. You can manage these clip art images and other images on your computer, such as scanned images or pictures from a digital camera. To open the Clip Organizer, follow these steps:
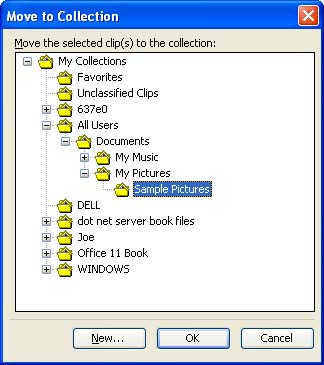
Not only does the Clip Organizer allow you to browse the various clip art and other images on your computer, it allows you to copy, delete, or move images. For example, if you find an image you no longer want to store on your computer, select the image in the Clip Organizer window and press Delete . A dialog box appears, letting you know that this image will be removed from all collections on the computer. Click OK to delete the image. You can also use the Clip Organizer to copy or move clip art images from a location on your hard drive to one of the clip art collections. Locate the images you want to move or copy to a particular collection and then select them. To move the images to a collection, select the Edit menu, and then Move to Collection . The Move to Collection dialog box appears (see Figure 9.7). Select a location in the dialog box and click OK to move the selected image or images. Figure 9.7. You can move images from one location to another using the Clip Organizer. You can also copy images to a new location using the Copy to Collection command. Select the images in a particular folder on your computer using the Clip Organizer window. Select the Edit menu and then Copy to Collection . Select a location in the Copy to Collection dialog box where you would like to place copies of the images, and then click OK . |
EAN: N/A
Pages: 660