Editing Text in the Slide Pane
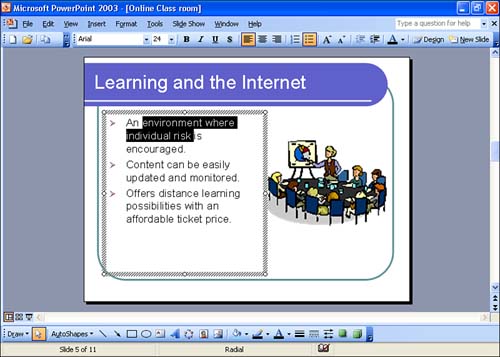
| The text on your slides resides within boxes (all objects appear on a slide in their own boxes for easy manipulation). As shown in Figure 3.3, to edit text on a slide, click the text box to select it and then click where you want the insertion point moved, or select the text you want to replace. Figure 3.3. You can edit your text directly on the slide in the Slide pane. When you work with the Slide pane, you might want to close the Outline/Slides pane. Just click the pane's Close button (X) to provide the Slide pane with the entire PowerPoint window (refer to Figure 3.3). In Lesson 7, "Adding and Modifying Slide Text," you'll learn more about adding text to a slide, including creating your own text boxes on a slide.
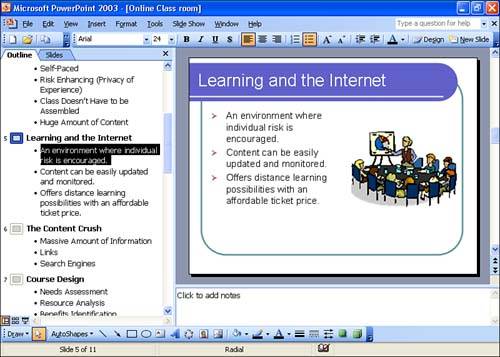
Editing Text in the Outline PaneThe Outline pane provides another way to edit text in a slide. To switch to the Outline view on the Outline/Slides pane, click the Outline tab. You simply click to move the insertion point where you want it (or select the range of text you want to replace) in the outline, and then type your text (see Figure 3.4). If you've placed the insertion point in the slide text (without selecting a range), press the Delete key to delete characters to the right of the insertion point or press the Backspace key to delete characters to the left. If you've selected a range of text, either of these keys deletes the text. If you want to move the highlighted text, simply drag it to where you want it moved. Figure 3.4. You can edit your text in Outline view.
Moving Text in the Outline PaneAs you work in the Normal view, you can also view your presentation slides as an outline using the Outline pane. This provides you with a quick way to move text items around on a slide or move them from slide to slide. Just select the text and drag it to a new position. As already mentioned, you can also drag text from one slide to another. All you have to do is select a line of text in the Outline pane and drag it to another slide. You can also move a slide in the Outline pane. Drag the slide's icon in the Outline pane to a new position (under the heading for another slide). If you aren't that confident with your dragging skills, PowerPoint provides you with help in the form of the Outlining toolbar. It provides buttons that make it easy to move text up or down on a slide (with respect to other text on the slide) or to move a slide up or down in the presentation. To turn on the Outlining toolbar, right-click one of the PowerPoint toolbars and select Outlining . Figure 3.5 shows the Outlining toolbar on the left side of the Outline pane (the Outline pane has also been expanded to take up more of the PowerPoint window).
Figure 3.5. You can use the Outlining toolbar to move text and slides in the presentation. You can also use the Move Up and Move Down buttons to move entire slides up or down in the presentation. Click the slide's icon and then use the appropriate button (it might take several clicks to move a slide up or down with respect to another slide). If you want to see how the text is actually formatted on the slides that you are viewing in the Outline pane, click the Show Formatting button on the Outlining toolbar. Viewing the text as it is formatted can help you determine where the text should appear on a slide as you move the text (or whether you will have to reformat the text later). Rearranging Text in the Outline PaneAs you can see from Figure 3.5, your presentation is organized in a multilevel outline format. The slides are at the top level of the outline, and each slide's contents are subordinate under that slide. Some slides have multiple levels of subordination (for example, a bulleted list within a bulleted list). You can easily change an object's level in Outline view with the Tab key or the Outlining toolbar:
In most cases, subordinate items on a slide appear as items in a bulleted list. In Lesson 8, "Creating Columns and Lists," you learn how to change the appearance of the bullet and the size and formatting of text for each entry, as well as how much the text is indented for each level.
|

EAN: N/A
Pages: 660