Adding Shading to Cells
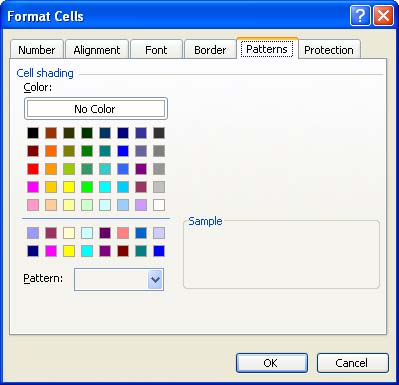
Adding Shading to CellsAnother way to offset certain cells in a worksheet is to add shading to those cells. With shading, you can add a color or gray shading to the background of a cell . You can add shading that consists of a solid color, or you can select a pattern as part of the shading options, such as a repeating diagonal line. Follow these steps to add shading to a cell or range. As you make your selections, keep in mind that if you plan to print your worksheet with a black-and-white printer, the colors you select might not provide enough contrast on the printout to provide any differentiation between ranges of cells. You can always use the Print Preview command (as explained in Lesson 14, "Printing Your Workbook") to view your results in black and white before you print.
|
EAN: N/A
Pages: 660