Installing the Java 2 SDK
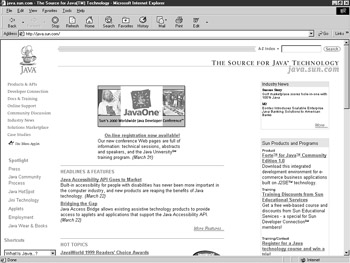
The latest version of the Java development package is available through Sun’s Java Web site at java.sun.com (see Figure D.3).
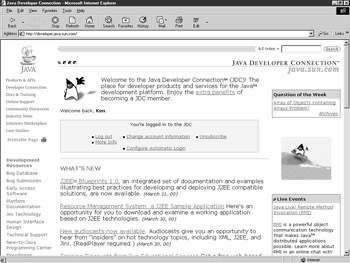
Though the content and format of this Web page change regularly, there are always several links to the Developer Connection page. To enter this page, you must register with your name and address, along with a few other pieces of information. Membership is free and provides you with a wide range of services to help you develop your Java skills. These services include access to the JDK, developer and discussion forums, technical support information, and training. Once you have registered, you should see a screen similar to the one shown in Figure D.4.
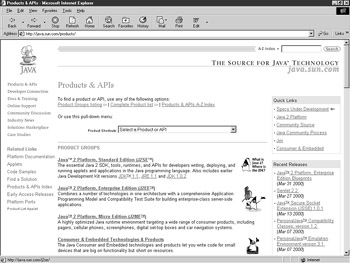
On the Developer Connection page, you can click on the Products & APIs link, which will take you to a listing of products that Sun offers. From there, you can click on a link to the latest version of the Java SDK (see Figure D.5).
Once you have selected the Java SDK link, you can choose the version and your preferred download method, then download the software to your computer. The current version of the SDK is about 30 megabytes (MB) in size for the download file (this is just the download file size, not the required installation size). The minimum system requirements for the PC version of the Java 2 SDK are a 166 megahertz (MHz) Pentium processor, 48MB of RAM, and 65MB of free disk space.
| Tip | You’ll need 185MB of free disk space if you plan to install the separate documentation bundle in addition to the Java 2 SDK. I highly recommend downloading and installing the documentation bundle. |
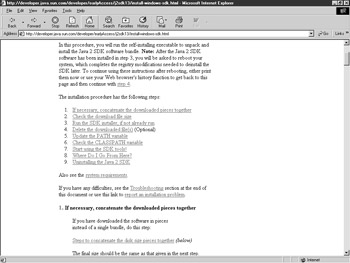
After the file(s) have been downloaded, you will want to print out the installation instructions specific to the version of SDK that you are installing. See Figure D.6 for an example of the installation instructions for the Java 2 SDK.
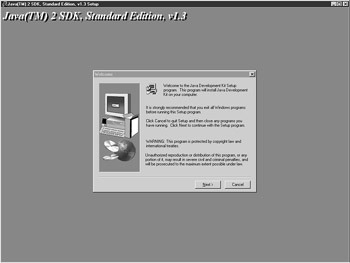
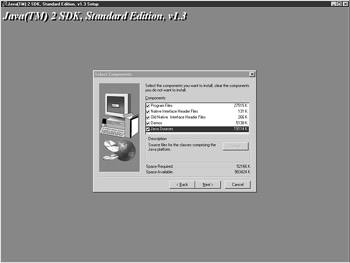
The file that you download to your computer is executable. When you are ready to install the package, close down all other Windows-based programs and start the executable file (see Figure D.7). You will then be prompted for the installation directory and given a choice of general components to install (see Figure D.8).
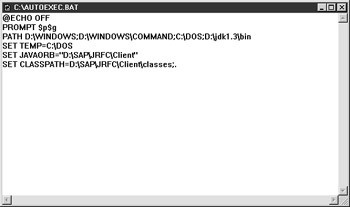
After the installation of the program files is complete, you can delete the initial downloaded file; doing so saves space on your hard drive. The next step is to set up your path variable. This process depends on your operating system; Windows 2000 differs from Windows 95/98. Setting the path is optional, but if you want the ability to easily use the compiler and run-time environment from any directory, it is a good idea to set the path. The CLASSPATH system variable should also be set at this time. When you install the SAP Java RFC package, it will set the CLASSPATH environment variable. You should change this so that your CLASSPATH variable also points to your current directory, as shown in Figure D.9. The best way to set your CLASSPATH variable is through the classpath switch, which you can set when you run your Java programs. You will find more information on this later, in the “‘Hello World’ Example” section.
The installation of the documentation bundle is quite simple. The file that you download from the Sun Web site is a zipped file. There are several products on the market that you can use to extract the files; one of these is Winzip, which is available at www.winzip.com. Extract the files from the zipped file and place them in a newly created subdirectory under the directory where you installed the Java SDK. Call this subdirectory docs, or something similar. If you have not changed the default path during the installation of the Java SDK, you should have a directory something like c:\jdk1.3\. When you extract the documentation bundle, its default
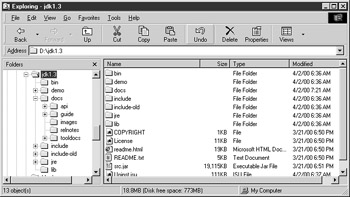
path will be c:\jdk1.3\docs. The final directory structure for both the Java SDK and the documentation bundle should look similar to the one in Figure D.10.
| Tip | When you are finished with the installation of the Java SDK and documentation bundle, you must make sure that the directory structure looks like the one in Figure D.10. If you do not set it up this way, the hyperlinks in the documentation will not work correctly. |
You can delete the documentation bundle’s zipped file when you are finished. You can view the documentation by opening the HTML page jdk1.3/docs/index.html.
The final step of the installation process is to reboot your computer. This will set up the paths and classpaths correctly if you modified them.
This should complete the installation process for both the Java SDK and the documentation bundle. It is a very simple procedure, but it’s a bit time-consuming, because of the need to download very large files from Sun’s Web site. Even with a DSL connection, the download process takes about 20 minutes, and the rest of the installation should take about 15 minutes.
The next section will take you through a couple of simple examples, so that you can test out both the compiler and the run-time environment. The documentation bundle also contains many examples and a great deal of other helpful information.
| Team-Fly |