Section 10.2. Databases
10.2. DatabasesThe data for an Excel project can come from a database. In newer systems, both client server and web-based, SQL databases are the most common data storage tool. The data for any of the applications in the book could come from such a database. Excel can import data from databases and allows you to filter and sort the data during the import process. To import data from a database start by selecting Data This dialog lets me choose a data source to import from. I have an Access database containing the same stock data we have been using. The database is named ch10.mdb. Since it is an Access Database, I could click on the MS Access Database choice. But I can also set it up as a New Data Source. This option allows you to import from other kinds of databases such as Sybase, Oracle, SQL Server, and many others. Clicking OK with New Data Source selected moves us to Figure 10-10. I named the new data source Stocks. In the future, Stocks will appear as an option in the Choose Data Source dialog (Figure 10-9). In the driver selection box I choose Access. If you want to import from a different kind of database you would tell Excel what kind it is here. There is a list of the available drivers. If the PC you are working on has never connected to a database like the one you are going to use, you may need to load the driver. Figure 10-9. Importing from a database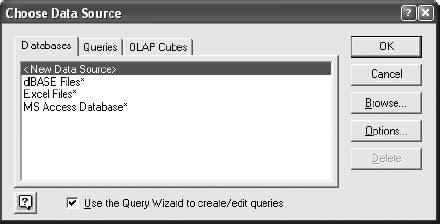 Figure 10-10. Establishing a new data source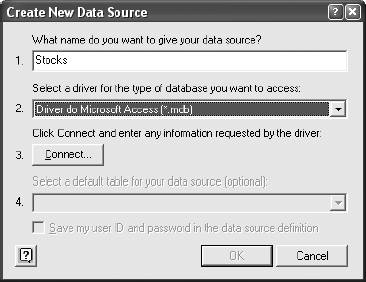 The next dialog, Figure 10-11, allows you to tell Excel where the database is. If the database is on a server, you use this dialog to tell Excel what server to look on. In cases where the data is available on a network or local drive, as in this case, you click Select. This brings up a dialog allowing you to navigate to the database, as shown in Figure 10-12. Once the database is selected, the dialog in Figure 10-13 appears. Figure 10-11. Locating the database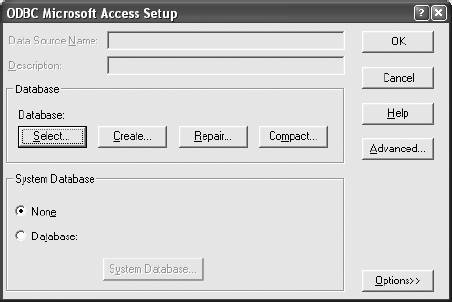 Figure 10-12. Selecting the database In this step we select the columns to include in the import. I selected all of them, but you can select only the ones you want. This also lets you control the order that they are imported in. The dialog in Figure 10-14 provides a way to filter the data. The text file imports did not have a way to filter the stock data, but here it is easy to do. If I want to limit the import to stocks with symbols starting with the letter C, I click on the Symbol in the "Column to filter" listbox. Then I fill the dialog out as shown in Figure 10-15. You can link conditions with and/or, and you can use any mixture of columns. The next dialog is shown in Figure 10-16. Figure 10-13. Selecting the columns Figure 10-14. The filter data dialog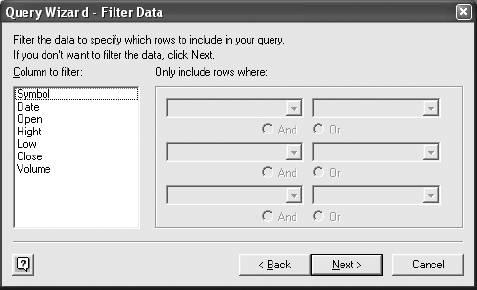 Here I am telling Excel to sort the data by Date. The Finish page of the dialog comes up next, as in Figure 10-17. Clicking Finish with the "Return Data to Microsoft Excel" option checked brings us to the final dialog in Figure 10-18. This is just like Figure 10-6. You specify a location for the data and can modifiy other options by clicking the Properties button. As with importing from a text file, you can control data refresh and other properties. So, if the application in Chapter 8 was getting its data from a database, I could build the import once and set the refresh to run every 10 minutes and at open. I would not need to write a macro or change anything in the application. Figure 10-15. Filtering the data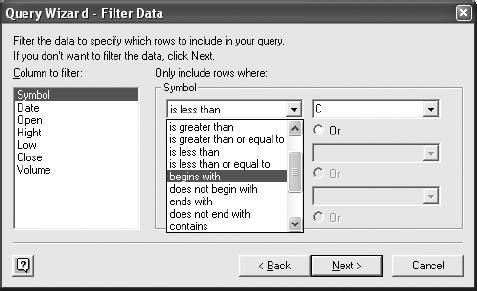 Figure 10-16. The sort dialog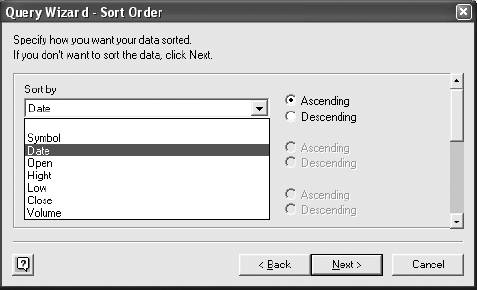 10.2.1. Linking TablesSometimes databases are more complicated, and the information may be in more than one table. Chapter 7's application had data for items in a queue. Each item's information included an employee number but not an employee name. The names were in a separate list on the Workarea sheet. Figure 10-17. Finishing the query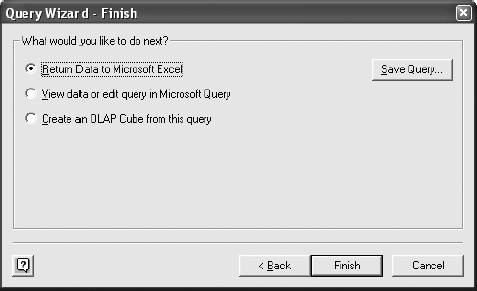 Figure 10-18. Putting the data on the worksheet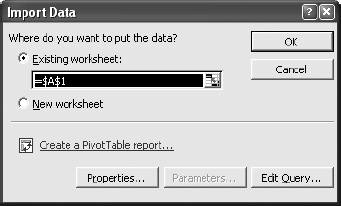 I have an Access database with two tables based on the data from that application. One table contains the items in the queue and is called Items. The other table is called Agents and contains the agent employee number and name. We can get Excel to link the tables during the data import. This eliminates some of the complexity of the application. The data source is set up as before, but when we get to the Choose Columns dialog in Figure 10-19 we have more choices. I start in the Items table and select all the columns. This can be done quickly by selecting the table name, Items, and clicking the arrow button. Next I click on the Agents table and select the Name column by either double-clicking or using the right arrow button. This is shown in Figure 10-20. The employee number column is named EmpNum in both tables, and it is the primary key in the Agents table. Therefore, Excel will link the tables automatically. We can see the linkage if we go to Microsoft Query. When the finish dialog comes up, select "View data or edit query in Microsoft Query" and Figure 10-21 displays. Figure 10-19. Choosing items from two tables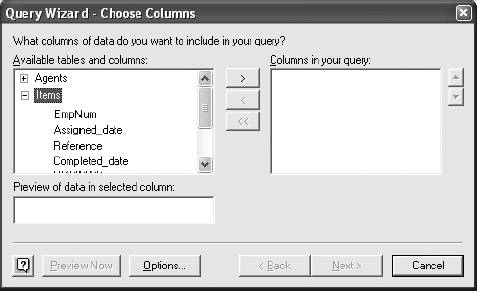 Figure 10-20. Add the Name column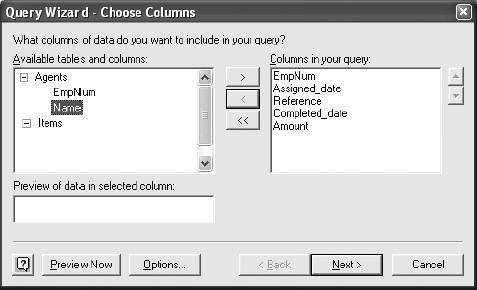 The link between the tables is on the column named EmpNum. It is represented by a line between the tables. If the names are different, the link will not happen automatically. In this display you can establish the link manually by clicking on the column name in one table then connecting it by dragging and dropping it on the correct column in the other table. Figure 10-21. Microsoft Query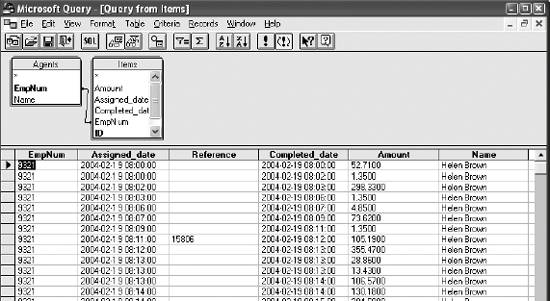 You can set criteria, which are the same as filters, on this display and even convert the query into its equivalent SQL statement. But the nice thing about this process is that you do not have to deal with SQL directly. Excel and Query take care of that for you. From the File menu select "Return data to Microsoft Excel". This brings up the dialog in Figure 10-18, where you can select the cell to receive the data and get to the Properties dialog. |
 Import External Data
 EAN: 2147483647
Pages: 101