| AND IF YOU DON'T START HERE, IT WILL REALLY MESS THINGS UP. WELL, FOR YOU, ANYWAY Step 1. | THIS IS THE HEADLINE I'M TALKING ABOUT. YOU CAN IGNORE THESE THE FIRST TIME YOU READ THE BOOK
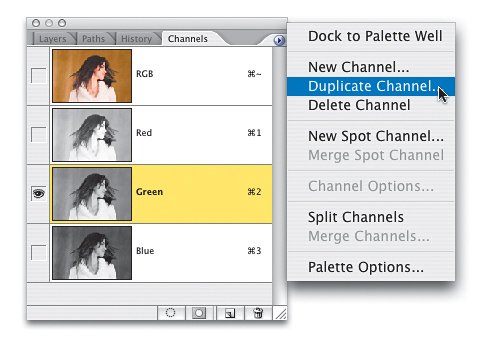
This is actually where you want to start the first time you read the book. I'll call these (for lack of a better name) the "detail boxes." This is where I explain step-by-step about what you're going to do, so you can skip that headline up top the first time around. Now, I'm assuming that if you bought a book on channels, you're not brand new to Photoshop (or you probably wouldn't even know that channels exist). So, although I try to make things as clear as possible, I won't be explaining things like what a layer is, what a pixel is, and other stuff you already know. By the way, why is there a capture of the Channels palette over to the right? That's just eye candystrictly for looks. Move on.
 ©ISTOCKPHOTO | | | Step 2. | ONCE YOU'VE FINISHED READING THE BOOK, WHEN YOU COME BACK TO IT, JUST READ THESE
Now, did you read the Step 2 headline right above this (that white text in the reddish bar)? It's okay, go ahead and read that now. Here's what I didwhen you first read the book, you want to read down here in the detail boxesjust like you're doing now. But once you've read the book, and you have an understanding of channels, when you refer back to this book later, you can just read those headlines at the top of each step and you'll know what to do. It saves a lot of time. However, if you get stuck on a step, then just read the detailed info (the stuff in this box). Okay, is that Calculations dialog just more eye candy? Yup. Move ahead.
 | Step 3. | YOU'LL BE LEARNING BY DOING, NOT JUST READING ABOUT IT
The other principle this book is based on is that it's a "show me how to do it" book, rather than a "tell me all about it" book. So, you'll be learning by doing everything yourself. Don't worry, I'll tell you exactly what to do, and I'll even explain why you're doing it as we go, but you're going to learn by actually doing every single project in the book. Also, I recommend that you do exactly thatevery project, even if they don't fall in your area of interestbecause it all builds on itself. Now, before we go any further, why is there another capture to the left? It's because these pages would look stupid with big empty boxes. Hey, us Photoshop people are very visual. Next page!
 | | | Step 4. | YOU CAN DOWNLOAD THE SAME PHOTOS I USE HERE IN THE BOOK
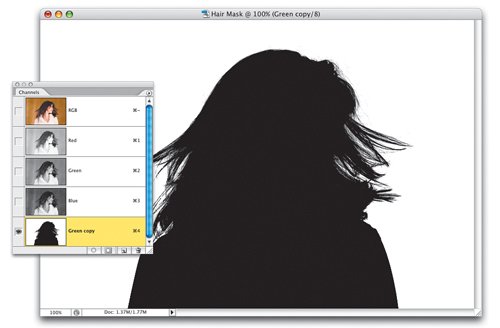
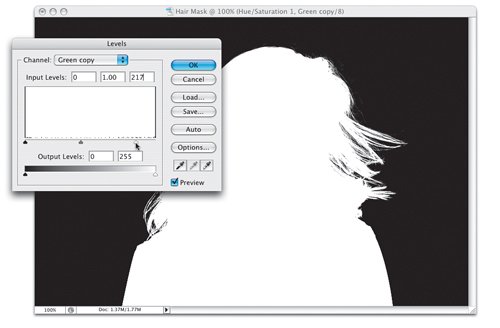
So basically, when you turn the next page we're launching right into our first tutorial. Even if you've used channels a little, and you kind of know your way around, do me a favor and follow along with the tutorials. You might still pick up a keyboard shortcut or tip you didn't know, plus the first chapter pretty much flies by. Also, if you want to follow along using the same photos I used here in the book, you can download them from the book's companion website at www.scottkelbybooks.com/channelsphotos. Some of the photos are my own photography, and some are from the nice folks at iStockphoto.com. Now, take a brief look at the inverted hair mask capture (just for fun) then move on.
 | Step 5. | I ADDED SOME Q&AS AT THE END OF EVERY CHAPTER, TOO. SEE, I CARE
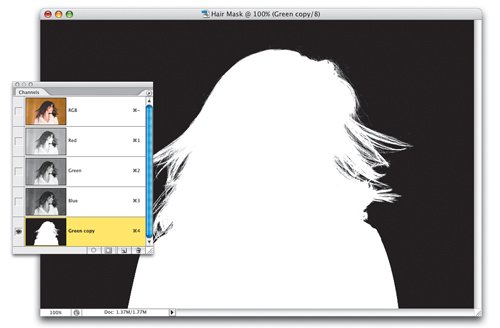
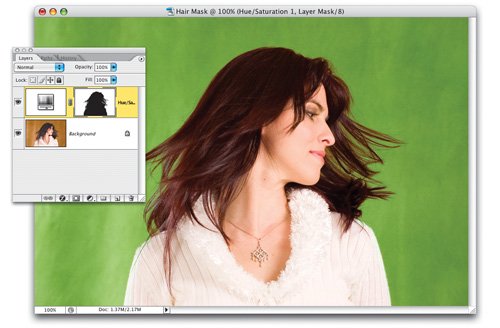
The downside of having these detail boxes is that sometimes I don't have enough room to answer all the questions that pop up while we're doing a technique. So for the first time ever, I added a Q&A section to the end of every chapter, and I hope you find it helpful. By the way, if you're wondering whether you'll get to learn how to do hair masks like the one shown here, the answer is "you betcha!" In fact, hair masks like this will soon seem so simple that you'll be dying to find photos of people with their hair blowing in the wind. Okay, that's an exaggeration, but at least you'll fear them no more. Hairy people, I mean. Next step, please.
 | | | Step 6. | YOU CAN STOP READING FOR A MINUTE TO GO VISIT ISTOCKPHOTO.COM. I'LL WAIT FOR YOU
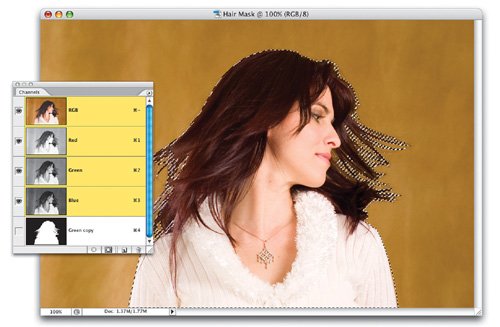
Two last things, then I'm turnin' you loose: (1) I mentioned iStockphoto.com two steps ago. They were nice of enough to provide us both with low-res versions of their photos to practice along with, and they've got a really fascinating community of designers and photographers. So, do me (and yourself) a favor and stop by iStockphoto.com and check it out for yourself. By the way, they didn't ask me for a plug, but they were so nice, I had to do it. (2) There's the chapter intro issue. It's not this "Chaptroduction." I mean the brief introduction before each chapter. You may have already read the one before this chapter, and it probably has you at least somewhat concerned.
 | Step 7. | WARNING: THE INTRO TO EACH CHAPTER IS, WELL…DIFFERENT THAN THE REST OF THE BOOK. FOR SURE
See, here's the thing: like I said, this is a "Show me how to do it" book, so throughout it I write stuff like "Go to the Channels palette and duplicate the Green channel." It's not riveting prose, so there's little chance for me to express myself as a writer. So, in the introduction to each chapter, I do just thatI loosely explain what's ahead in each chapter, just for my own sanity. The key word there is "loosely." If you're a serious, no nonsense person (a "meanie"), just skip those intros. Please. Otherwise, just know that I was totally hammered when I wrote them. Well, here we go. No turning back now. Hoist the sails! Hang on Sloopy. Etc.
 |
|