Studio Portrait Correction Made Simple
| If you're shooting in a studiowhether it's portraits or productsthere's a technique you can use that makes the color-correction process so easy that you'll be able to train laboratory test rats to correct photos for you. In the back of this book, I've included a color swatch card (it's perforated so you can easily tear it out). After you get your studio lighting set the way you want it, and you're ready to start shooting, just put this swatch card into your shot (just once) and take the shot. What does this do for you? You'll see. Step One©FELIX NELSON
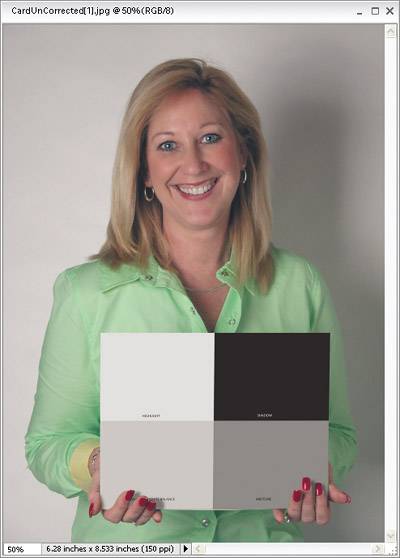
When you're ready to start shooting and the lighting is set the way you want it, tear out the swatch card from the back of this book and place it within your shot (if you're shooting a portrait, have the subject hold the card for you), and then take the shot. After you've got one shot with the swatch card, you can remove it and continue with the rest of your shoot. Step Two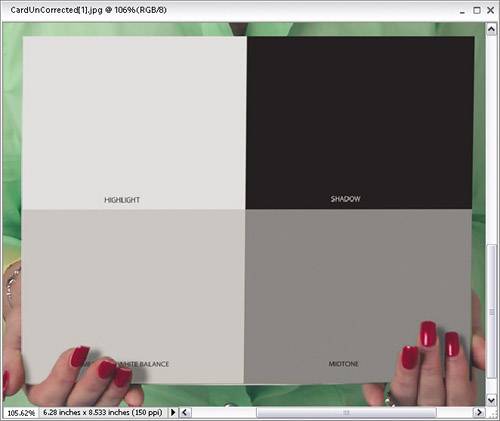 When you open the first photo taken in your studio session, you'll see the swatch card in the photo. By having a card that's pure white, neutral gray, and pure black in your photo, you no longer have to try to determine which area of your photo is supposed to be black (to set the shadows), which area is supposed to be gray (to set the midtones), or which area is supposed to be white (to set the highlights). They're right there in the card. Note: I've even included a Camera Raw White Balance swatch if you're working with RAW files. See "Editing Your RAW Images in Camera Raw" in Chapter 2 for more info. Step Three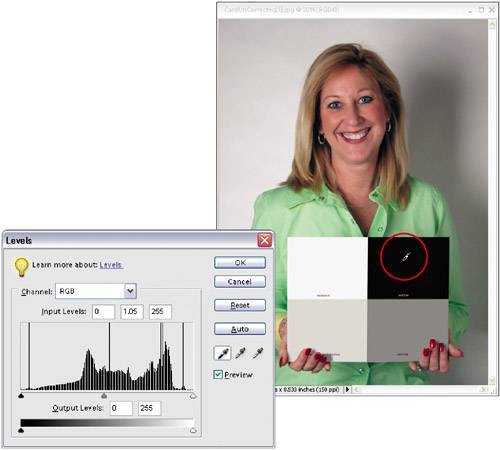 Press Control-L to bring up the Levels dialog. Click the black Eyedropper on the black panel of the card (to set shadows), the middle Eyedropper on the gray (for midtones), and the white Eyedropper on the white panel (sets the highlights), and the photo will nearly correct itself. No guessing, no Threshold adjustment layers, no using the Info palette to determine the darkest areas of the imagenow you know exactly which part of that image should be black and which should be white. Step Four
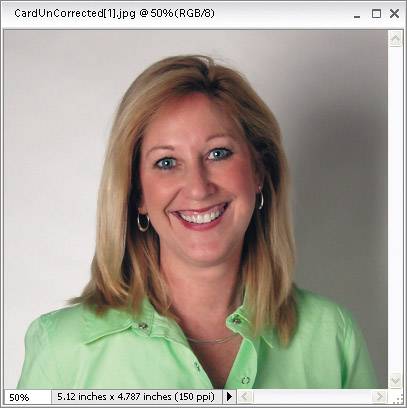
Press C to get the Crop tool, crop the card out of the image, and you're set. Best of all, now that you have the Levels setting for the first image, you can correct the rest of the photos using the same settings: Just open the next photo and press Control-Alt-L to apply the exact setting to this photo that you did to the swatch card photo. Or, you can use the "Drag-and-Drop Instant Color Correction" method that appears in this chapter. TIP If you want to take this process a step further, many professionals use a Macbeth color-swatch chart (from GretagMacbeth; www.gretagmacbeth.com), which also contains a host of other target colors. It's used exactly the same way: Just put the chart into your photo, take one shot, and then when you correct the photo, each color swatch will be in the photo, just begging to be clicked on. |
EAN: 2147483647
Pages: 201