Cropping without the Crop Tool
| Sometimes it's quicker to crop your photo using some of Elements' other tools and features than it is to reach for the Crop tool every time you need a simple crop. This is the method I probably use the most for cropping images of all kinds (primarily when I'm not trying to make a perfect 5x7", 8x10", etc.I'm basically just "eyeing" it). Step One©SCOTT KELBY
Start by opening a photo in the Elements Editor that you need to crop, and press M to get the Rectangular Marquee tool from the Toolbox. (I use this tool so much that I usually don't have to switch to itmaybe that's why I use this method all the time.) Drag out a selection around the area you want to keep (leaving all the other areas outside the selection that you want cropped away). Step Two
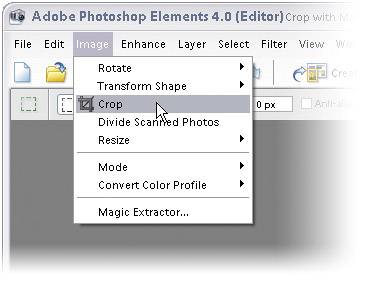
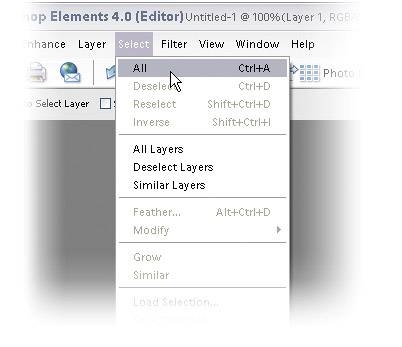
Choose Crop from the Image menu. When you choose Crop, the image is immediately cropped. There are no crop handles, no dialogsbangit just gets croppeddown and dirty, and that's why I like it. Just press Control-D to deselect. TIP One instance of where you'll often use the Crop command from the Image menu is when you're creating collages. When you drag photos from other documents onto your main document and position them within your collage, any parts of the images that extend beyond the document borders are actually still there. So to keep your file size manageable, choose All from the Select menu or press Control-A, then choose Crop from the Image menu. This deletes all the excess layer data that extends beyond the image border and brings your file size back in line. To deselect, press Control-D.
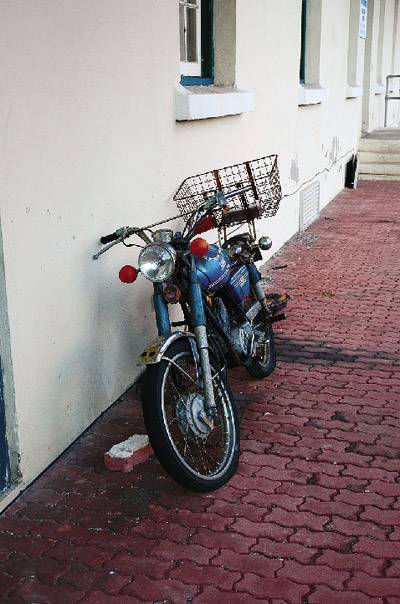
Before
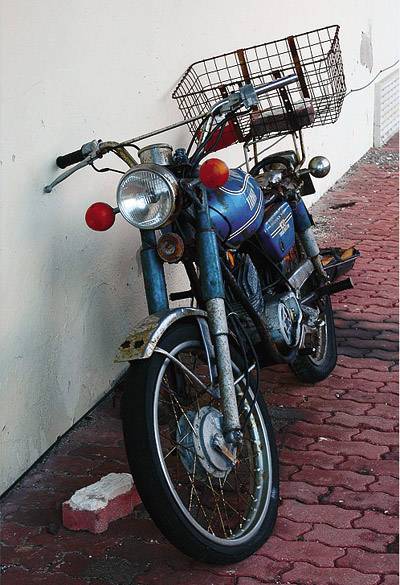
After
|

EAN: 2147483647
Pages: 201