How to Email Photos
| Believe it or not, this is one of those most-asked questions, and I guess it's because there are no official guidelines for emailing photos. Perhaps there should be, because there are photographers who routinely send me high-res photos that (a) get bounced back to them because of size restrictions, (b) take all day to download, or (c) never get here at all because there are no official guidelines on how to email photos. In the absence of such rules, consider these the "official" unofficial rules. Step One©SCOTT KELBY  Open the photo that you want to email in the Elements Editor. Go under the File menu and choose Attach to Email. (Note: You may get an Email dialog asking you to choose an email client as your default. Choose your email client [Microsoft Outlook, etc.] from the pop-up menu and click Continue.) Step Two This opens your photo in the Attach to Email dialog. The first decision to make is: Who do you want to email this photo to? (Adobe calls this simple task Select Recipients, because that makes it sound significantly more complicated and confusing.) To choose who will receive your photo by email, click in the checkbox beside the contacts (who are in your Contact Book. If a contact isn't in the list, click on the Edit Contacts button at the bottom center of the dialog to add a contact to the list). Step Three
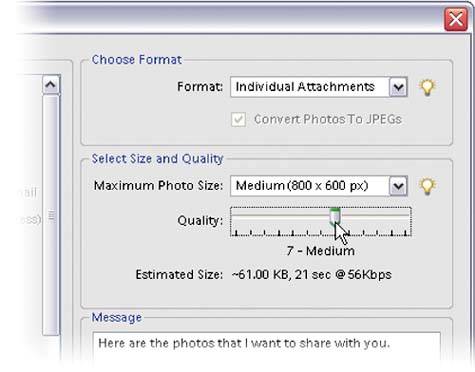
In the Choose Format section, leave it set at Individual Attachments. Then, in the Select Size and Quality section, choose the size at which you'd like to send your image. If you choose an image size other than the original size of the photo, you also get to choose a Quality setting. Remember: The higher the quality, the larger your file size will be, so try to find a happy medium. Try a 7 or an 8. Only go higher if you know the person to whom you're emailing this presentation has a high-speed Internet connection. Step Four
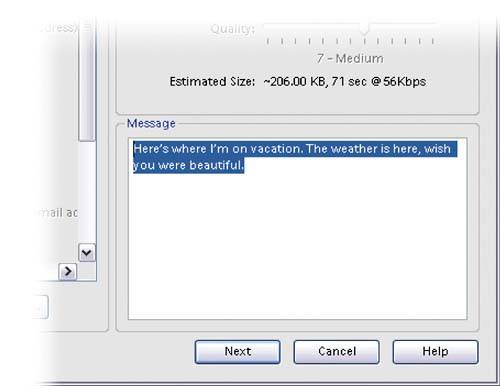
If you'd like to add a message to your email (like "Here's where I'm on vacation. The weather is here, wish you were beautiful," etc.), enter that in the Message area in the bottom-right corner of the dialog. Step Five
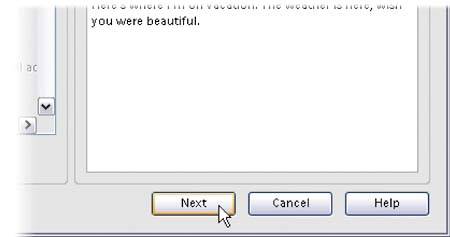
Once your options are set, click the Next button in the bottom right-hand corner of the dialog. Clicking Next launches your default email application and your photo and message are automatically attached. All that's left to do now is click the Send button and it's on its way. |
EAN: 2147483647
Pages: 201