Luminosity Sharpening
| Okay, you've already learned that sharpening totally rocks, but the more you use it, the more discerning you'll become about it (you basically become a sharpening snob), and at some point, you'll apply some heavy sharpening to an image and notice little color halos. You'll grow to hate these halos, and you'll go out of your way to avoid them. In fact, you'll go so far as to use this next sharpening technique, which is fairly popular with pros shooting digital (at least with the sharpening-snob crowd). Step One©SCOTT KELBY  Open a photo that needs some moderate to serious sharpening. Step Two
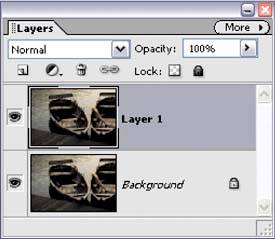
Duplicate the Background layer by going under the Layer menu, under New, and choosing Layer via Copy (or press Control-J). This will duplicate the Background layer onto a new layer (Layer 1). Step Three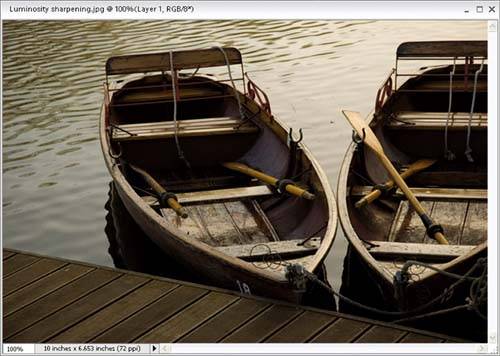
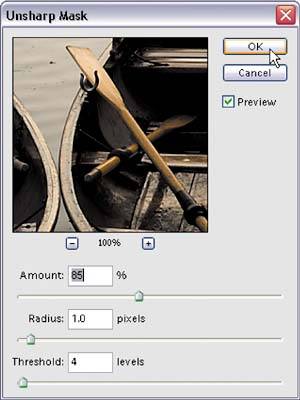
Go under the Filter menu, under Sharpen, and choose Unsharp Mask. (Note: If you're looking for some sample settings for different sharpening situations, look at the "Basic Sharpening" tutorial at the beginning of this chapter.) After you've input your Unsharp Mask settings, click OK to apply the sharpening to the duplicate layer. Step Four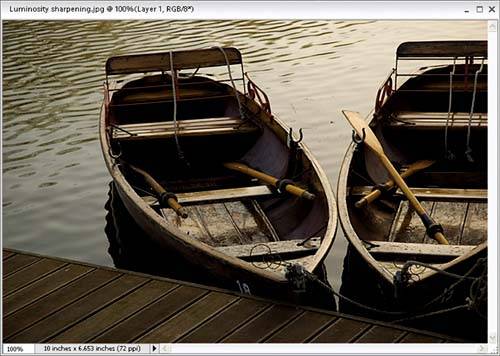
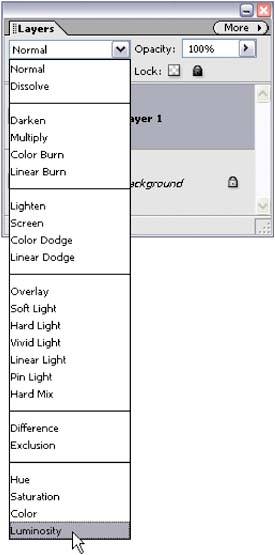
Go to the Layers palette and change the layer blend mode of this sharpened layer from Normal to Luminosity. By doing this, it applies the sharpening to just the luminosity (lightness details) of the image, and not the color. This enables you to apply a higher amount of sharpening without getting unwanted halos. You can now choose Flatten Image from the Layers palette's More flyout menu to complete your Luminosity sharpening. Before
After
|


EAN: 2147483647
Pages: 201