2.4 WebSphere Application Server V5.0 Enterprise installation
|
| < Day Day Up > |
|
2.4 WebSphere Application Server V5.0 Enterprise installation
This section describes the installation of WebSphere Application Server V5.0 Enterprise edition. This edition addresses large information technology (IT) production scenarios for applications that are designed according to the core, standards-based programming model of Java 2 Platform, Enterprise Edition (J2EE) and Web services.
2.4.1 Installing WebSphere Application Server V5.0 Enterprise
This section provides step-by-step instructions for installing WebSphere Application Server Enterprise edition with the least amount of configuration.
-
Insert and mount the WebSphere Application Server V5 Enterprise CD-ROM on the X desktop:
# mount /mnt/cdrom
-
Start the WebSphere Application Server Enterprise LaunchPad:
# cd /mnt/cdrom # ./LaunchPad.sh
Note If you install WebSphere Application Server Enterprise with a .tar file, you can use the tar command to extract all files, and then use the cd /linuxppc/ and ./LaunchPad.sh commands.
# tar -xvf c51vmml.tar # cd /linuxppc # ./LaunchPad.sh
-
In the language selection window, select your language and click OK. We chose English.
-
In the WebSphere Application Server Enterprise LaunchPad window, click Install the product, as shown in Figure 2-70.
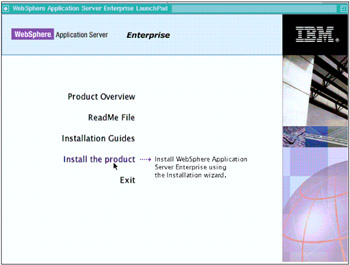
Figure 2-70: Clicking Install the product on the LaunchPad window -
In the wizard language selection window, select your language and click OK. Again we chose English.
-
In the Welcome to Websphere Application Server window, click Next.
-
In the software licence agreement window, select I accept the terms in the license agreement and click Next to accept the terms of the agreement.
-
If you install Enterprise to the existing base product, you can add the Enterprise extensions to it, or install to a new directory. In our case we selected Add to the existing copy of WebSphere Application Server, v5.0, as shown in Figure 2-71.
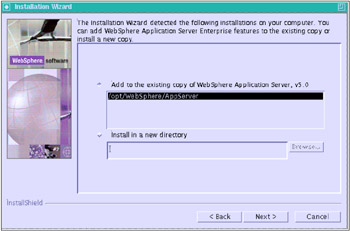
Figure 2-71: Selecting the existing base product to install Enterprise -
In the setup type window, select the specific type and click Next. We chose the Typical type, as shown in Figure 2-72.
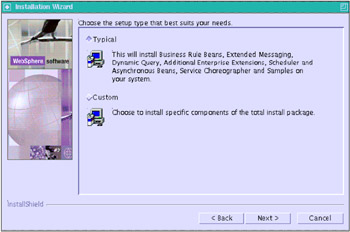
Figure 2-72: Selecting the Typical setup type-
Typical: All of the Enterprise features are installed.
-
Custom: You can select the specific features.
If you select the Custom type, you can select the feature to install, as shown in Figure 2-73. Click Next.
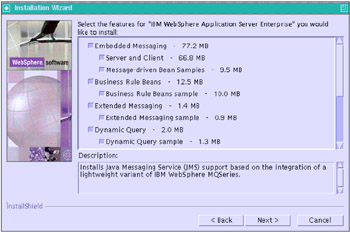
Figure 2-73: Selecting the specific features -
-
In the next window, you can change the installation path for the WebSphere Application Server Network Deployment. We used the default directory, as shown in Figure 2-74.
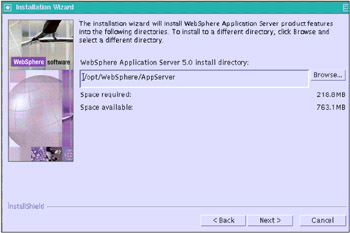
Figure 2-74: Setting the installation directory -
In the next window, verify your installation settings, and click Next to start the installation. At the bottom of the window shown in Figure 2-75 is a list of the base features needed for the Enterprise features you selected. Those features are installed automatically.
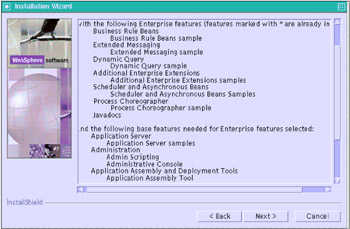
Figure 2-75: Verifying the installed features— Typical -
In the next window, uncheck Register this product now and click Next, as shown in Figure 2-76.
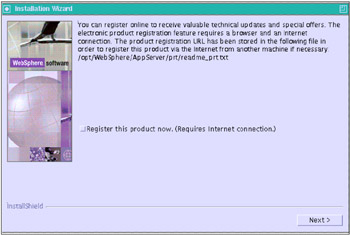
Figure 2-76: Uncheck the register option -
Once the installation is completed, click Finish, as shown in Figure 2-77.
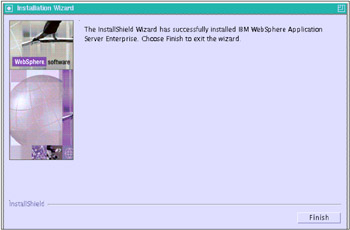
Figure 2-77: Finishing the installation wizard
2.4.2 Verifying the installation
To verify Enterprise functions, run the samples. The steps to verify Enterprise extensions are the following:
-
Start the server using the following command:
# /opt/WebSphere/AppServer/bin/startServer server1
-
Open the Administrative Console. Start your Web browser and enter the following URL:
http://host_name:9090/admin
-
The Login window appears. Enter a user ID and click OK. The window shown in Figure 2-78 appears after you log in. If you can see the Enterprise console, everything is installed correctly.
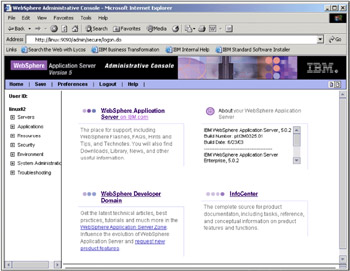
Figure 2-78: Administrative console— Enterprise -
Start the HTTP Server to run the sample applications. If you installed IBM HTTP Server, use the following commands:
# cd /opt/IBMHttpServer/bin # ./apachectl start
-
Run the Sample Gallery from the following URL:
http://host_name/WSsamples/en/index.html
-
Follow the links and instructions on this page to access samples of Enterprise extensions.
Running the sample successfully indicates that the functionality of the extension is fully operational.
|
| < Day Day Up > |
|
EAN: 2147483647
Pages: 56