Unit Testing
To test the File Download application:
-
Set the path of the bin directory of J2SDK by executing the following command at the command prompt:
set path=%path%;D:\j2sdk1.4.0_02\bin;
-
Set the classpath of the lib directory of J2SDK by executing the following command at the command prompt:
set classpath = %classpath%;d:\j2sdk1.4.0_02\lib;
-
Copy the FileRemote.java, FileRemoteImpl.java, FileInfo.java, FileServer.java, FileClient.java, and ProgressTest.java files to a folder on your computer. On the command prompt, use the cd command to move to the folder where you have copied the Java files. Compile the files using the following javac command:
javac *.java
-
Generate the stub and skeleton files for the File Download application using the following command:
rmic FileRemoteImpl
-
Start the RMI registry using the following command:
start rmiregistry
-
Copy the FileRemote.class, FileRemoteImpl.class, FileInfo.class, FileServer.class, FileRemoteImpl_Stub.class, and FileRemoteImpl_Skel.class files to the folder, named Server, where your server machine is hosted. On the command prompt, use the cd command to move to the folder where you have copied the class files.
-
Run the server of the File Download application using the following command at the command prompt:
java FileServer
-
Copy the FileRemoteImpl.class, FileInfo.class, FileRemoteImpl_Stub.class, FileClient.class, and ProgressTest.class files to the folder, named Client, where your client machine is hosted. On the command prompt, use the cd command to move to the folder where you have copied the class files.
-
Create a java.policy file to authenticate the client to access the remote object using the following command:
Policytool
-
Run the client of the File Download application. You need to specify the IP address of the server on the command line. To execute the client, specify the following command at the command prompt:
java FileClient 192.168.0.36
-
Click the Get File List button on the File Download Application window to display the list of files that are available for download. The File Download Application window with the file list appears, as shown in Figure 3-4:
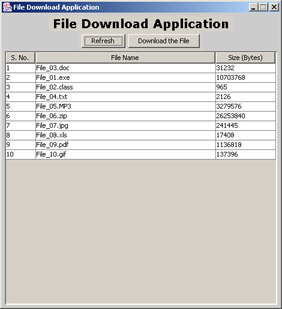
Figure 3-4: Displaying File Download Application
-
Click the Download the File button without selecting any file from the table. An error message appears, as shown in Figure 3-5:
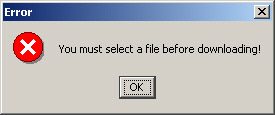
Figure 3-5: Error Dialog Box
-
Select a file that you want to download.
-
Click the Download the File button to start the file download process. A Confirm dialog box appears, as shown in Figure 3-6:
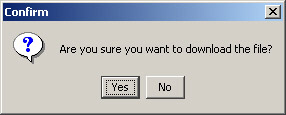
Figure 3-6: Confirm Dialog Box
-
Click OK in the Confirm dialog box. A Save dialog box opens, as shown in Figure 3-7:
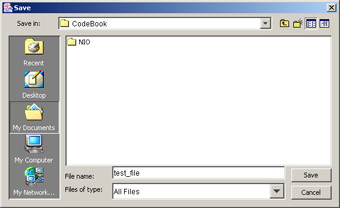
Figure 3-7: Save Dialog Box
-
Click the Save button of the Save dialog box. A Download Status dialog box opens, as shown in Figure 3-8:
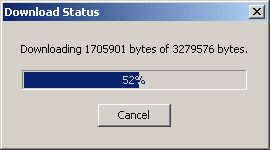
Figure 3-8: Download Status Dialog BoxTo stop the download, the end user can click Cancel. After download, a Download Complete dialog box opens, as shown in Figure 3-9:
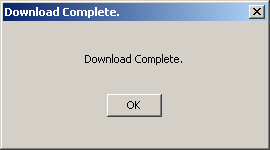
Figure 3-9: Download Complete Dialog Box
EAN: N/A
Pages: 55