Chapter 11: Create a Custom Form
Chapter at a Glance

In this chapter, you will learn to:
-
Create a custom form.
-
Initialize a form.
-
Check for invalid input values in a text box.
-
Run macros from a form.
Get a 3-foot-by-4-foot piece of plywood and some cans of blue, yellow, and orange paint. Drip, dribble, splash, and spread the paint on the plywood. You now have-a mess. But put a $500 frame around the painted plywood, and you now have-a work of art! Even serious art doesn’t look earnest without a good frame.
And even the finest diamond brooch doesn’t look like a precious gift if given in a paper bag.
Similarly, you can write macros that are practical, convenient, and useful, but until you put a frame around them-until you tighten them up, make them easy to use, and package them-you don’t have a truly valuable application. One excellent way to make a functional macro easy to use and valuable is by creating a custom dialog box, or user form.
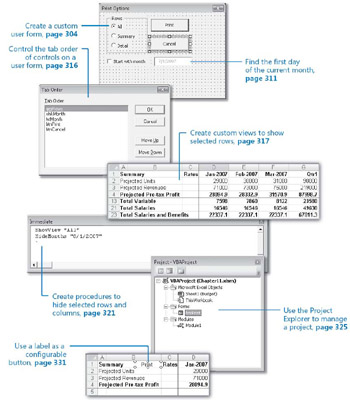
In this chapter, you’ll learn how to create the user interface of a user form, create the functionality for the form, and implement the form by linking the two together into an integrated tool.
| On The CD-Important | Before you complete this chapter, you need to install the practice files from the book’s companion CD to their default locations. See “Using the Book’s CD” on page xv for more information.
|
EAN: 2147483647
Pages: 99