Section 9.1. Getting Data from a Database
To see how to interact with a database, you'll begin by creating a web application that can be used to display information about the NorthWind database (that comes with SQLExpress and SQL Server).
Start by creating a new web site called WebNorthWind .
You'll be working with the Customers table in the NorthWind database, so rename your .aspx file from default.aspx to Customers.aspx .
|
You need a connection to the database. You can explicitly create one, or you can use a control that depends on having a connection and one will be created for you. Let's start by explicitly creating one.
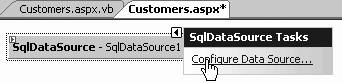
Drag a SqlDataSource control onto the form (see Figure 9-1). You can drag and drop this control either into Design view or into Source view. Switch to Design view, and click on the smart tag to open its menu. Clicking on Configure Data Source... opens the Configure Data Source Wizard. Your first option is to choose an existing connection or to press the button to create a new connection.
Figure 9-1. SqlDataSource control on form
|

 Non Visual Controls.
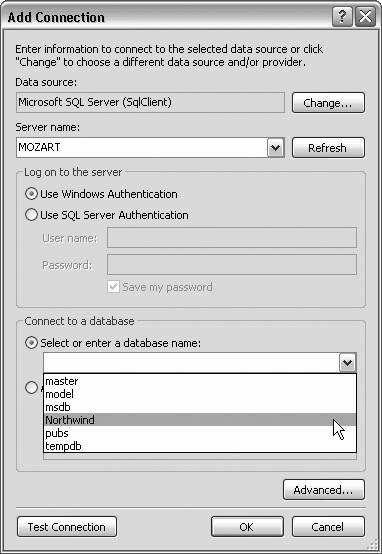
 Click on New Connection. When you create a new connection, you'll be asked to fill in the Server name. Decide if you want to use a trusted connection (Windows Authentication) or use a specific username and password, and you'll be asked which database to connect to (as shown in Figure 9-2).
Figure 9-2. Adding connection to Northwind
|
Click the Test Connection button to ensure that your connection is correct. Then click OK to save the connection.
You have the option to save the connection string in the application file (the alternative is to save the connection string in the page as a property of the control). Generally, you'll want to save the connection string in the application file where it is more secure and encrypted, as shown in Figure 9-3.
Figure 9-3. Saving the connection

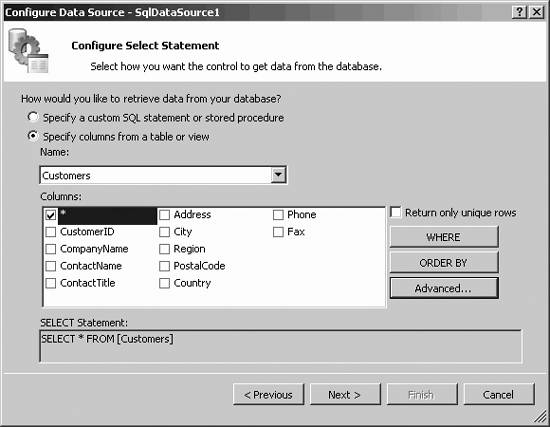
The next step is to specify your query or to pick the columns you want from a specific table (see Appendix B for a crash course on relational databases and querying for data). For this example, you'll choose all the columns from the Customers table, as shown in Figure 9-4.
Figure 9-4. Choosing the Customers table
|
The next step in the wizard allows you to test your query, as shown in Figure 9-5.
Figure 9-5. Testing the query
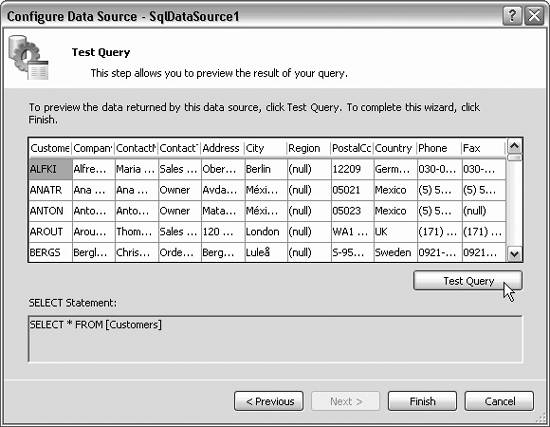
Clicking Finish creates the connection.
EAN: 2147483647
Pages: 173
- ERP System Acquisition: A Process Model and Results From an Austrian Survey
- Distributed Data Warehouse for Geo-spatial Services
- Intrinsic and Contextual Data Quality: The Effect of Media and Personal Involvement
- Healthcare Information: From Administrative to Practice Databases
- Relevance and Micro-Relevance for the Professional as Determinants of IT-Diffusion and IT-Use in Healthcare