Preparing Your System for Installation with a Prism 2 Chipset Card
|
| < Day Day Up > |
|
Wireless cards based on the Prism 2 chipset are very popular with Kismet users. One reason for this is their availability. Many manufacturers make cards using the Prism 2 chipset, including the original Linksys cards, Netgear, SMC, and Cisco. Another reason for their popularity among Kismet users is the ease of installation. Unlike Hermes-based cards, Prism 2 cards do not require a driver patch in order to be placed into monitor mode.
Using a Prism 2–based card with Kismet only requires installing the wlan-ng drivers and fixing a known bug in Fedora that causes the wlan-ng installation to break the PCMCIA services.
Downloading and Installing the wlan-ng Drivers
In order for your Prism 2–based PCMCIA wireless card to work with Fedora, you need to download and install the wlan-ng drivers. These drivers are available for download from www.linux-wlan.com/linux-wlan/. At the time of this writing, the version of the wlan-ng drivers was linux-wlan-ng-0.2.1-pre17. All of the examples used in this section are based on this version. If you use a different version of wlan-ng, you need to substitute the version information appropriately.
Once you have downloaded linux-wlan-ng-0.2.1-pre17.tar.gz, you need to switch to the root user, as shown in Figure 5.10, if you have not done so already.
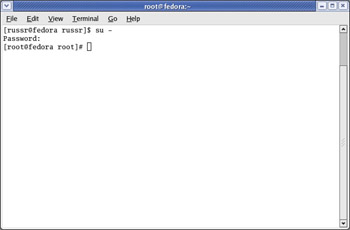
Figure 5.10: Using the su Command to Switch User to root
Next, uncompress and untar the linux-wlan-ng-021-pre17.tar.gz file, as shown in Figure 5.11.
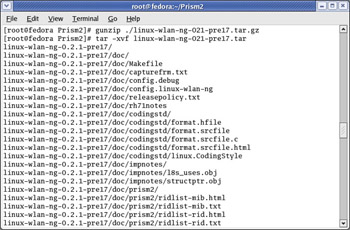
Figure 5.11: Uncompressing and Untarring the Drivers
This creates a directory called linux-wlan-ng-0.2.1-pre17 with several subdirectories. Change to the linux-wlan-ng-0.2.1-pre17 directory as shown in Figure 5.12
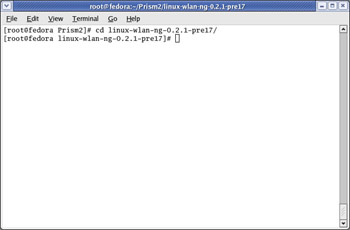
Figure 5.12: Changing to the Newly Created Directory
Building the linux-wlan-ng-0.2.1-pre17 drivers is a relatively simple process. First, issue the make config command, as shown in Figure 5.13.
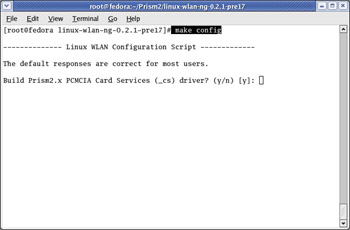
Figure 5.13: Building the Drivers
You will be prompted to answer several questions. In most cases, the configure script is able to determine the correct answer and prompts it as the default, as shown in Figure 5.14.
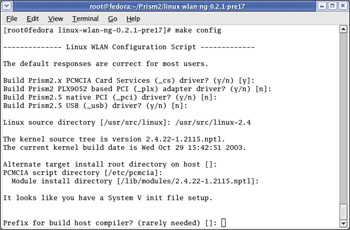
Figure 5.14: The Configure Script Questions
If the default answer is not correct, particularly in regard to paths, enter the correct answer. For this installation of Fedora, the path to our kernel source code is actually /usr/src/linux-2.4/, not the default answer of /usr/src/linux/.
| Note | If you installed Fedora with the Full Install option, the source code files for the kernel may actually be installed in /usr/src/linux. You can check this for sure by running the command ls –ls /usr/src. |
If your answers were correct, you will see a message stating that the configuration was successful after the configure script completes. A successful configuration is shown in Figure 5.15.
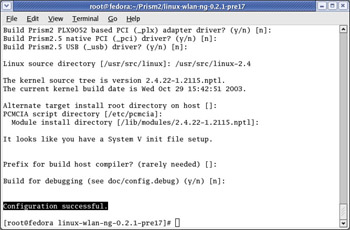
Figure 5.15: The Configuration Was Successful
Next, issue the make all command, as shown in Figure 5.16. The make all command compiles the wlan-ng drivers.
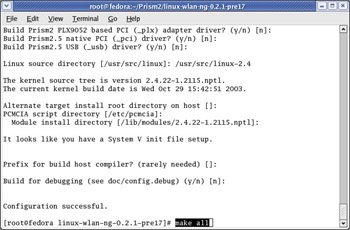
Figure 5.16: Issuing the make all Command
Finally, issue the make install command to install the drivers in the appropriate directory, as shown in Figure 5.17.
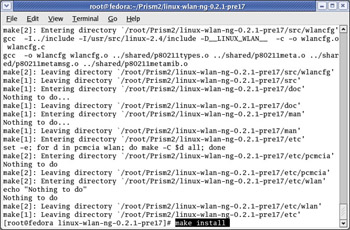
Figure 5.17: Installing the New wlan-ng Drivers
wlan-ng Issues with Fedora
The installation of the wlan-ng drivers will normally break the Fedora installation of PCMCIA. You’ll need to edit the /etc/init.d/pcmcia and remove the .o from the following lines in the files (see also Figure 5.18):
-
/sbin/modprobe pcmcia_core.o $CORE_OPTS
-
/sbin/modprobe $PCIC.o $PCIC_OPTS
-
/sbin/modprobe ds.o
The resulting lines should look like this:
-
/sbin/modprobe pcmcia_core $CORE_OPTS
-
/sbin/modprobe $PCIC $PCIC_OPTS
-
/sbin/modprobe ds
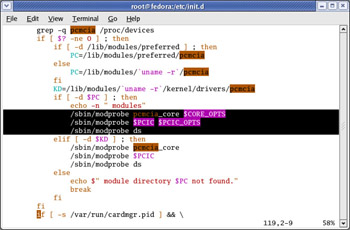
Figure 5.18: Fedora Installation of PCMCIA
When the changes have been made, you will need to restart the PCMCIA services. This is done by typing in the command /etc/rc3.d/S24pcmcia restart. See Figure 5.19 for an example.
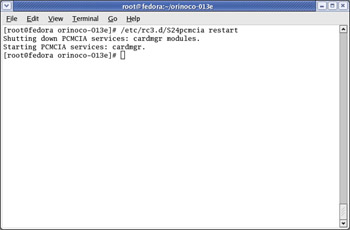
Figure 5.19: Restarting the PCMCIA Services
Next, reboot your system and insert your Prism 2 card in a PCMCIA slot during post. If the linux-wlan-ng drivers installed correctly, you will hear two short beeps during startup.
Verifying that It All Works
Verifying that the drivers installed successfully is very simple. Issue an ifconfig -a command. If the drivers installed correctly, a wlan0 device will be displayed, as shown in Figure 5.20.
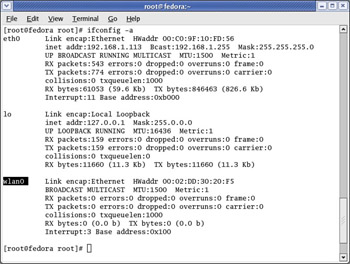
Figure 5.20: A Successful Installation
|
| < Day Day Up > |
|
EAN: 2147483647
Pages: 125