Creating and Configuring Local Printers
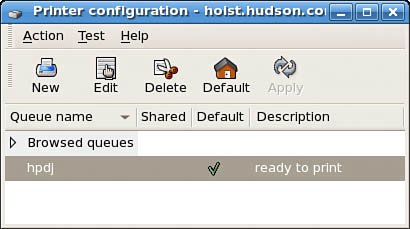
| Creating a local printer for your Fedora system can be accomplished in six easy steps. You must have root permission to use the system-config-printer client. The cupsd daemon should also be running before you begin (start the daemon manually as shown earlier in this chapter, or use the ntsysv, chkconfig, or system-config-services commands to ensure that lpd is started at boot time). To launch system-config-printer, select the Printing menu item from the GNOME or KDE desktop panel's System Settings menu or use the command line of an X terminal window like this: # system-config-printer &Creating the Print QueueThe Fedora system-config-printer tool walks you through a process to create a new print queue, which effectively defines a new printer on your system. To begin configuration of a local (attached) printer, click the New toolbar button in system-config-printer's main window. An Add a New Print Queue configuration dialog appears, as shown in Figure 12.1. Figure 12.1. Click the New toolbar button to start the configuration of a new printer for your system; when the wizard's dialog appears, click the Forward button to begin.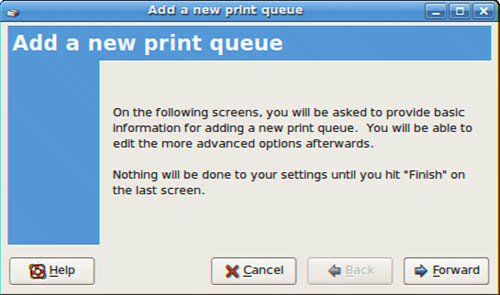 Click the Forward button; the Queue Name dialog appears. Type a desired name for the new printer (such as lp), enter a short description, and then click the Forward button. The Queue Type dialog appears, as shown in Figure 12.2. Click the queue type drop-down menu to select the type of printer you're adding. You can configure a local or networked printer supported by the Common UNIX Printing System (CUPS), the lpd daemon on a remote server, a Session Message Block (SMB) server, NetWare Core Protocol (Novell), or a JetDirect interface. To configure a printer attached to your computer, select the locally connected queue type, click to select the printer device (which might be /dev/lp0 or /dev/usb/lp0), and then click Forward. You can also use the Custom Device button to enter a different port, such as /dev/ttyS0, for a serial printer. Figure 12.2. Click the drop-down menu to select a locally connected printer queue type.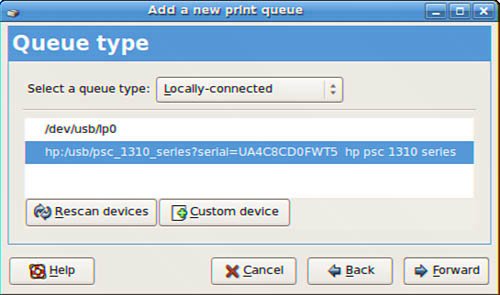 The Printer Model dialog shown in Figure 12.3 presents a drop-down menu you can use to choose the manufacturer of your printer, or you can simply choose a generic type of connected printer. Figure 12.3. Click the drop-down menu to select your printer's manufacturer or printer type.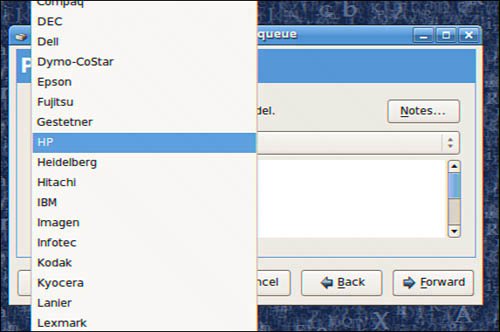 Note that you can configure a printer for Fedora even if it is not attached to your computer. After you select your printer's manufacturer, a list of printers from that manufacturer (such as HP, as shown in Figure 12.4) appears. Select your printer from the list, and then click the Forward button. Figure 12.4. Select your printer from the list and click the Forward button to finish the configuration of a locally connected printer.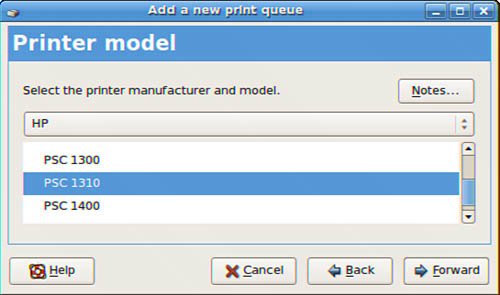 Do not worry if you do not see your printer listed in the selection; it is possible to select a related, although different, printer model and still be able to print to your printer. For example, many HP printers can be used by selecting the DeskJet 500 for monochrome or 500C model for color printing. Note You can also browse to http://www.linuxprinting.org/ to find out what drivers to use with your printer or to see a cross-referenced listing of printers supported by each driver. You might also find new and improved drivers for the latest printers on the market. You can experiment to see which printer selection works best for your printer if its model is not listed. You might not be able to use all the features of your printer, but you will be able to set up printing service. Click Forward when you have made your choice. The Finish and Create New Print Queue dialog shows you the printer type, printer device, and selected printer so that you can confirm the information is correct (see Figure 12.5). If you need to change the options, click Back to return to previous dialogs. To create the new print queue, click Finish. Figure 12.5. Double-check your settings before you commit to creating a new printer entry in /etc/printcap; when the settings are right, click Finish to create the new print queue.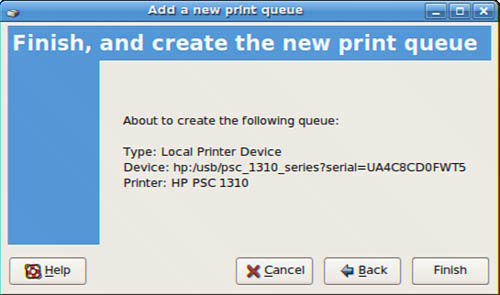 When the print queue has been created, you are asked whether you would like to print a test page. Click Yes to save your new printer setup and to print a test page. If you click No, a test page is not printed, and you have to delete the new printer entry or save or cancel your changes before you quit system-config-printer. You can see the new printer defined in the system-config-printer main window as shown in Figure 12.6. Figure 12.6. New printer entries created in /etc/printcap will be displayed in system-config-printer's main window. Tip You can also configure multiple print queues for the same printer. Use this technique to test printing using different print drivers with the same printer. Create a new queue, give it a specific name, (such as testpcl3), and select a different printer. Finish the configuration and print a test page to compare the results against other entries to find the best output. You can also use this technique to define a monochrome or color printer entry for the same printer or to use different drivers for different types of media (such as regular or photo paper). Editing Printer SettingsYou also use the system-config-printer tool to edit the newly defined printers. To edit the printer settings, highlight the printer's listing in the Printer configuration dialog, and then click on the toolbar's Edit button. The Edit a Print Queue dialog appears, as shown in Figure 12.7. Figure 12.7. Edit a printer's settings by using tabs in system-config-printer's Edit a Print Queue dialog.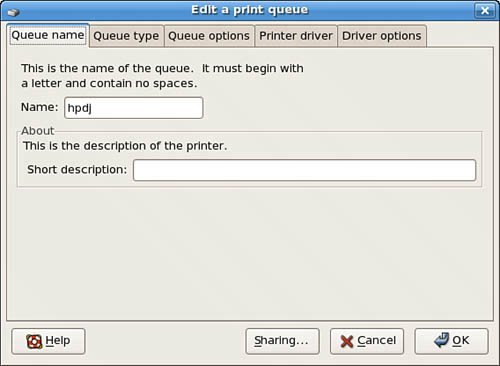 The first tab in this dialog enables you to assign a new name for the printer. In this example, the printer has the name lp. Other tabs in this dialog enable you to change the queue type or queue options (such as whether to print a banner page or set the image area of a page), to select or update the driver, or to choose available driver options for the printer (shown in Figure 12.8). Figure 12.8. A printer's driver settings can be changed in the Driver Options tab of system-config-printer's Edit a Print Queue dialog.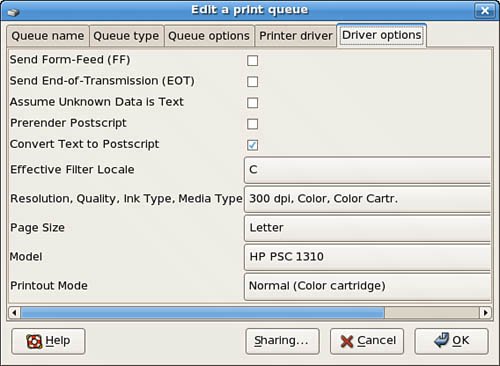 Click the Help button to read detailed information about the different options, which are used to force a page eject, support character rendering, and set a different resolution or a default page orientation. Printer/driver notes are available if you are selecting a different driver in the Printer Driver tab. When you finish editing your printer definition (or queue), click the OK button. Use the Apply command in the Action menu to save the definition and automatically restart the cupsd daemon. This step is extremely important; you have to update the printer settings and restart the cupsd daemon to force it to reread your new settings. Click Quit from the Action menu when finished.
|
EAN: 2147483647
Pages: 362