Creating and Using Captivate Project Templates


You can save movies as templates. The advantage to templates is they introduce consistency to your design efforts and are reusable.

As in other applications, such as page layout or multimedia applications, templates also contain commonly used items such as logos. In Captivate, these items could include corporate identification, a common opening and closing frame, and even a common movie size. The advantage to you is a reduction in production time and a consistent look and feel that meets the corporate design standard.

To create a project template

1.

Record and save a Captivate movie.

2.

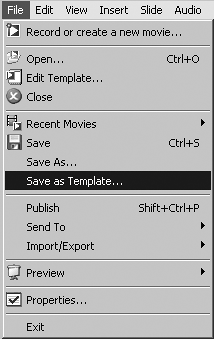
Select File > Save as Template (Figure 2.14) to open the Save As dialog box.

Figure 2.14. You can save movies as templates.


3.

Enter a name for the project template.

4.

Click Save.

Tip

  • Captivate templates have the .cpt extension, and all templates are saved to the Templates folder located in the Captivate application folder.


To edit a project template

1.

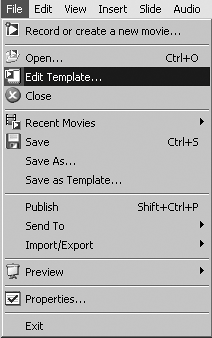
Open Captivate and select File > Edit Template (Figure 2.15). The Open window opens, displaying the templates in the Templates folder.

Figure 2.15. You can also edit templates.


2.

Double-click the template you want to open.

3.

Make your changes to the template and, when finished, select File > Save.

4.

When the file has been saved, select File > Close.

To use a template to create a new movie

1.

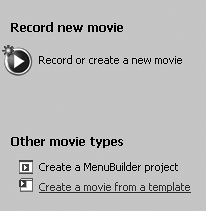
Open Captivate and click "Create a movie from a template" in the Other Movie Types area of the Start screen (Figure 2.16).

Figure 2.16. You can record a new movie from a template right from the Start page.


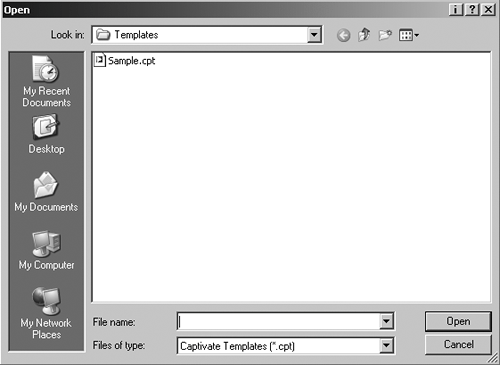
The Open dialog box appears, displaying the list of templates in the Captivate folder on your hard drive (Figure 2.17).

Figure 2.17. Templates use the .cpt file extension.


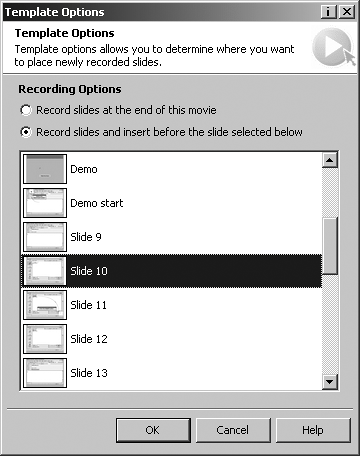
The Template Options dialog box opens (Figure 2.18).

  • Record slides at the end of this movie Select if the template contains slides that are always played first.

  • Record slides and insert before the slide selected below Select if the slides are to be added throughout the template. If you select a slide in the list of thumbnails, the capture will be placed between the selected slide and the one under it.

Figure 2.18. Template options enable you to decide where new slides will be placed.


Click OK to close the Template options dialog box. When the dialog box closes the recording window opens.

2.

Click the Record button to start recording.

3.

Press the End key to stop recording.

The new frames appear in the Storyboard View panel in the location you set in step 3.


Macromedia Captivate for Windows. Visual QuickStart Guide
ISBN: 321294173
EAN: N/A
Year: 2003
Pages: 130

flylib.com © 2008-2017.
If you may any questions please contact us: flylib@qtcs.net