Becoming Comfortable at the Command Line
| You're already familiar with a few file management commands from Chapters 6 and 7, such as ls, mv, cp, and rm. Feel free to try out a few of them now, just to get a feel for the way virtual consoles interact. For example, try getting a long directory listing of the /bin directory. Recall that you obtain long directory listings by appending the -l argument to the ls command, so the command to get a long listing of the /bin directory is [you@workstation20 ~]$ ls -l /bin The results of this command are shown in Figure 18.3. Figure 18.3. The long directory listing of the /bin directory, generated by typing ls -l /bin.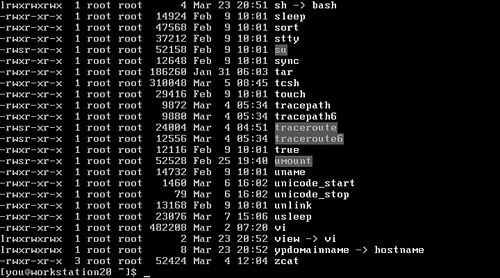 Feel free to try out a few more commands now. For example, get a directory listing of your home directory or navigate the file system a little bit using the tools you gained in Chapter 6. Feel free to experiment. Scrolling Content in Virtual ConsolesAs you viewed the tail end of the directory listing shown in Figure 18.3, you saw some familiar things: executable files, symbolic links, and file permissions flags. You probably also noticed, however, that most of the directory listing had scrolled past the top of the console. While using a virtual console, you'll often find yourself wishing you could see what commands or what outputs have scrolled past the top of the screen. As you might imagine, there is a way to do just that:
Note that if you have scrolled up by pressing Shift+PgUp repeatedly, you don't need to return to the command prompt by pressing Shift+PgDn repeatedly before you can enter a new command. Just begin typing a new command, and the display automatically returns to the most recent command prompt. Using Command HistoryAs you begin to have longer sessions at the command line, performing more complex tasks and in greater quantities, you will begin to find yourself wanting to repeat commands that you entered earlier or to recall a previously entered command that gave the results you wanted. A feature called the command history allows you to do just that. To view the command history for a Terminal or virtual console session you're working in, just type the word history at the command prompt. The history command displays a chronological list of the commands you've entered and associates each one with a number. Sample output from the history command in a virtual console is shown in Figure 18.4. Figure 18.4. The output from the history command lists entered commands in chronological order, from oldest to newest. Note that the history command itself appears in the list, too.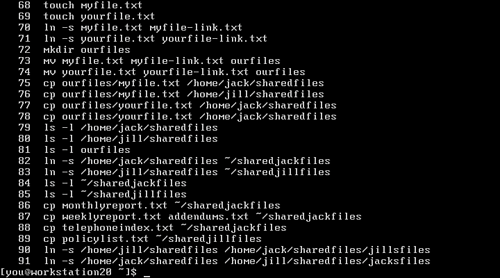 As you can see, the output of the history command gives you a concise list of all the commands you've recently run. Notice, too, that each command is prefaced by a number. After using the history command to see the list of recently run commands, you can repeat any of them simply by entering an exclamation point followed by the number of the command in question. For example, Figure 18.4 shows the command ls l ~/sharedjackfiles Assuming you're the user of the virtual console shown in Figure 18.4, to repeat this command, you need only type [you@workstation20 ~]$ !84 to repeat the command once again just as if you had typed it at the command prompt.
In addition to the history command, there is another way to access your command history that is often even more convenient. At any command prompt, simply press your up-arrow key to display the last command you entered, just as if you had typed it at the command prompt; you can then press Enter to reuse the command. (You may need to try pressing your own up-arrow key now to understand the effect.) Pressing the up-arrow key repeatedly "steps back" through the commands in your history, showing earlier and earlier commands as if you had just entered them. Pressing Enter at any time executes the command as if you had typed it yourself. Similarly, pressing the down-arrow key "steps forward" through the list of commands in your history if you have already pressed the up-arrow key a number of times.
Using Command-Line Editing FeaturesAs you progress through the following few chapters, you'll also find yourself typing progressively longer commands. Because commands at the command line invariably involve punctuation keys, and because you're not yet terribly experienced with the command line, sometimes you might want to make changes to what you've already typed without having to retype the whole line. Fortunately, the shell understands a number of basic editing keystrokes to help you edit your commands as you type them. These keystrokes are shown in Table 18.1.
As you read through Table 18.1, note that any text you type when the cursor is not at the end of the command will be inserted wherever the cursor is. If you are familiar with nearly any word processor or text editor, the keys shown in Table 18.1 are probably familiar to you, and you'll use them often to edit complex commands as you enter them. Note also that commands from your history can be edited this way, too. This capability provides a convenient way to use a command you've previously entered as a starting point for a new, slightly different command. To edit your command history, follow these steps:
Keep in mind that the new, edited command will then show up as the most recent command in your command history; you can then re-execute or reuse the new command, too, for later commands.
|
EAN: 2147483647
Pages: 311